Proper Steps to Safely, Completely Remove MyPublicWiFi
If you still have no idea how to correctly remove MyPublicWiFi from your PC, read this article for answers and useful knowledge of Windows operation.
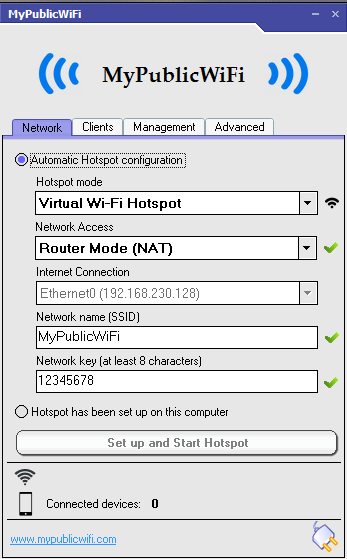
You can share your broadband connection with other devices through several ways, one of which is to use a WiFi Hotspot maker application and a PC containing WiFi equipment. MyPublicWiFi is such a hotspot creator that enables your PC (Windows 10/8/7) to share internet connection with others. Besides, the setup does not require much time and understandings. Even if you don’t have any expert information, you can easily set it up.
Well, in case you want to uninstall this program for some reason and have no idea how to proceed, we prepared the following two solutions for you to to completely remove MyPublicWiFi from your computer. Just share this with your friends if they’re in need.

How to Manually Remove MyPublicWiFi?
Compared to Windows 8, the main difference of Windows 10 is that it provides a brand new Start menu other than the Start screen, and these two can be easily switched between each other. In the following steps, I particularly listed the steps you can take via the Start menu in Windows 10 along with those in Windows 7/8. Hopefully they see to every reader’s needs.
First of all, make sure you’re using an Administrator account. If your system never had a second account, ignore this, then start the removal right away:
1. Close MyPublicWiFi.
Right-click on its icon in the System Tray (bottom-right corner of your screen), and select Exit.
2. End the related process.
To ensure a smooth removal, you can stop the program running in the background by ending the related processes via the Task Manager. It may not be necessary towards the removal of some programs, but just in case.
3. Open the list of currently installed programs.
Windows 7: Open the Start menu > Select Control Panel > Click Uninstall a program
Windows 8: Right-click on the Start button > Click Programs and Features
Windows 10: Right-click on the Start button > Click Programs and Features
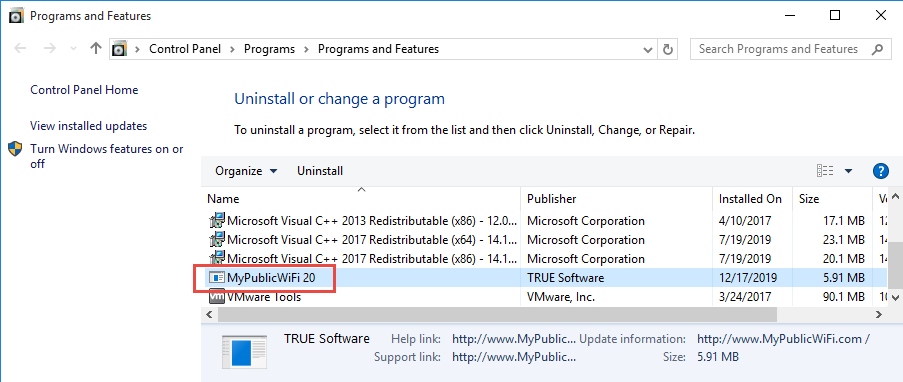
4. Remove MyPublicWiFi via the Programs and Features.
Click on MyPublicWiFi > Uninstall or Double-click MyPublicWiFi to activate its default uninstaller > If you don’t need to reinstall the program, check the option “Remove all user setting” > click Uninstall > wait for the wizard to finish the process.
5. Open the Windows Registry Editor.
Windows 7: Open the Start menu > Execute “regedit” in the search box
Windows 8: Point your mouse to the bottom-right corner > Select Search > Execute “regedit” in the box
Windows 10: In the bottom-left corner of your screen, execute “regedit” in the search box on the taskbar
6. Delete the vestiges to completely remove MyPublicWiFi from your PC.
Now you’re removing the files that regular uninstall might leave behind. Before doing this, you might want to read How to Back up & Restore the Registry in case of any mistaken deletion.
Then on the navigator of Registry Editor, click Edit > Find… > search for “MyPublicWiFi” > Delete the file (s)/folder (s) if found.
7. Restart your PC to take effect.
Then check your system tray (right end of the taskbar) and Task Manager (hit Ctrl + Alt + Del to open), if MyPublicWiFi is not there then the removal was successful.
How to Remove MyPublicWiFi More Easily?
The answer is to use an efficient tool takes care of all the necessary jobs for you. I believe this will save a lot of time:
1. Click the green Download button to install Bloatware Uninstaller.
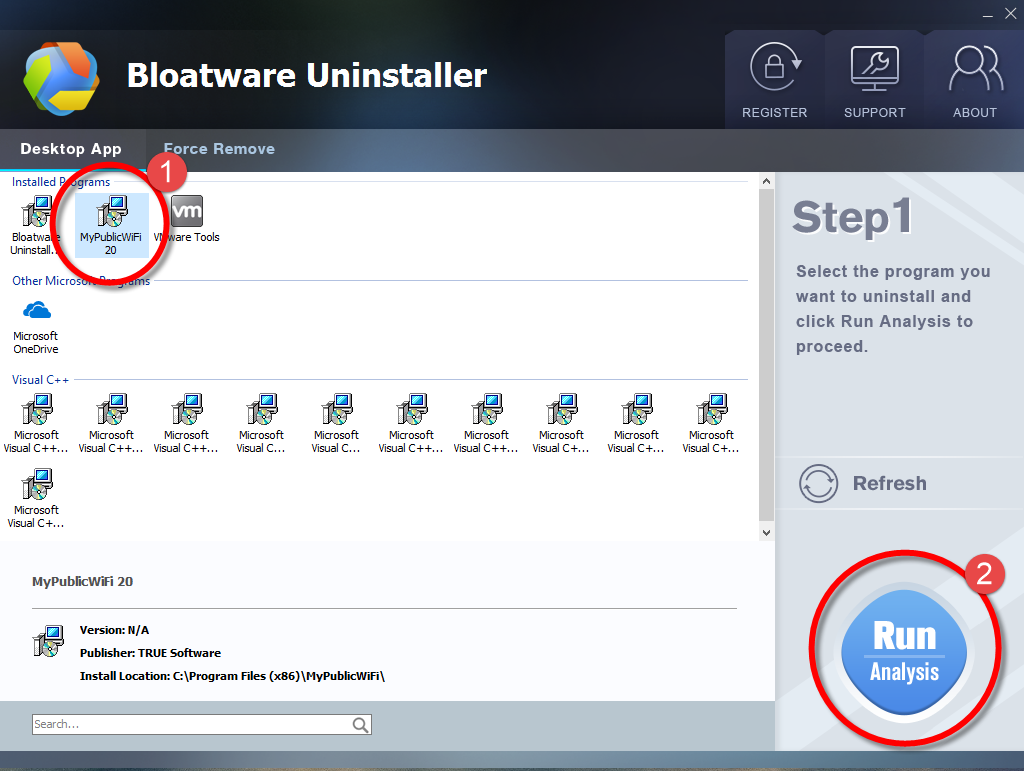
2. Run it and you will see the list of all the programs currently installed on your machine > Locate the MyPublicWiFi icon, select it and click on the green Run Analysis button.
3. Keep all items displayed in the new list ticked, click the Complete Uninstall button.

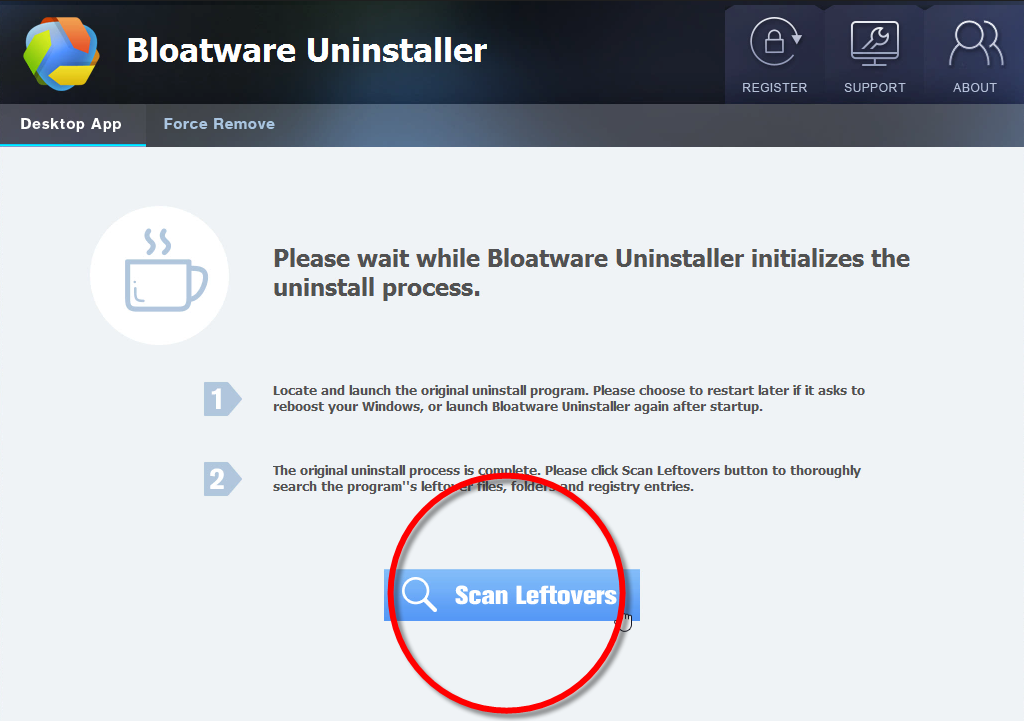
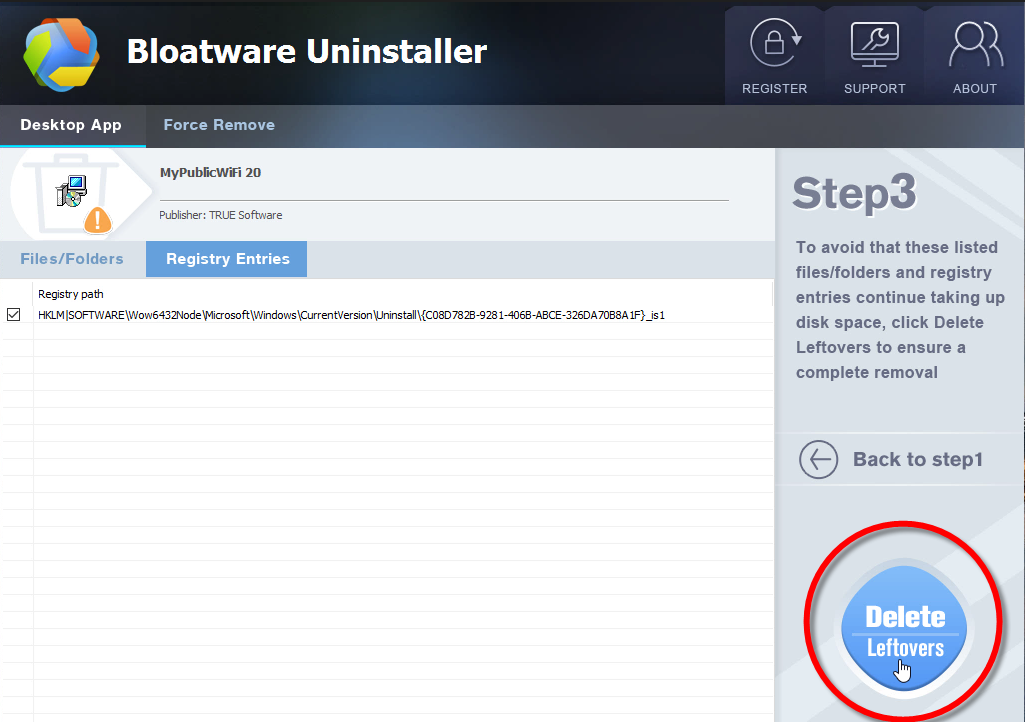
4. After a few seconds, it will give you the option to Scan Leftovers (cleaning out the keys from Windows Registry), click it.
5. At last, click the Delete Leftovers button to completely remove MyPublicWiFi.
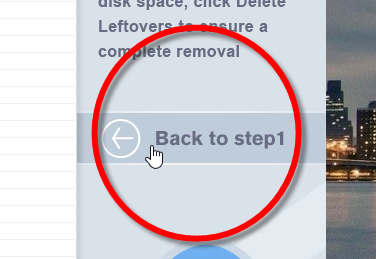
6. Click Back to Step1 to fresh the program list, so that you can check whether your target has been eliminated. After the removal is complete, you can perform the same steps to uninstall other programs you don’t need on your PC.
Here is a short video that shows you how Bloatware Uninstaller works to remove MyPublicWiFi:
If you have any question to ask, do feel free to leave a comment below.
- Internet Software
- 19 Dec 2019