Easily Remove PC Cure Pro in Windows – Details Solutions
Don’t know how to correctly remove PC Cure Pro? Browse the page to find out. You can try different solutions to uninstall unwanted programs on your PC.

Users who want to go through the removal by activating the built-in uninstaller, choose Method 1. Those who prefer a simpler, time-saving removal, go to Method 2.
If you still failed to remove PC Cure Pro somehow, leave comments with details, let us know the problems you encountered and we will get back to you as soon as possible.

Method 1: How Do I Manually Remove PC Cure Pro?
Before you remove PC Cure Pro, please make sure you’re using the administrator account, or you will be prompted to enter the password for permission of system changes. Then shut down the program and all other related processes (open the Task Manager by pressing Ctrl + Alt + Del to do it if it’s necessary), we are starting the removal right away.
Typically, I do every removal starting from the program list, so I wouldn’t bother to check whether there is a default uninstaller displayed in Start menu.
1. Access the Program List in Windows.
For Windows 7 users:
– Click on Start button in the bottom left corner.
(or simply hit the Windows key on your keyboard)
– Move your mouse pointer to the Control Panel and then click it.
– Select Uninstall a program under the Programs section.
(If you’re a user of Windows XP, you can click on Add or Remove Programs.)
For Windows 8/8.1 users:
– Press and hold the Windows key + C to open the charms bar
– Select Search.
– Type “control panel” in the search box.
– Select Control Panel from the result to open it.
– Select Uninstall a program under the Programs section.
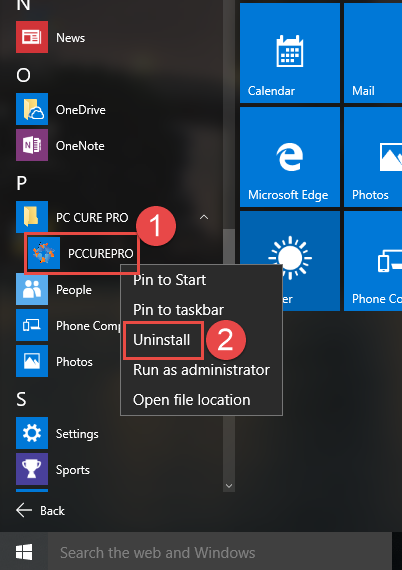
For Windows 10 users:
– In the bottom-left corner of you screen, click the Start button.
– Select Apps.
– Find PC CURE PRO, and unfold it.
2. Activate the built-in uninstaller to remove PC Cure Pro.
– Find PC Cure Pro in the list.
– Right-click it and select Uninstall, or double-click it to activate the removal.
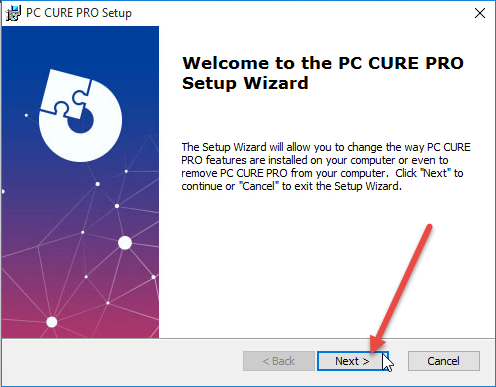
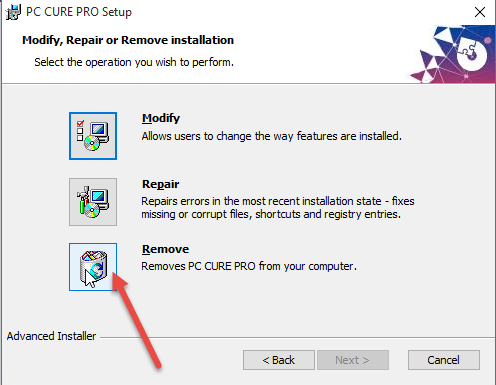
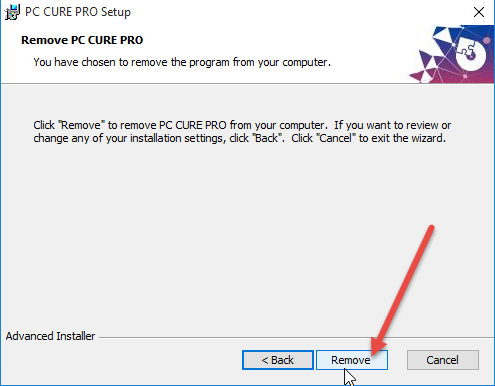
– Follow the on-screen instructions to proceed with the removal.
– If you’re prompted with options “Restart now” and “Restart later”, choose either.

3. Access the Windows Registry Editor.
Most users skipped this step because they didn’t know how to do it, while this will actually lead to the accumulation of junks. So every time you’re trying to completely delete a program, don’t forget to clean out its entries. Reading this part may also help when you need to deal with another program someday.
For Windows 7 users:
– Click on Start button (or simply hit the Windows key on your keyboard)
– Type regedit in the box and press Enter key.
For Windows 8/8.1 users:
– Press and hold the Windows key + C to open the charms bar
– Select Search.
– Type “regedit” in the search box.
– Select regedit from the results.
For Windows 10 users:
– On the Taskbar there is a Search box, type “regedit” in it.
– Select regedit from the results.
4. Remove PC Cure Pro from the Windows Registry
– Check for folders that have the name of PC Cure Pro or its publisher under:
- HKEY_CURRENT_USER\Software\
- HKEY_LOCAL_MACHINE\SOFTWARE\
– On the navigator, click Edit > Find…
– Enter “Energizer Softtech Pvt Ltd” to check for other remaining files to delete.
Method 2: Easy Breezy Way to Remove PC Cure Pro
If you think the regular steps is too complicated to fully understand, forget them. This will spare you from going through the whole tedious removal, unwanted risks and consequences. Let’s see how it works:
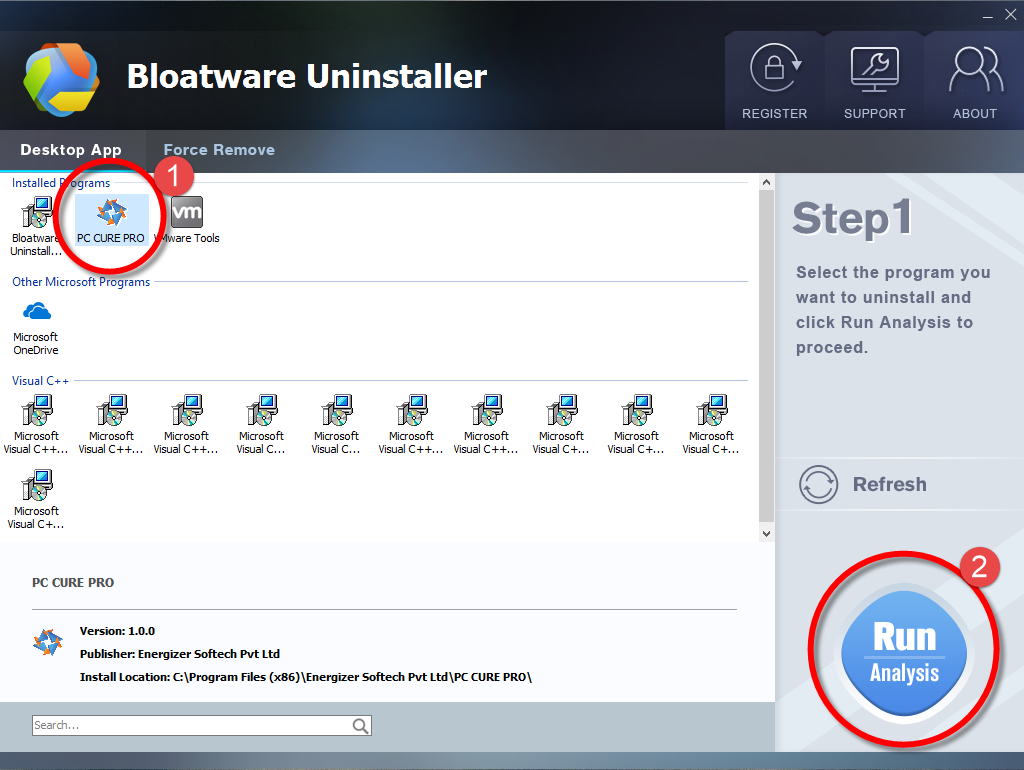
1. Download, install and launch Bloatware Uninstaller from your desktop.
2. Select PC Cure Pro in the list, and click Run Analysis in the lower right corner. It will take just a few seconds.
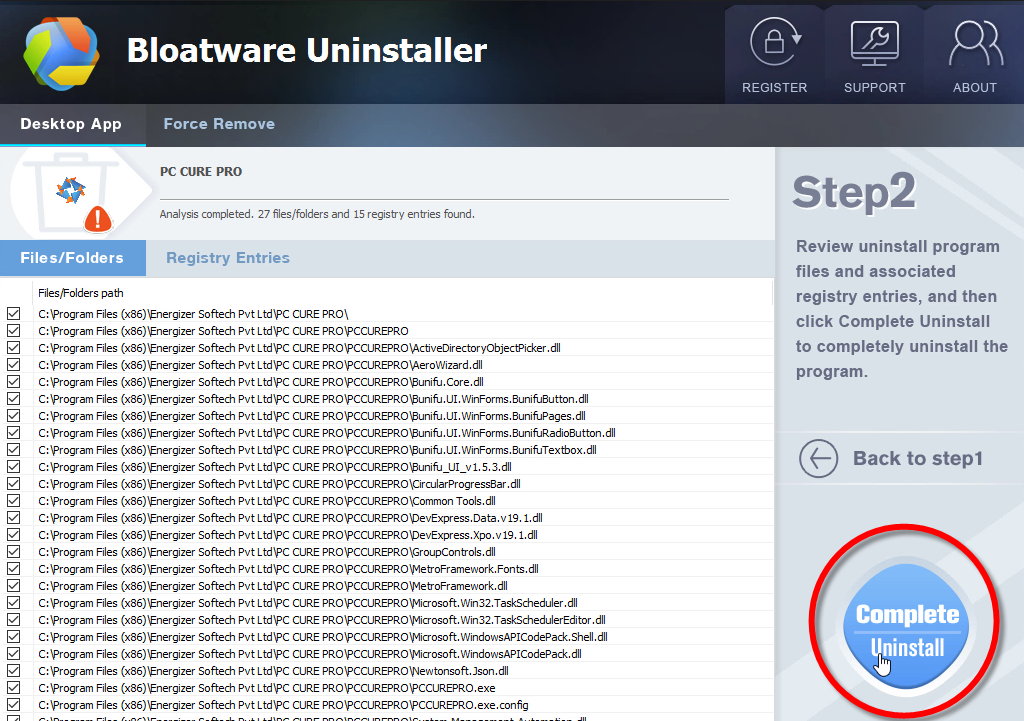
3. Wait for it to finish scanning all the files, and click Complete Uninstall in the lower right corner to delete the files listed.
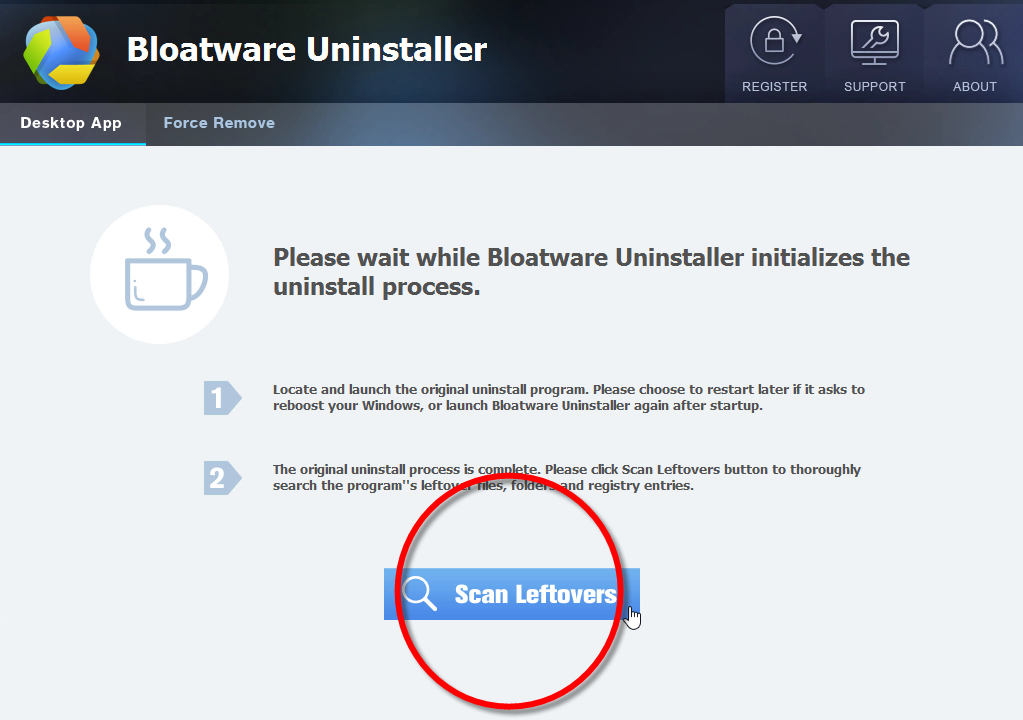
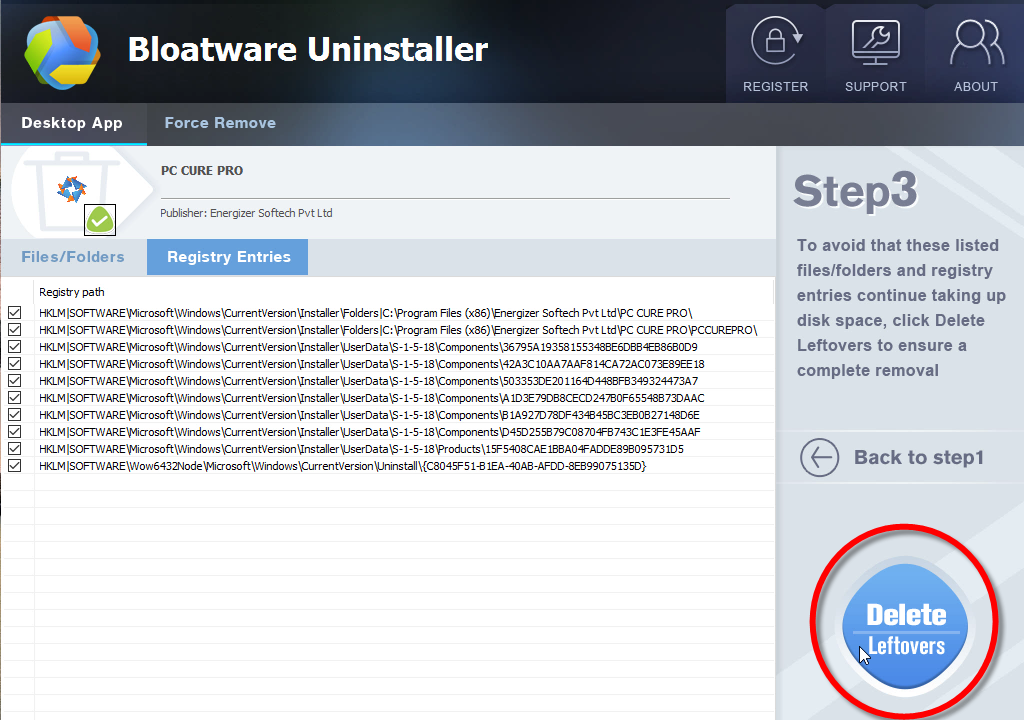
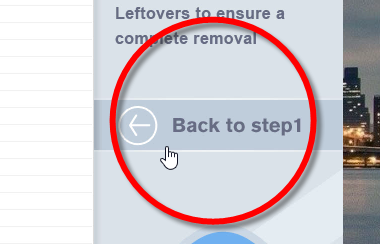
4. Follow the prompts to move on, click Scan Leftovers, and click Delete Leftovers in the lower right corner to delete the leftovers listed.
5. Then, to make sure the program has been gone from your PC, you can click on Back to Step 1 to refresh the list on Bloatware Uninstaller. If you have succeeded to remove PC Cure Pro, you won’t see it in the list.
This is what I highly recommended – a safe Windows cleaning tool to easily locate and repair Windows issues, optimizing the stability and performance of your computer, also the very best way to remove PC Cure Pro and similar products.
Video Demonstration – How to Easily Remove PC Cure Pro
- Uncategorized, Utilities & Operating Systems
- 13 Dec 2019