Remove Phone Transfer by Performing Correctly Steps
This page is helping you correctly, completely remove Phone Transfer in Windows, just perform every step we listed in order. Hopefully you can get the removal done successfully.

How Do I Manually Remove Phone Transfer in Windows?
Step 1. If possible, make sure Phone Transfer is not running first.
Shut down the program from the System Tray in the bottom-right corner of your screen, and end every process associated with it in the Task Manager (Press & hold Ctrl + Alt + Del to open).
Step 2. Search for the program.
Press and hold the Windows key + C on your keyboard to open the Charms, and select Search.
Step 3. Locate the program in the Program list.
Type “Phone Transfer” in the box, right-click on the result and select Uninstall.

Step 4. Remove Phone Transfer by activating its default uninstaller.
You’re brought to the Programs list. Double-click Phone Transfer to activate its uninstall wizard.
Step 5. Let the built-in uninstall wizard finishes its job.
Confirm this removal and wait for the process to finish.
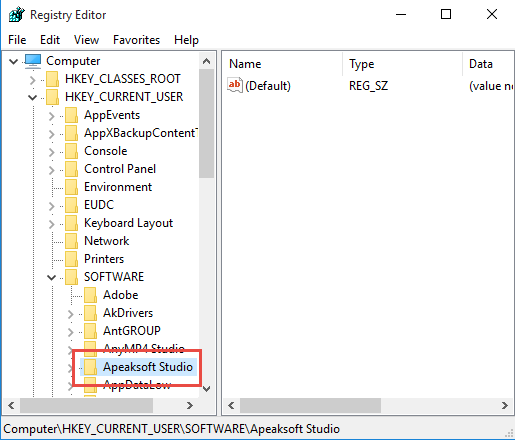
Step 6. Go to the Registry Editor.
Press and hold the Windows key + C on your keyboard to open the Charms, select Search, and enter “regedit” in the box to open the Registry Editor.
Step 7. Delete the leftovers to completely remove Phone Transfer.
Before doing this, you can choose to Back Up the Registry in case of any mistakes that cause the permanent loss of your data. Then continue the removal:
On the navigator of Registry Editor window, click Edit > Find…, then enter “Phone Transfer” to find the related file(s)/folder(s), right-click it(them) and select Delete.
Step 8. Restart your computer and check.
If you like, go back to the System Tray, Task Manager or Control Panel and check whether Phone Transfer has been removed.
Any Better Solution to Remove Phone Transfer?
If you ever did the removal in an incorrect way, you might not be able to reinstall it again or to complete uninstall it. That’s alright, because we got this – a professional tool to automatically make things right on your system. Totally check on this if you’re seeking for such a shortcut. Instruction:
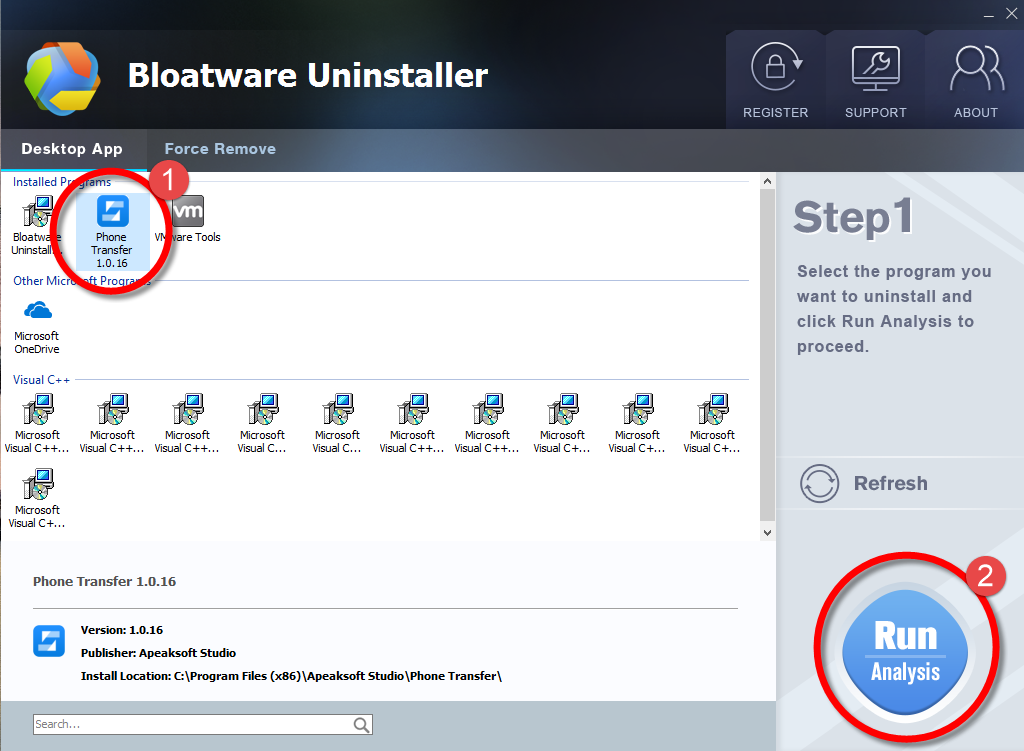
Step 1. Download, install and launch Bloatware Uninstaller from your desktop.
Step 2. Select Phone Transfer in the list, and click Run Analysis in the lower right corner.
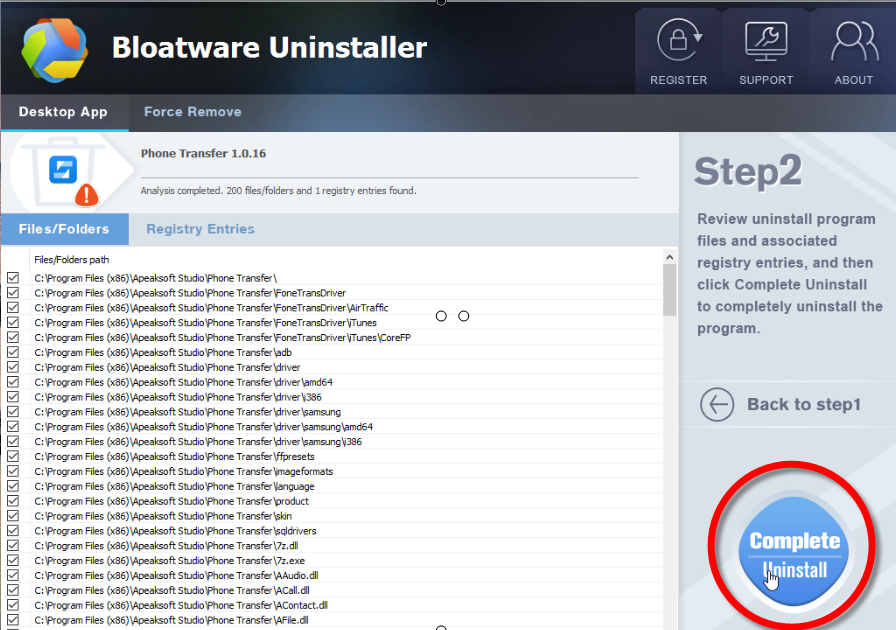
Step 3. Wait for it to finish scanning all the files, and click Complete Uninstall in the lower right corner to delete the files listed.
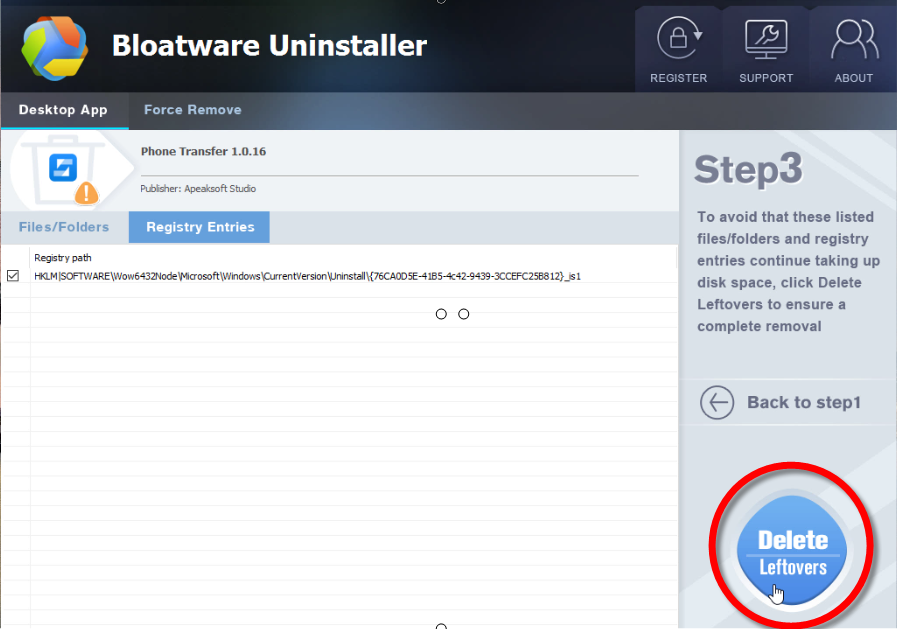
Step 4. Follow the prompts to move on, click Scan Leftovers, and click Delete Leftovers in the lower right corner to delete the leftovers listed.

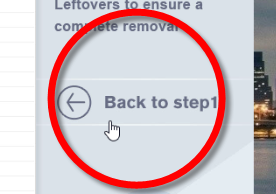
Step 5. Click Back to step1 to check the currently installed programs, see if Phone Transfer has been removed.
Video Demonstration on How to Quickly Remove Phone Transfer
This way the program shall be gone for good. Since there are so many people that don’t want to or don’t know how to perform the conventional cleaning process, this would be a better choice for them to save much time. If you happen to be one of them, I believe you will like this trustworthy tool.
On this site, you can also search for the removal instructions of other programs you want to remove, and share them with your friends in need.
- Utilities & Operating Systems
- 12 Sep 2019