How Do I Effectively Remove Quick Driver Updater?
If you have no idea how to correctly remove Quick Driver Updater in Windows, find solutions on this page.
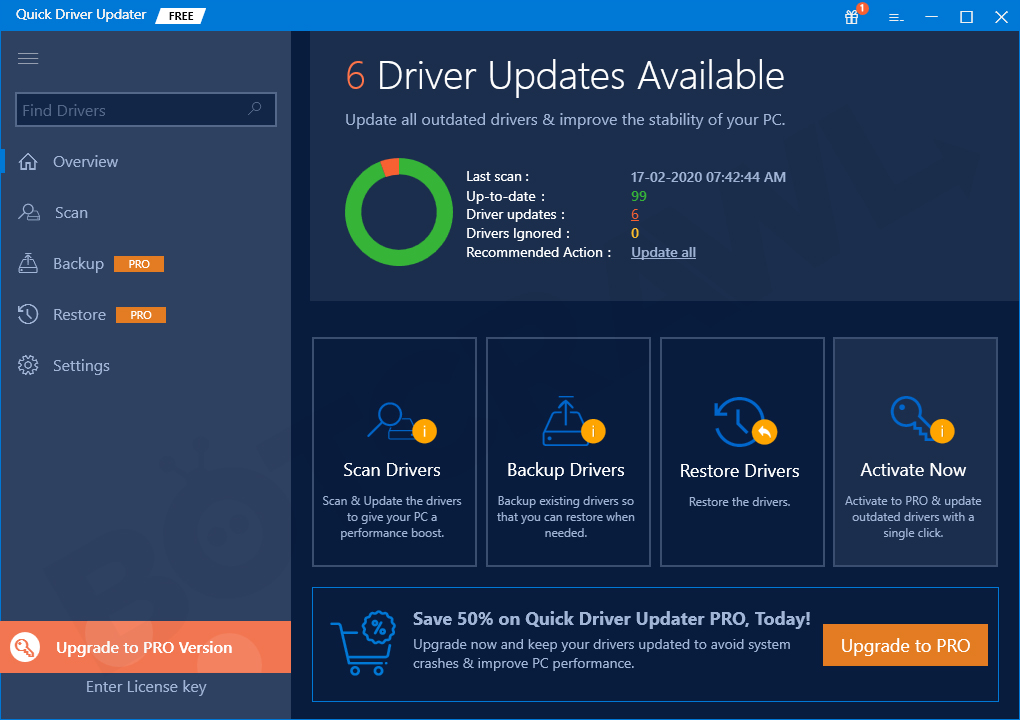
Quick Driver Updater is a free small utility to help you conveniently update drivers in your system. If you download Quick Driver Updater from some websites instead of the offcial, you may get bundled programs. So, after the installation you may find several other programs that you don’t even recognize. The most annoying is that they give you a lot of pop-ups, and you’ll have to close them every five minutes. For reasons users have been seeking advises to remove Quick Driver Updater, but many have resulted in failures. Hopefully through reading this page, you can successfully work it out.

Safely and Effectively Remove Quick Driver Updater
This is a small-sized professional Windows cleaning utility to easily remove Quick Driver Updater. With this utility you don’t need to access this and that. Steps are simply as follows:
1. Click on the blue download button here or visit the homepage to try out Bloatware Uninstaller.
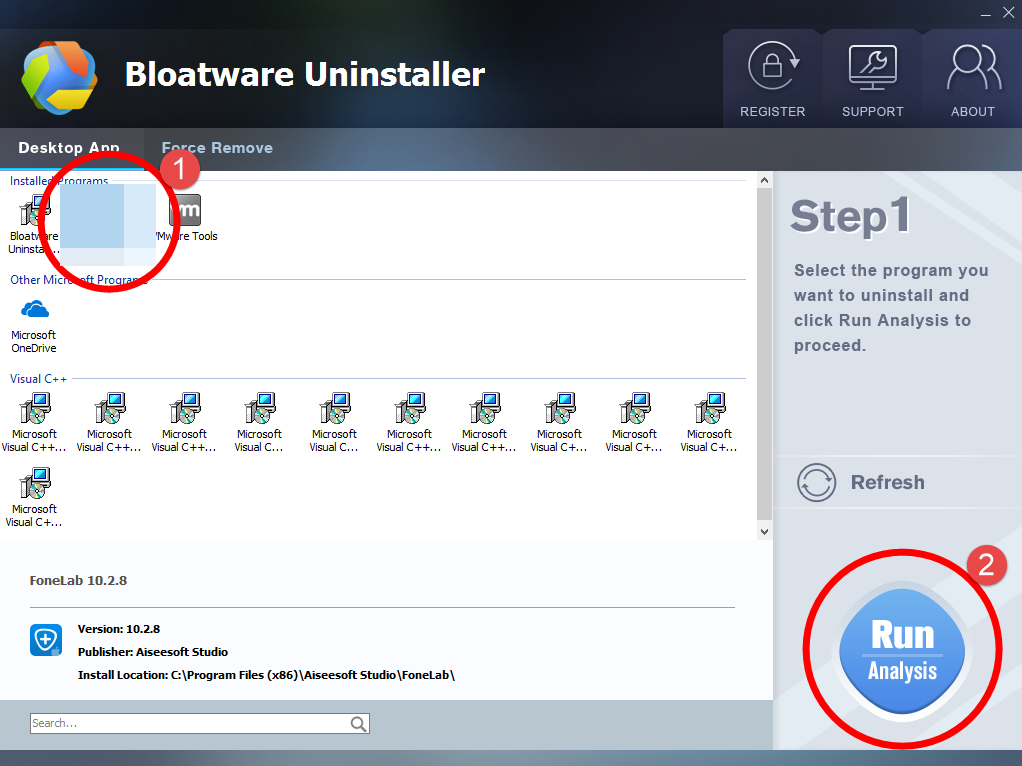
2. Double-click the desktop icon to open it, you will know what programs are currently installed on your PC. Find and select the Quick Driver Updater icon, and click Run Analysis to scan all the related files.
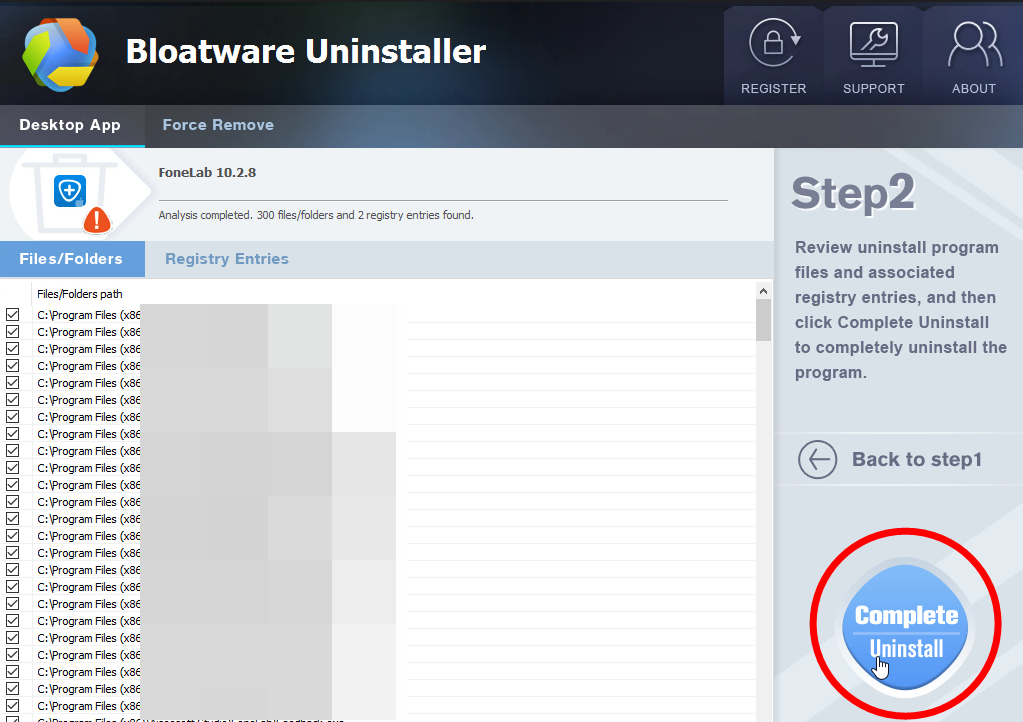
3. In the list presented, tick all the items displayed belonging to the toolbar, and click the Complete Uninstall button.
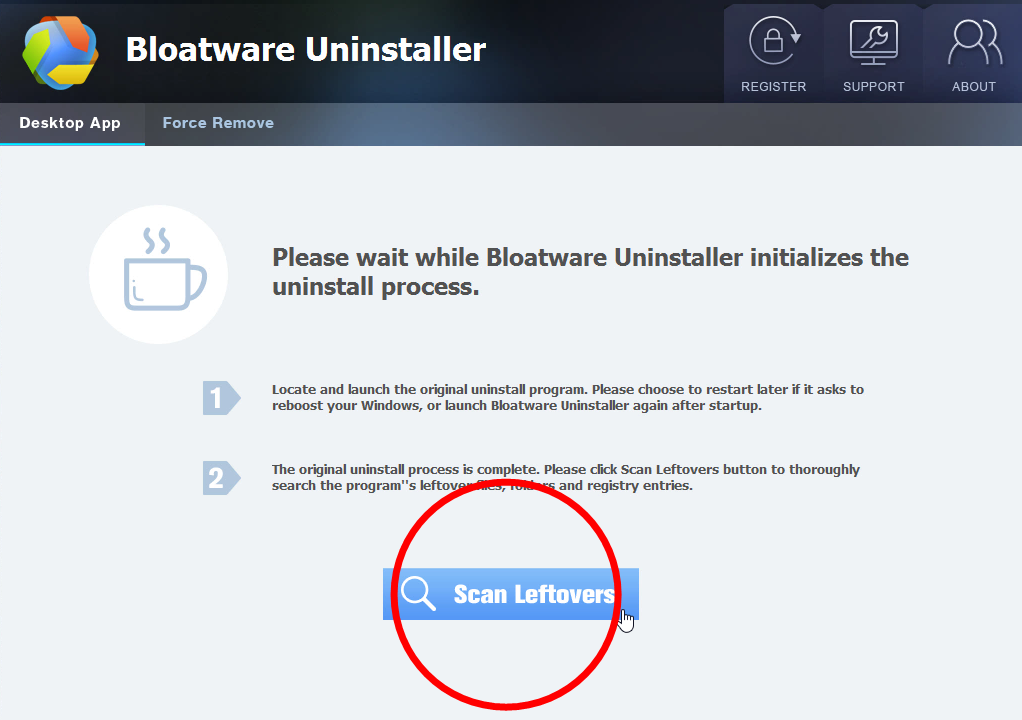
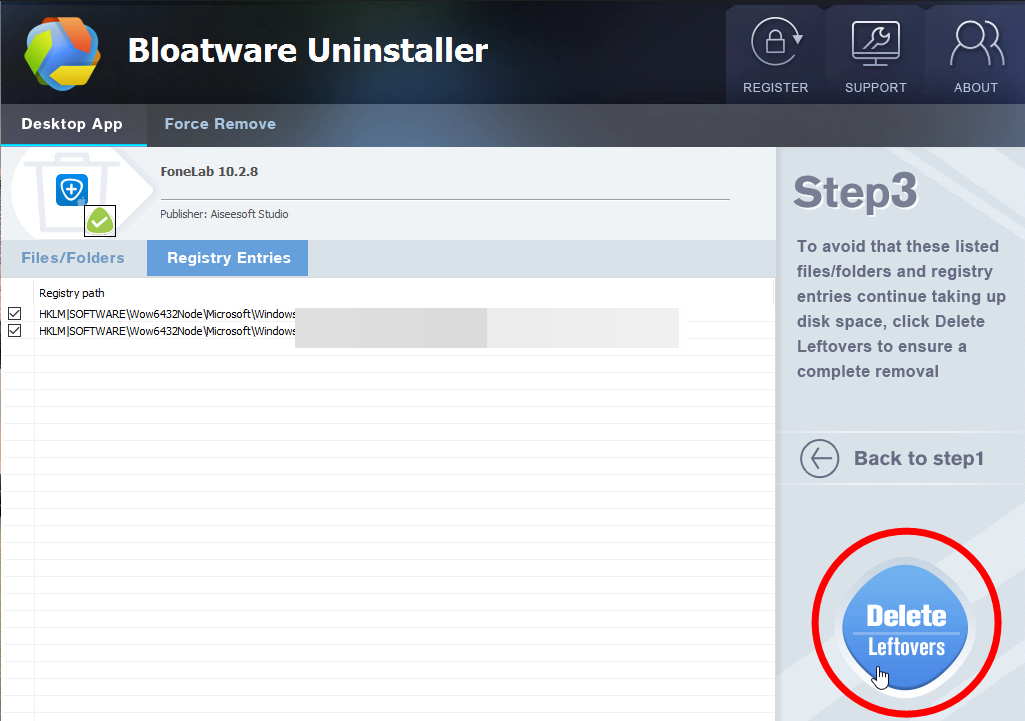
4. A window will show up telling you “Please wait while it initializes the uninstall process.”, after which click Scan Leftovers > and Delete Leftovers at last to completely remove Quick Driver Updater.
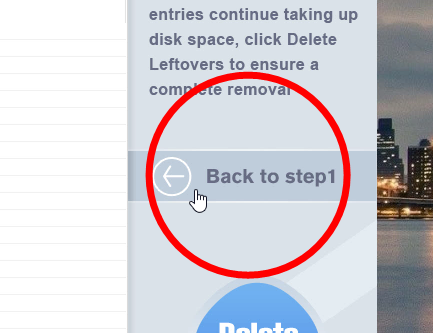
5. Click Back to step1 on the right to refresh the program list, and see if the removal has been successful.
If you don’t want to reinstall the program, you can choose to remove its bundled programs, by performing the above steps.
Video Demonstration – Remove Quick Driver Updater
Regular Steps to Manually Remove Quick Driver Updater
First of all, make sure you’re using an Administrator account. If your system never had a second account, skip this, and start the removal right away:
1. Close Quick Driver Updater first.
Stop the Quick Driver Updater programs from running in the background no matter what. It may not be necessary towards the removal of some programs, but just in case.
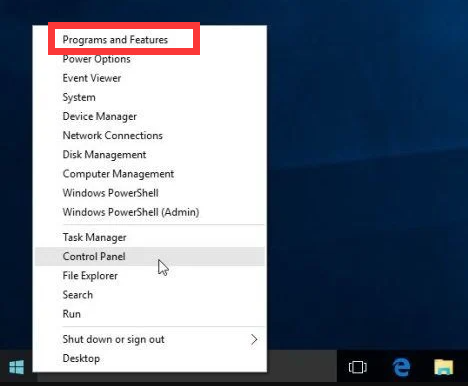
2. Open the list of currently installed programs.
Right-click on the Start button > Click Programs and Features
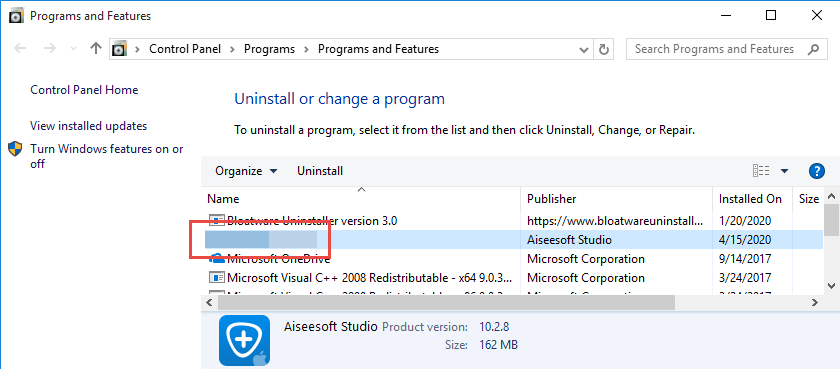
3. Remove Quick Driver Updater via the Programs and Features.
Click on Quick Driver Updater > Uninstall or Double-click Quick Driver Updater to activate its default uninstaller > confirm the removal > wait for the wizard to finish the process.
4. Follow the prompts to proceed with the removal.
Click Yes/Next button to continue, if you don’t want to reinstall the program, when being prompted with “Whether to keep your personal data,” just select No.
5. If you don’t want to reinstall the program, you can choose to remove its bundled programs, by performing the above steps.
6. Open the Windows Registry Editor.
In the bottom-left corner of your screen, execute “regedit” in the search box on the taskbar
7. Delete the vestiges to completely Remove Quick Driver Updater.
Before doing this, be sure you have uninstalled all the COMODO programs via the Programs and Features.
Then navigate to these folders and delete:
HKEY_CURRENT_USER/Software/Quick Driver Updater
HKEY_LOCAL_MACHINE/SOFTWARE/Quick Driver Updater
To check for other possible remaining entries, on the navigator select Edit > Find…, then enter “Quick Driver Updater” to find the related file(s)/folder(s), right-click it(them) and click Delete to completely remove Quick Driver Updater from your PC. Doing this will also remove all your personal settings on the program, just so you know.
8. Reboot your PC to take effect.
Then check your system tray (right end of the taskbar) and Task Manager (click Ctrl + Alt + Del to open), if Quick Driver Updater is not there then the removal was successful.
For any questions you want to ask about how to remove Quick Driver Updater in Windows, just leave comments at the bottom of the page.
dows, just leave comments at the bottom of the page.
- How To
- 29 Oct 2020