Remove Your Uninstaller! 7 in Windows – Specific Steps to Follow
Your Uninstaller! 7 is one of the programs that are sometimes hard to delete. Just read this page and find out how to correctly remove Your Uninstaller! 7 on Windows PC.
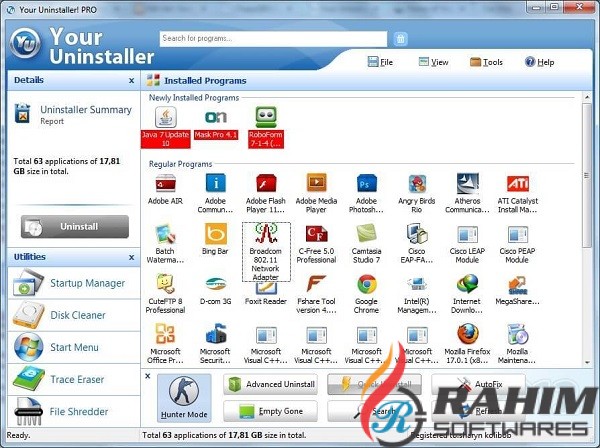
Your Uninstaller! 7 claims to be ablet to scan your whole system for related files and traces, and then delete them altogether. It can opens and responds fast, and provide you witn simple clicks to realize complete cleaning of programs. In the following content you can find two different methods to completely remove Your Uninstaller! 7.

Easy Solution to Remove Your Uninstaller! 7
For this part, it’s all the same on each Windows operating system, you can simply follow the steps below to proceed. You may start wondering: is it available for the uninstall of other potentially unwanted programs or malware? Of course, it is. We are working hard every day to improve and perfect its functions towards stubborn software as many as possible. Don’t forget to click on its “Update” button for automatic upgrade.
There are only three steps to remove Your Uninstaller! 7. Play the video below for viewing the specific operation.
1. After successful installation of Bloatware Uninstaller > Launch it.
2. Find Your Uninstaller! 7 in the list of Step 1 > Select it and click Run Analysis on the left > Select all the shown items and click Complete Uninstall.


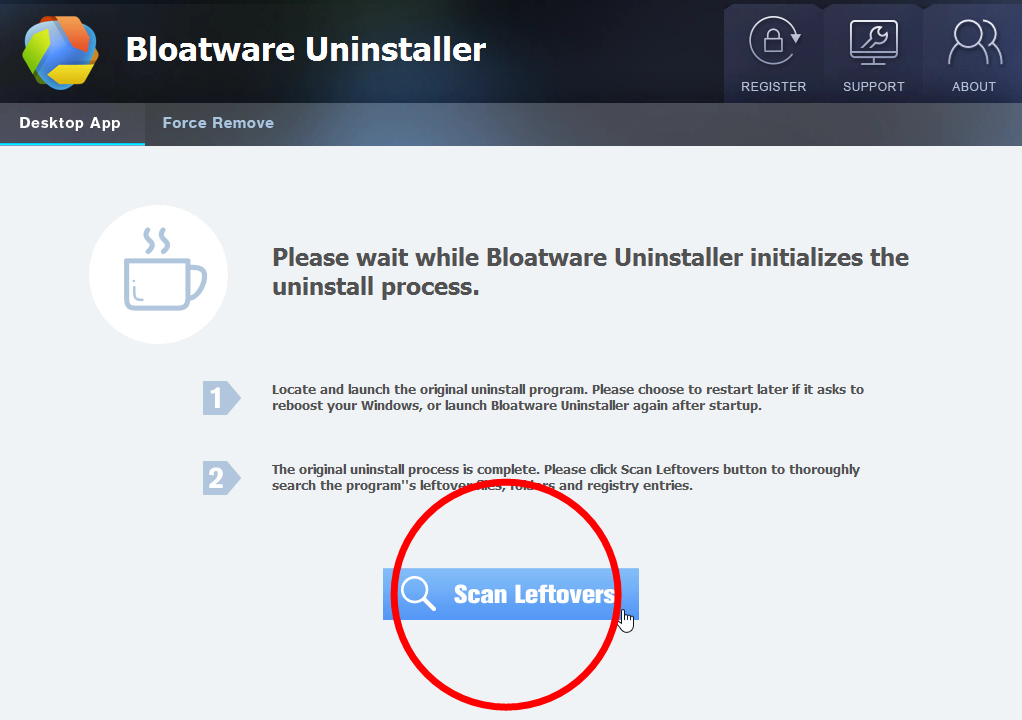
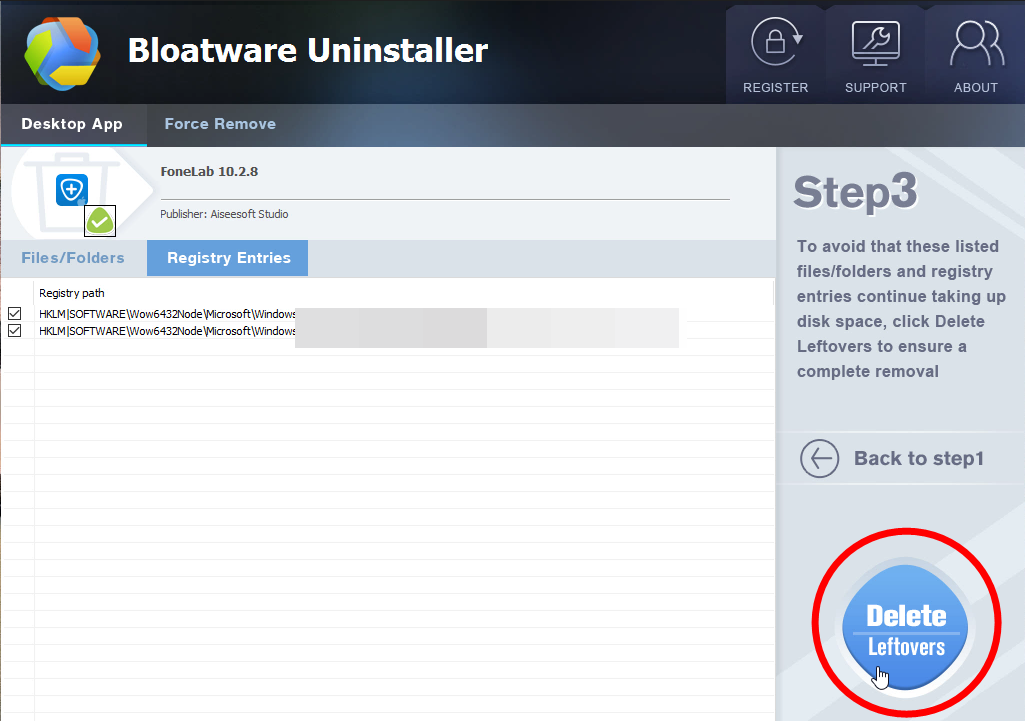
3. Wait until this part finishes and the below green Scan Leftovers button turns into green > Click it to proceed with the removal > The registry keys will be presented > Select all of them and click Delete Leftovers to completely remove Your Uninstaller! 7.
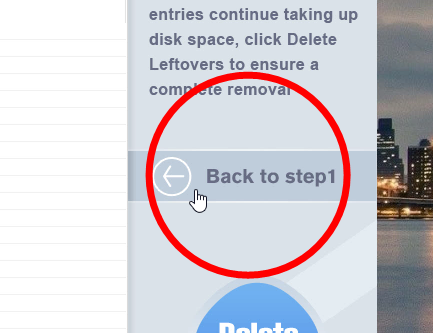
4. Click Back to step1 to check if the removal has been successful.
This small application is surely a very convenient way to clean out useless programs from your computer, freeing up your hard drive space for more important purposes. For how to further optimize the performance of your machine, you can refer to the next part.
Video demonstration on how Bloatware Uninstaller works to remove a program:
Step-by-Step Guide – Manually Remove Your Uninstaller! 7
This part is about how to normally uninstall a program on your own. You can choose to perform this in Safe Mode, better with Networking in case you need to use the Internet for update or download. Then make sure you’re using the administrator account or you know the permission password for making changes.
1. Close the program and any other related process.
You can access Task Manager (by right-clicking the Taskbar and selecting Task Manager) to end the processes it if necessary.
2. Built-in uninstaller.
Open the location you installed Your Uninstaller! 7, see if there is an executable named unins000.exe. If you can find it, double-click to start the removal. If you don’t know where the program is, move on to the next step.
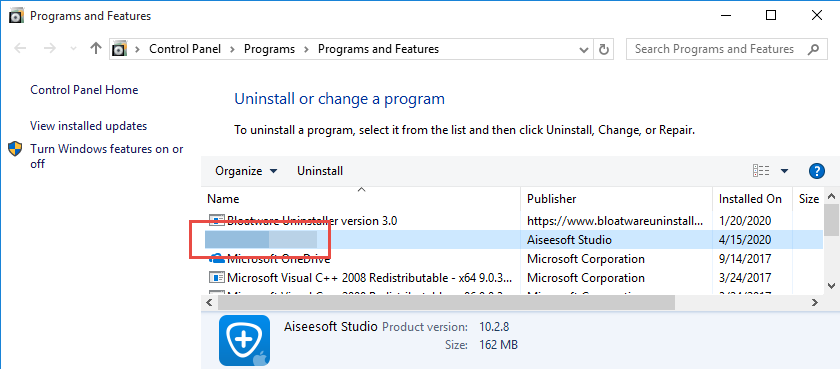
3. Remove Your Uninstaller! 7 from Programs and Features:
Right-click the Windows logo in the bottom-left corner to open the Start menu > select Programs and features > when the window opens, scroll down to find Your Uninstaller! 7 in the list, double-click it to activate the uninstall wizard > follow the prompts to proceed with the removal.
Wait for the process to finish before closing all the open windows.
4. Delete the hidden folders of Your Uninstaller! 7.
Enable the option “Show hidden files, folders, and drives” in File Explorer: Click on Start > File Explorer > Click on the View tab at the top > Click on “Options” on the right side of the screen and open it > Inside the open window, click on View tab > enable the option “Show hidden files, folders and drives” > Click on Apply > OK.
Delete the following folders:
- C:\Users\username\AppData\Roaming\Your Uninstaller!
- C:\Users\username\AppData\Local\Your Uninstaller!
5. Now you get to remove its written entries, before which you can choose to backup the Registry first in case of any mistake.
(How to back up the registry: Open the Start menu and search for “regedit” > Locate and select the key you want to back up > On the navigator, click the File > Export > In the Save in box, select the location you want to save the copy to, then type a name for the copy > click “Save”.)
Press the Windows + C keys on your keyboard at the same time to open the charms bar > Select Search > type “regedit” in the search box > Select regedit to open Registry Editor.
NOTE: Doing this will also remove the entries of other programs belonging to GRETECH. If there is any of them still installed, skip this.
Navigate to the following folder and delete it:
- HKEY_CURRENT_USER\Software\Your Uninstaller!
6. Reboot your computer to take effect.
Skip this if you have done it yet. Now you can go back to Task Manager or Control Panel to check whether there is still anything related to Your Uninstaller!; if not, then the removal was successful. If you need to download and reinstall Your Uninstaller! 7, visit here.
Is there any question you want to ask? Leave your message below, we will get back to you as soon as possible.
- How To
- 04 Sep 2020