How Do I Uninstall ASUS Live Update from Windows?
Have problem to uninstall ASUS Live Update on PC:
“Can anyone tell me how I remove this program from startup? I don’t need it, I don’t trust applications like this, and I prefer updating drivers manually. I tried run>msconfig>startup but couldn’t find it there. If you could tell me where it can be found and disabled, I would be very grateful. Thanks in advance.”

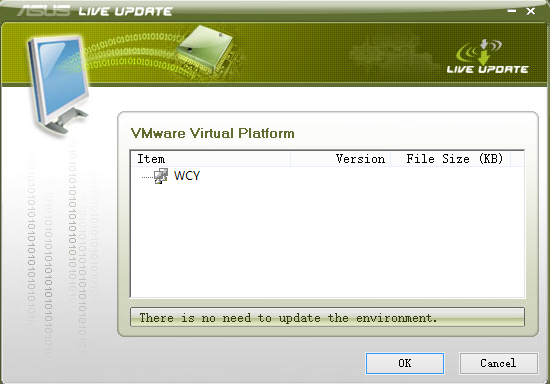
The ASUS Live Update utility comes pre-installed on the computer manufacturer’s machines. This software helps you keep your computer up to date by periodically checking for driver and BIOS updates from ASUS servers.
Uninstall ASUS Live Update Manfully
However, many people say it’s buggy and doesn’t really work, you can always download software updates from the official website. So they just want more control over your system by updating it manually. As a normal Windows program, you can uninstall ASUS Live Update via Programs and Features.
1. Make sure you have logged in the Save Mode of the computer
- Run your PC in Safe Mode. Restart your PC and keep pressing F8 key before your Windows loads. Select Safe Mode with Networking and hit Enter key.
2. Log in your computer system as administrator
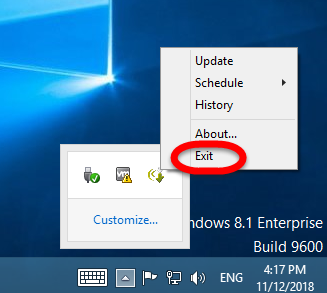
3. Exit ASUS Live Update before uninstalling it
- Right click on the Hidden menu in lower right corner to show the hidden icons;
- right click on the icon of ASUS Live Update to choose Exit.
OR:
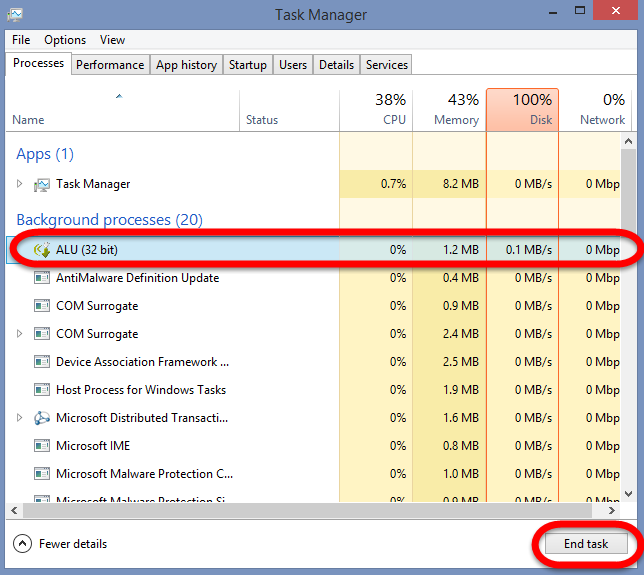
- Launch the Windows Task Manager by pressing shortcuts Ctrl +Alt +Delete;
- Then click on the related process and click End Process (in Windows 7, Vista) or End Task (in Windows 8) button.
4. Uninstall ASUS Live Update on Programs and Feature
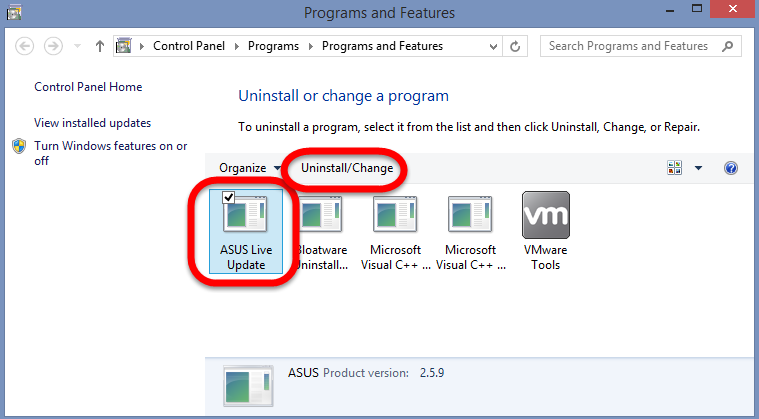
- Click Start, then “Control Panel” and “Uninstall a Program.” If your Control Panel items are listed in icon view, click “Program and Features.”
- Select “ASUS Live Update” from the list of installed programs and click the “Uninstall/Change” button.
- Follow the on-screen instructions to complete the uninstallation and reboot your system afterward.
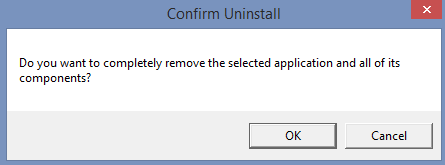
- Click OK to confirm the auto uninstall process.
5. Delete the leftovers Files of ASUS Live Update
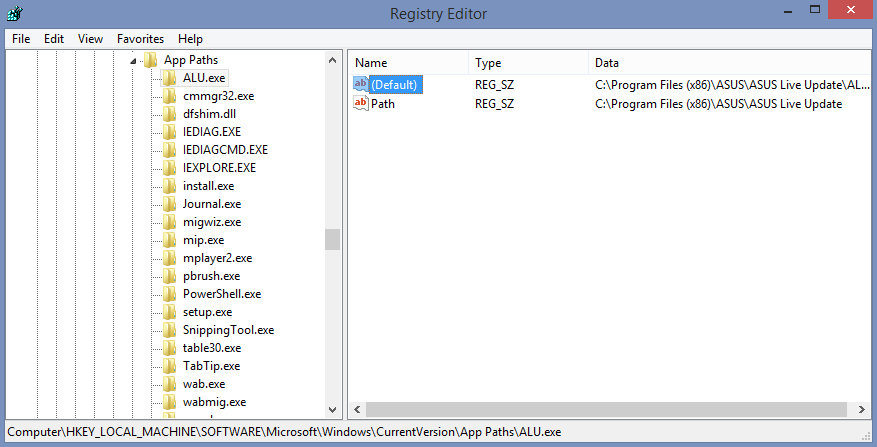
Delete invalid registry entries / values:
- Click Start and Run,
- Type in regedit in the dialog and click OK,
- Find and delete registry entries of the program, such as:
(HKEY_CURRENT_USER\Software\)
(HKEY_LOCAL_MACHINE\Software\ ASUS Live Update)
(HKEY_LOCAL_MACHINE\Software\Microsoft\Windows\CurrentVersion\Run\eg ui)
or:
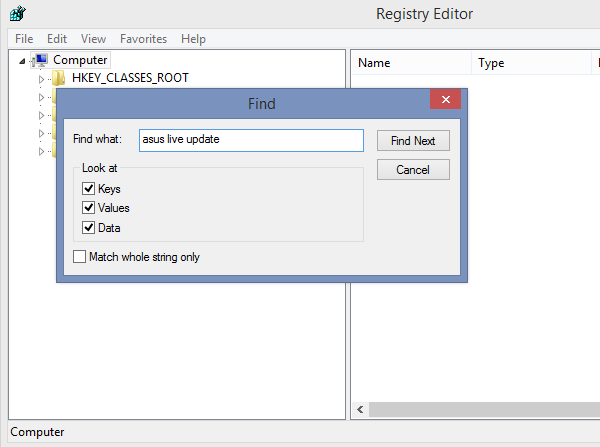
- Type the key word ASUS Live Update on the search box to begin the searching, once it has showed out, delete it.
Warning: if value is listed for some registry entries, you should only clear these values and leave keys with such values untouched. We recommend you to use Bloatware automatic removal Tool for safe problem solution.
Delete leftover files on PC:
- Click on the Start, choose the Control Panel, and double click Folder Options, select “Show Hidden Files and Folders”, then locate the blew folders and delete them directly.
Note: If ASUS Live Update does not show up in Programs and Features, the automated program Bloatware Uninstaller might help a lot in Windows. Now, download one and begin the easy removal cleaning on PC.
Protect computer and browsers from infection
Adware threats like ASUS Live Update are very wide-spread, and unfortunately many antiviruses fail to detect it. To protect your computer from future infection we recommend you to use removal tool, it has active protection module and browser settings guard. It does not conflict with any antiviruses and creates additional shield against threats like ASUS Live Update.
Uninstall ASUS Live Update Automatically
Bloatware Uninstaller was developed to remove threats like ASUS Live Update in automatic mode. Remover has active module to protect PC from hijackers, trojans, ransomware and other viruses.
Features of Bloatware Uninstaller:
- Removes all files created by viruses
- Removes all registry entries created by viruses
- Automatic operation in the whole removal process
- Complete removal in only three steps
- 24/7 Tech support included into the package
Follow the detailed steps to remove Live Update:
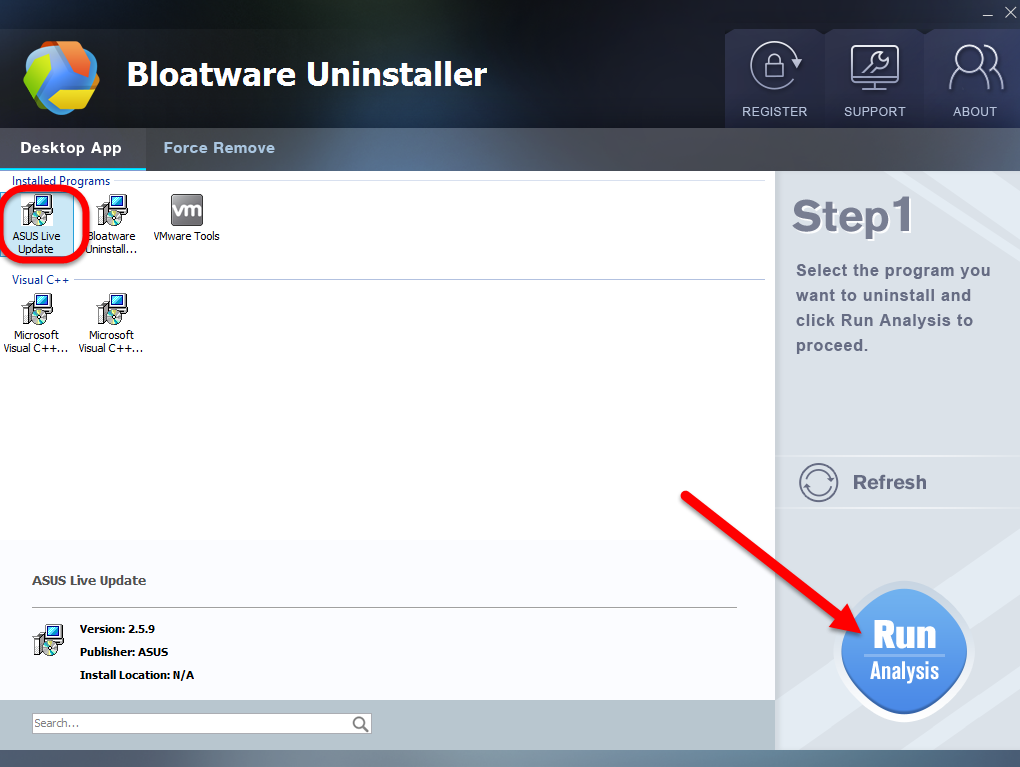
Step 1. Select Target Program
- Launch Bloatware Uninstaller, then select ASUS Live Update on the interface and click on Run Analysis to proceed out all files/folders/registry entries supposed to be gone.
Step 2. Scan for Program Components
- Click on Complete Uninstall after all the components are scanned out;
- Click Next, and then Remove in the pop-up dialog and follow the prompts to complete the removal until it Finish;
- Click on Scan Leftovers to conduct a full scan for the program leftover.
Step 3. Perform Complete Uninstall
- Click on Delete Leftovers and then Yes in the pop-up confirmation dialog;
- After all the leftovers have been removed completely, click OK to end the process;
- Back to Step 1, you will find ASUS Live Update is gone, as well all the leftovers;
For more details, please watch this video tutorial to compete uninstall ASUS Live Update on PC:
Manual or Auto? Which’s the best?
If you are confident and good at computer skills, and have more time to deal with daily removal, then choose the manual approach to remove software like ASUS Live Update; but, if you want to find a more convenient way to properly uninstall ASUS Live Update, then try the third party remover to get rid of it once for good easily.
- ASUS Software
- 14 Nov 2018