Solved: How Do I Uninstall Avira Antivirus 2019 for Good?
There’s a question: how do I uninstall Avira Antivirus 2019 forever from Windows PC:
“For the past few weeks, after “uninstalling” Avira Antivirus and switching to Avast, I noticed that the processes – the shadow copy and Host Framework service from Avira is still running. I’ve been trying to shut it down by task manager, even using Control panel to delete all files from the HDD and registry associated with Avira, but it did nothing. I was considering to go into safe mode to delete the thing altogether.
Is there any other solution besides going into safe mode in which Avira can be deleted from my laptop forever?”
Security for computers is an important thing nowadays, so does uninstall a security software on computers. This page will offer the detailed instruction to safely & completely remove Avira Antivirus 2019 from PC, read it carefully if you need it.
From Avira:
“Surf free and easy with fast, award-winning Avira Free Antivirus protection that works silently in the background to protect you against all types of online threats to your PC, privacy, and irreplaceable files. Just download, install, then sit back and relax… you’re protected free for life.”

Safe way to quickly Uninstall Avira Antivirus 2019
As the matter of fact, there’s a safe way to quickly uninstall Avira Antivirus 2019 on PC, that you won’t need to go to safe mode to remove it manually, but you need to download a third party call Bloatware uninstaller instead.
With Bloatware Uninstaller installed on your system, it will make it easy to remove the installed program you want from Windows system, which has more advantages in using. Some difficult trouble can be solved by it and makes it really easy to remove the unwanted apps in Windows. So you won’t have the problem like at the beginning of the articl. This tool might help user easily uninstall Avira Antivirus 2019 once for good.
Follow the detailed instruction to remove Avira Antivirus 2019:
Step 1. Select the Target
Select Avira Antivirus 2019 (the target) you want to remove on the interface, and then click the button “Run Analysis” to continue.

Note: After time of testing, we found that you must remove Avira Antivirus as the first place, that you can uninstall Avira successfully, too. Or you may not to uninstall Avira, so let’s take our cue.
Step 2. Complete Uninstall
Click on “Complete Uninstall” after all the components are scanned out; Click Next, and follow the prompts to complete the removal until it Finish; select the No to reboot after the removal, and then click on Scan Leftovers to conduct a full scan for the program leftover after it lights up.
Step 3. Delete Leftovers
Click on Delete Leftovers and then Yes in the pop-up confirmation dialog; After all the leftovers have been removed completely, click OK to end the process; Back to Step 1, you will find Avira Antivirus 2019 is gone, as well all the leftovers.
Repeat these steps to remove the related app Avira 2019:
Repeat the seam steps 1, 2 & 3 to uninstall Avira 2019 with Bloatware uninstaller, when finished the step 3, you might find the Avira 2019 is still in the remover list but not on the desktop at all. Try the second time to uninstall Avira 2019 with seam steps 1, 2, 3 then you successfully remove it this time, congratulations!

Watch the video below to learn more details to safely uninstall Avira Antivirus 2019:
Reboot to Safe Mode to Uninstall Avira Antivirus 2019
If you want to uninstall Avira Antivirus 2019 in Safe Mode with manual steps, then follow our detailed instruction to remove, too, you have much to do because this method is quite difficult for most users.
Step 1. Reboot your computer into Safe mode
According to different systems of Windows, we provide different ways to reboot your computer into Safe mode, too. Just follow what you need.
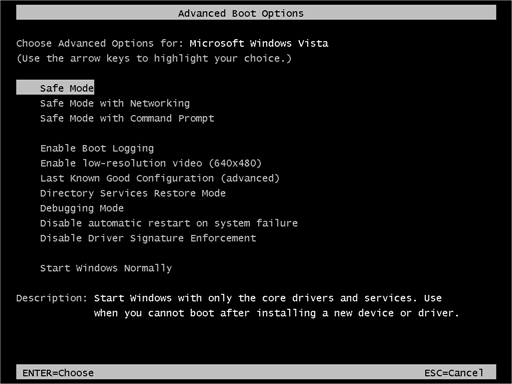
In Windows 7 & Vista:
- Reboot the computer, tap the F8 key as soon as you see the Windows’ logo
 appearing, select the Safe Mood and press Enter key.
In Windows 8/8.1:
- Press the Windows key
 + C, and then click Settings.
 - Click Power, hold down Shift on your keyboard and then click Restart.
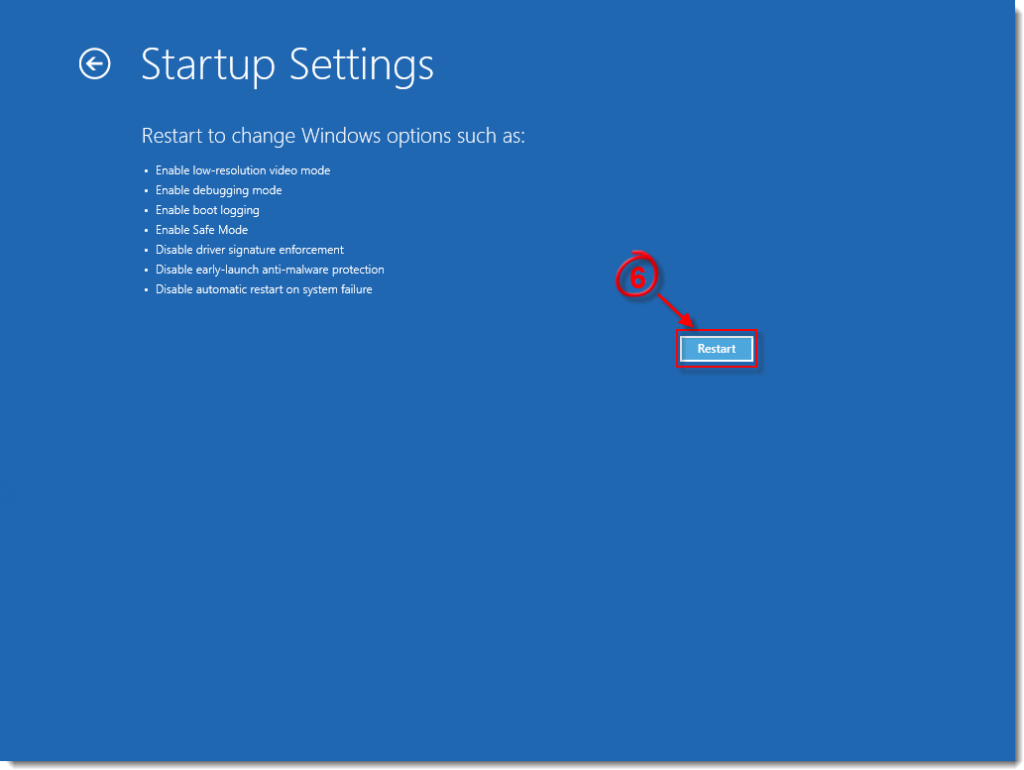
- Click Troubleshoot > Advanced options > Startup Settings > Restart.
- Press 5 on your keyboard to Enable Safe Mode with Networking. Windows will start in Safe Mode with Networking.
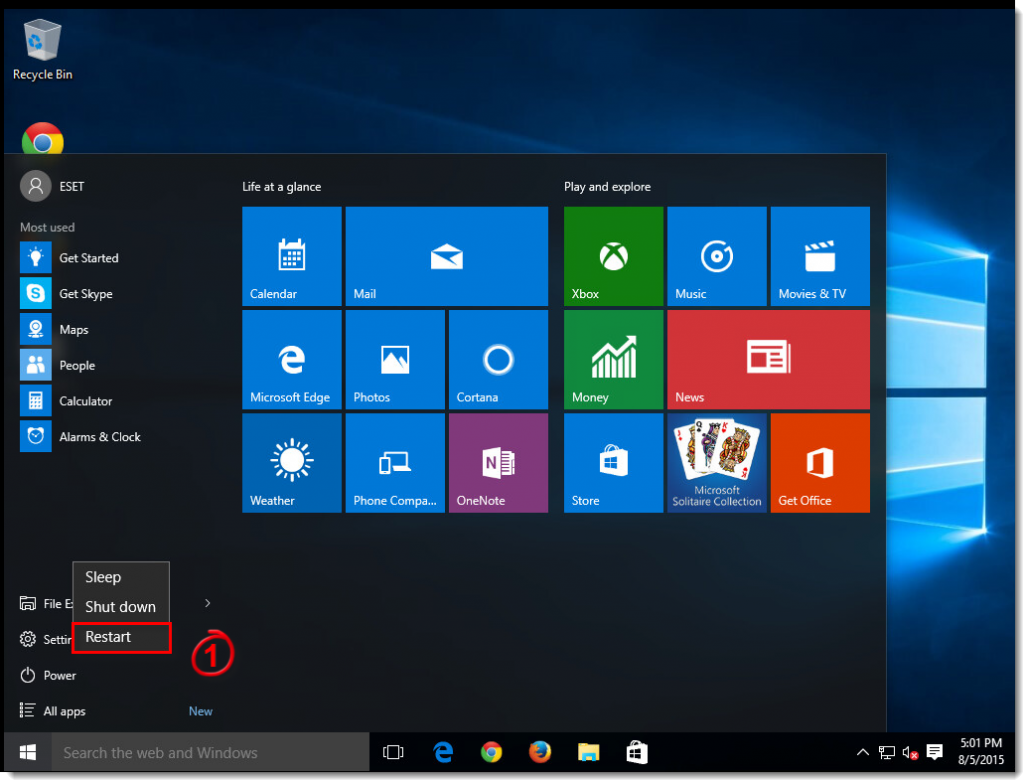
- Click Start
 → Power and then click Restart to return to your normal Windows configuration.
In Windows 10:
- Press Windows logo key Windows key
 + I on your keyboard to open Settings.
 - Select Update & security > Recovery.
- Under Advanced startup, select Restart now.
- After your PC restarts to the Choose an option screen, select Troubleshoot > Advanced options > Startup Settings > Restart.
- After your PC restarts, you’ll see a list of options. Select 4 or F4 to start your PC in Safe Mode.
- Or if you’ll need to use the Internet, select 5 or F5 for Safe Mode with Networking.
Step 2. Log in as administrator
This is required to determine whether you can delete Avira Antivirus 2019 directly or not.
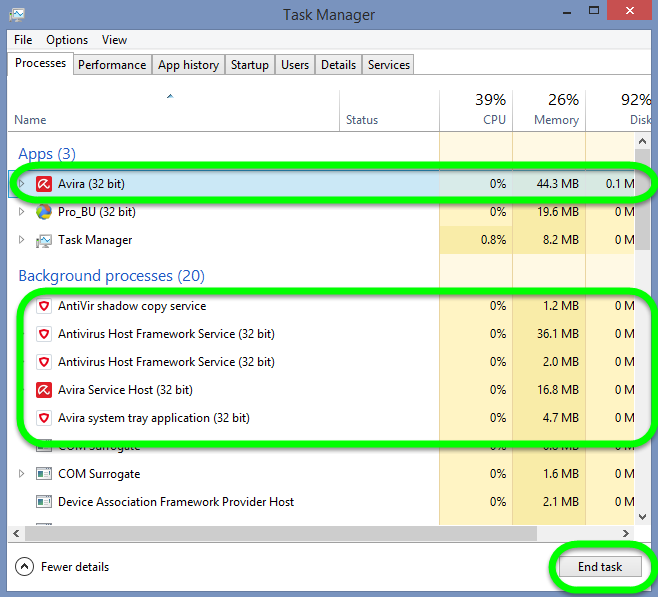
Step 3. End task of Avira Antivirus 2019
- Right click on the Hidden menu in lower right corner to show the hidden icons >> right click on the icon of Avira Antivirus 2019 to choose Exit.
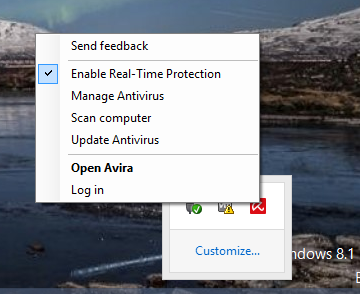
If there is not option to exist, then launch the task manager:
- Hold Ctrl + Shift + Esc keys on the keyboard to open Task Manager. Then click on the related process, and then click End task.
Step 4. Negative Windows uninstaller to remove Avira Antivirus 2019
Also, you need to find & follow the corresponding system steps to uninstall Avira Antivirus 2019, we have listed some exist popular systems below, just follow the steps to remove it.
- In Windows 10, this is done by clicking the Start button > then select Apps and Features;
- In Windows 8 / 8.1, this is done by clicking on Start button > then select Programs and Features;
- In Windows 7 /Vista, this is done by clicking on Start button > then select Control Panel > Uninstall a program link
Then click first the “Avira Antivirus 2019” you wish to uninstall and subsequently Uninstall.

- In Windows 10, click Uninstall, and then click Uninstall tab again
- In Windows 8 / 8.1, Click Uninstall.
- In Windows 7 /Vista, Click Change/Remove tab, or click the Remove button.
Confirm the request of the “User Account Control” with Yes.
Confirm the request of the Avira setup with Yes.
The Avira Setup will take some minutes to uninstall the product.
Confirm the notification to restart your system with Yes.
After the reboot of your PC the Avira Antivirus 2019 is completely removed.
Step 5. Clean up the leftovers of Avira Antivirus 2019
To completely uninstall Avira Antivirus 2019, you have much work to do: to delete all the registry files and attached files on computer.
Delete Registry files:
- Click Start Menu then select Run,
- Type in regedit in the dialog and click OK,
- Type the key word Avira Antivirus on the search box to search the target items;
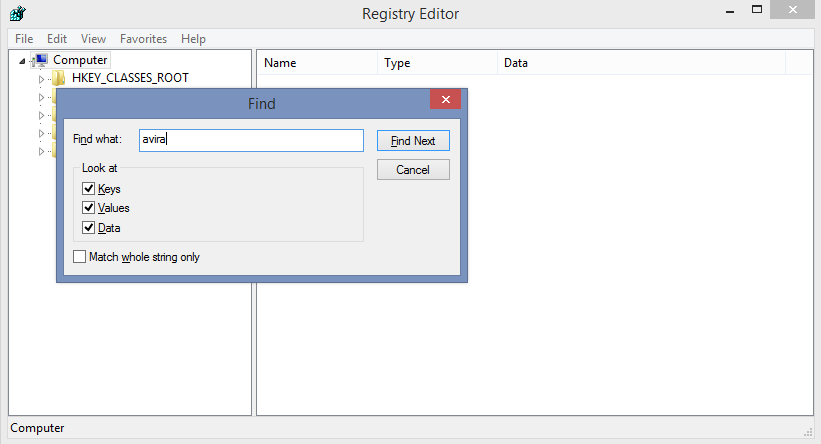
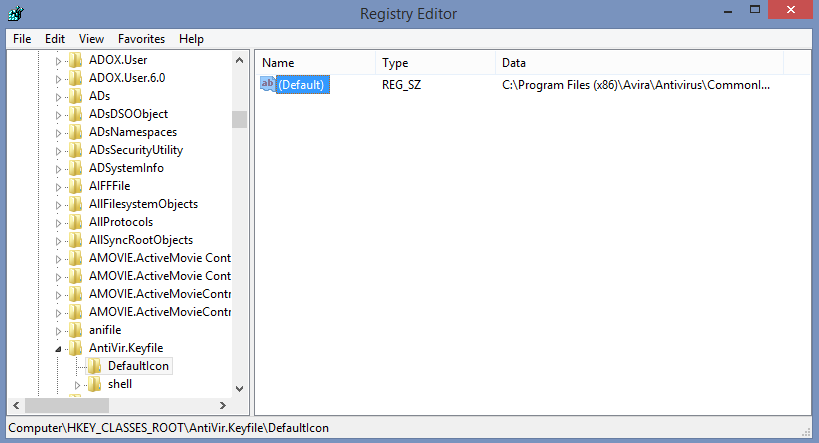
- Once it has showed out, delete it.
- Repeat the seam steps in all folders until you receive the message of “Finishing searching”, then you can finish searching.
Delete leftover files on PC:
- Click on the Start, choose the Control Panel, and double click Folder Options, select “Show Hidden Files and Folders”, then locate the blew folders and delete them directly:
Program files
- Windows 7 / 8: C:\Program Files\
- Windows 10: Desktop\This PC\Local Disc (C:)\Program Files (x86)
Application files
- Windows 7 / 8: C:\ProgramData\
- Windows 10: Desktop\This PC\Local Disc (C:)\ProgramData
- Antivirus Program
- 25 Jan 2019


