How You Can Easily Uninstall Battle.net in Windows
Follow the instructions on this page to completely uninstall Battle.net on your PC. For any part you don’t quite understand, feel free to leave comments at the bottom of the page.
Battle.net is a game platform published by Blizzard. To log on it, you firstly need to sign up for an account. Then you are allowed to download Blizzard’s games on it and add friends, so that you can see their online status.
To uninstall Battle.net effectively without troubles, you can follow the instructions below.

Uninstall Battle.net Using Bloatware Uninstaller
Though you can easily find various removal tools on the Internet, the hard part is which to choose. If you kinda lost your way, take this recommendation – a good general-purpose tool that is available in most versions of Windows and works with types of programs:
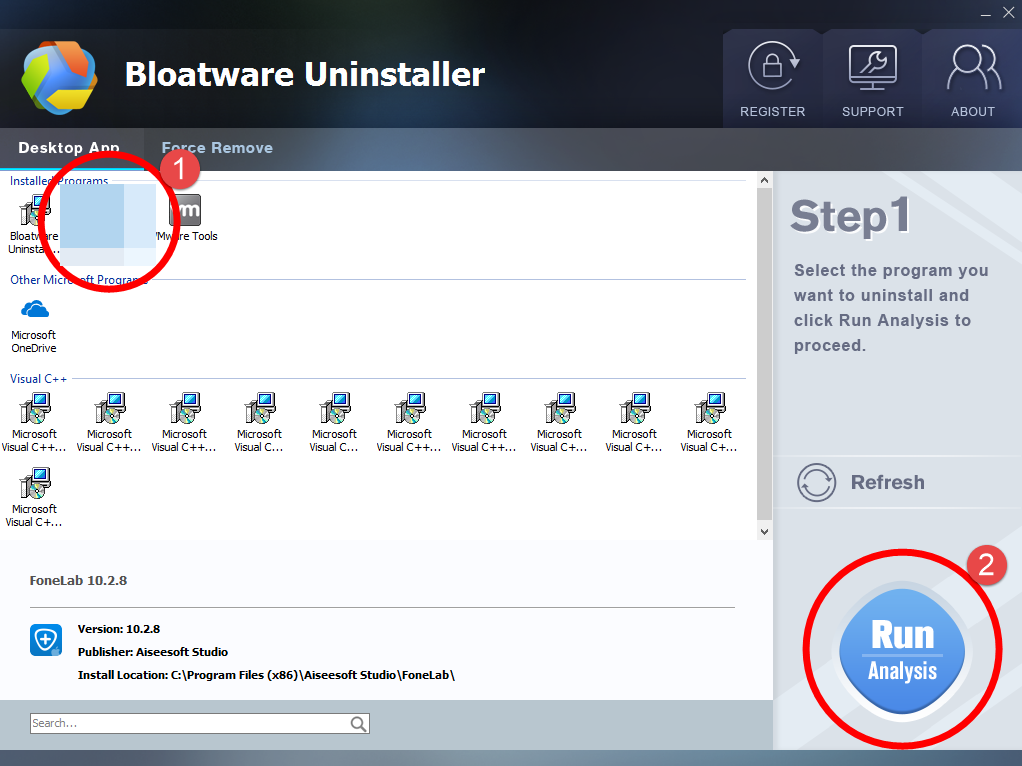
Step 1. Download, install and launch Bloatware Uninstaller from your desktop.
Step 2. Select Battle.net in the list, and click Run Analysis in the lower right corner.
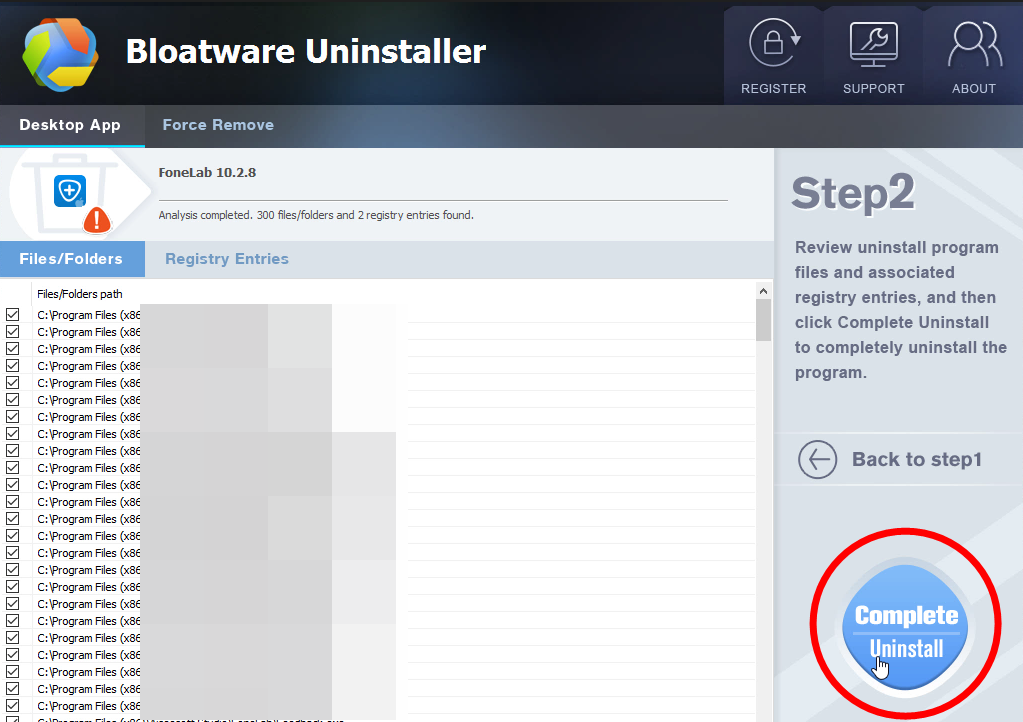
Step 3. Wait for it to finish scanning all the files, and click Complete Uninstall in the lower right corner to delete the files listed.
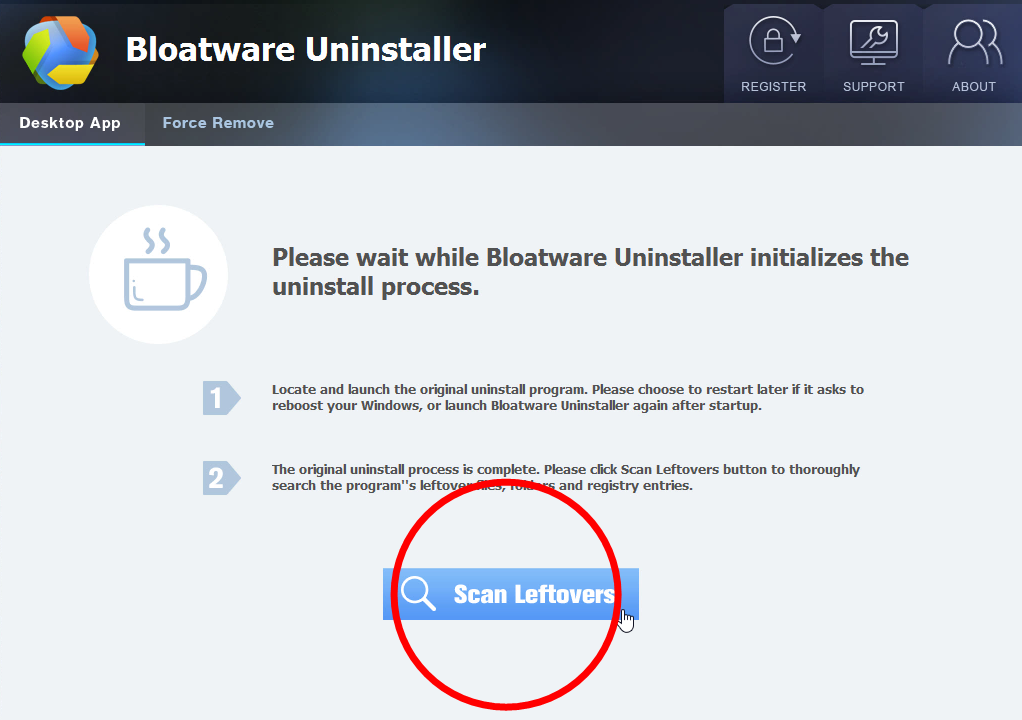
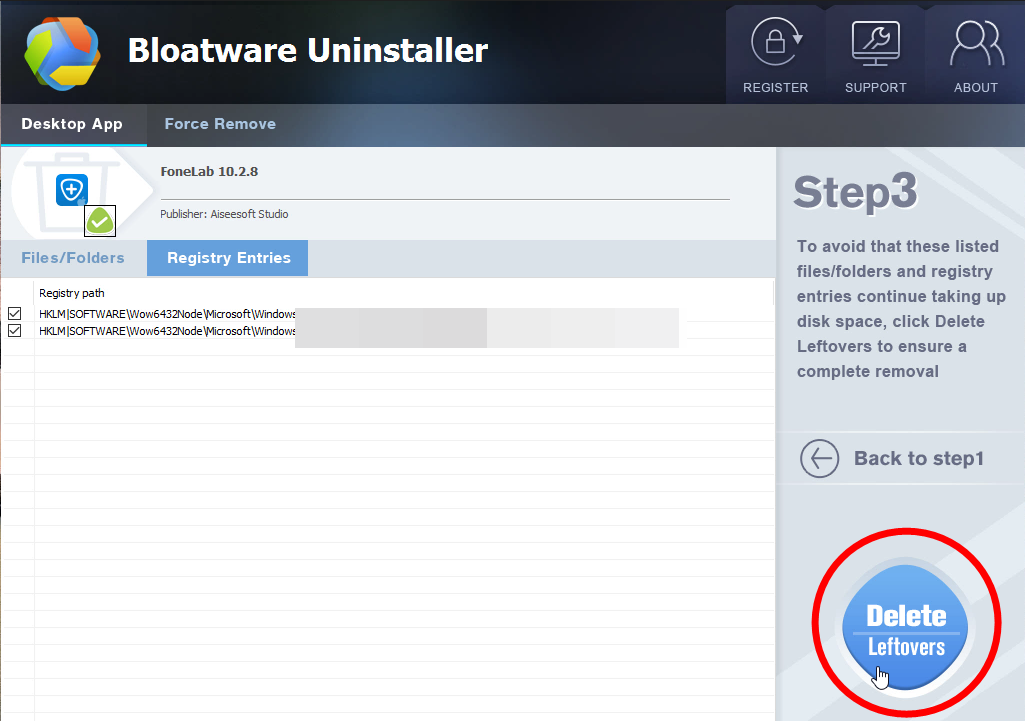
Step 4. Follow the prompts to move on, click Scan Leftovers, and click Delete Leftovers in the lower right corner to delete the leftovers listed.
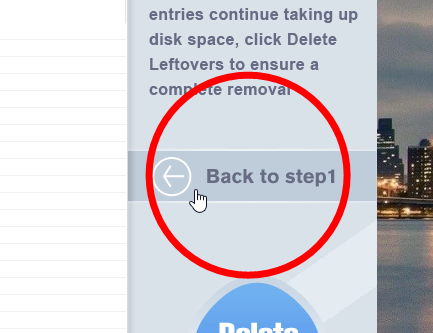
Step 5. Click Back to step1 to check the currently installed programs, see if Battle.net has been removed.
You can perform the same steps to remove other unwanted programs on your computer. I do hope this recommendation can be a better removal solution to you anytime.
How You Can Uninstall Battle.net in Windows
There could be kinds of reasons that you failed to uninstall Battle.net or some other programs in Windows, but I’m not wasting your time on reading the technical failures instead of solutions. If you think the problem comes from Battle.net itself, try to reinstall the program first, so that the missing-file issue would be solved, and the corrupted/damaged pieces would be replaced. Then let’s move on to the specific uninstall tutorials:
Step 1. Shut down the program and each of its processes.
– Go to the System Tray in the bottom-right corner.
– Right-click on the Battle.net icon and select Exit.
– Right-click on the Taskbar and select Task Manager.
– Successively select the Battle.net processes to end.
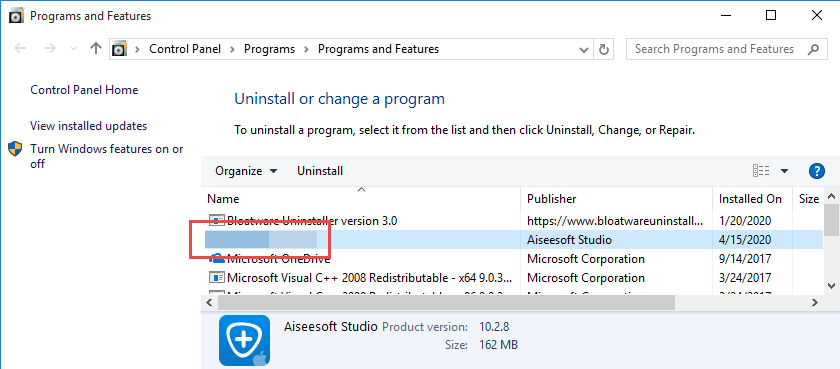
Step 2. Open the list of currently installed programs (Programs and Features).
– Click the Start button.
– Enter “Control Panel” in the search box
(Or right-click the Start button, and select Control Panel).
– Click the Uninstall a program link under Programs.
Step 3. Uninstall Battle.net by activating its built-in uninstaller.
– In the list you will see all the programs you’re having in the system.
– Find and double-click Battle.net to start the removal.
Step 4. Proceed with the removal and provide the confirmation.
– Click the Continue button to proceed.
– Uncheck the items that you don’t want to keep.
– Wait until the uninstall wizard finishes its job.
– Click Yes to restart the computer right away (Or click No to restart it later).
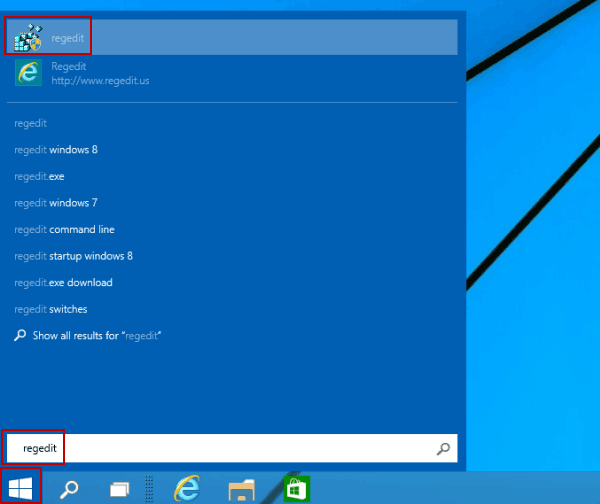
Step 5. Open the Registry Editor.
– You can see there is a Search box on the taskbar on the time if you’re using Windows 10, otherwise click Start to use the Search box there.
– Type “regedit” in the box.
– Select regedit from the results to open the Registry Editor.
Step 6. Find and delete the registry entries (leftovers) of Battle.net.
Note: doing this will remove all the entries related to Foxit’s programs, so first you need to be sure you have performed the above steps to uninstall the bundled programs and there’s no other related software installed.
You can choose to back up the registry in case of any mistaken deletion: On the navigator click File > Export…, type a name and save the copy to a location.
Then, to remove the leftovers:
– Delete this folder: HKEY_CURRENT_USER\Software\Battlenet
Step 7. Reboot your computer to take effect.
If you haven’t restart the computer yet, do it now. Then you can go to the System Tray, Start menu, Programs and Features, etc. to check whether the program has been completely uninstalled.
In the last I shall mention that if you have installed an antivirus software, there’s no need to install another. In fact, more than one antivirus programs may cause conflicts which will seriously slow down your PC. It’s not that hard to keep your system safe, just pay a little more attention when you download/install something, visit a link or open an email, etc.
- How To
- 13 Nov 2020