How to Entirely Uninstall Driver Easy (and Remove Leftovers) on Window
“I downloaded Driver Easy and installed it on my Windows PC, trying to get the updated driver for my graphic card. But it failed to meet my expectation, and now I want to uninstall Driver Easy before trying other driver software. How can I do that correctly?”
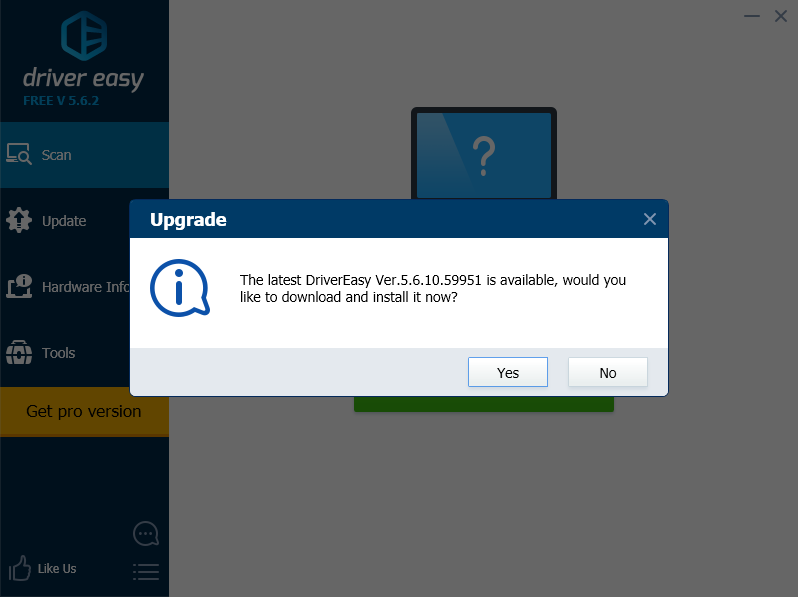
Program info: Driver Easy is an utility software that helps users install proper drivers for their PCs’ internal and external devices. It provides both free and paid versions, while the difference is that the free version only allow you to update drivers one at a time but the paid version allows you to install all needed drivers within one click.

To entirely uninstall Driver Easy from the system requires you to do more than executing the uninstallation in Control Panel. How to deal with Driver Easy files stored in the Windows Registry? What to do if you encounter error mesage during the uninstallation? In this tutorial we will fully discuss the solutions to various issues.
Here are the steps to fully uninstall Driver Easy:
Step 1. Make sure Driver Easy is deactivated
Why to do this step first? If a program is currently running, the uninstallation may fail to complete or some of the program components will not be deleted at all. So, if Driver Easy icon appears in the system tray, right click on it and choose Exit.
Even if it is not there, you’d better open up Task Manager to make an confirmation.
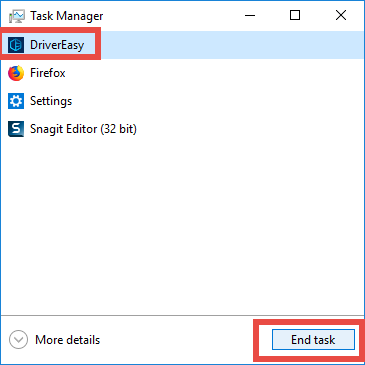
- Right click the taskbar at the button and select Task Manager from the list
- Select the process pertaining to Driver Easy and click End Task to shut it down
Step 2. Uninstall Driver Easy via Start menu
Note that different system version will require you to take different operating steps.
- Windows 7
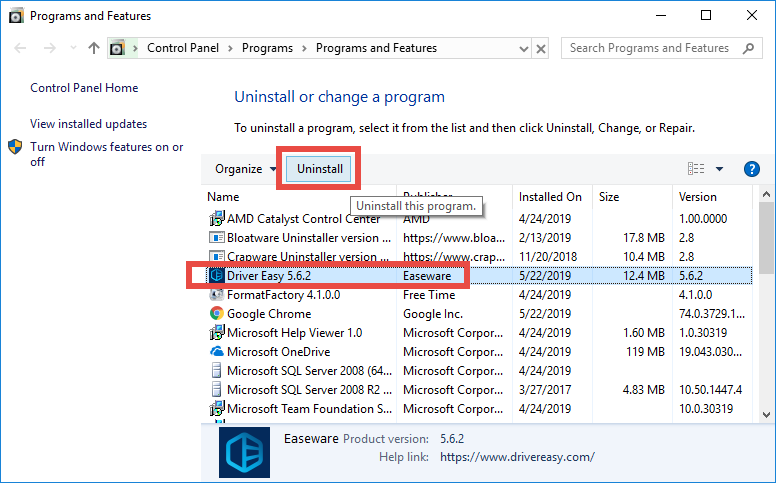
– Click Start and choose Control Panel > Programs and Features
– Select Driver Easy icon in the panel and click Uninstall button above
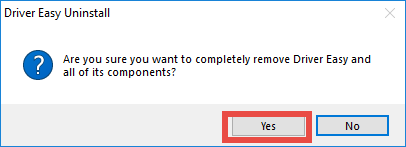
– Click Yes button in the pop-up window to confirm the uninstallation
- Windows 8
– Right click Start menu and click Programs and Features option
– Highlight Driver Easy in the list and click Uninstall button above
– Click Yes button in the pop-up window to confirm the uninstallation
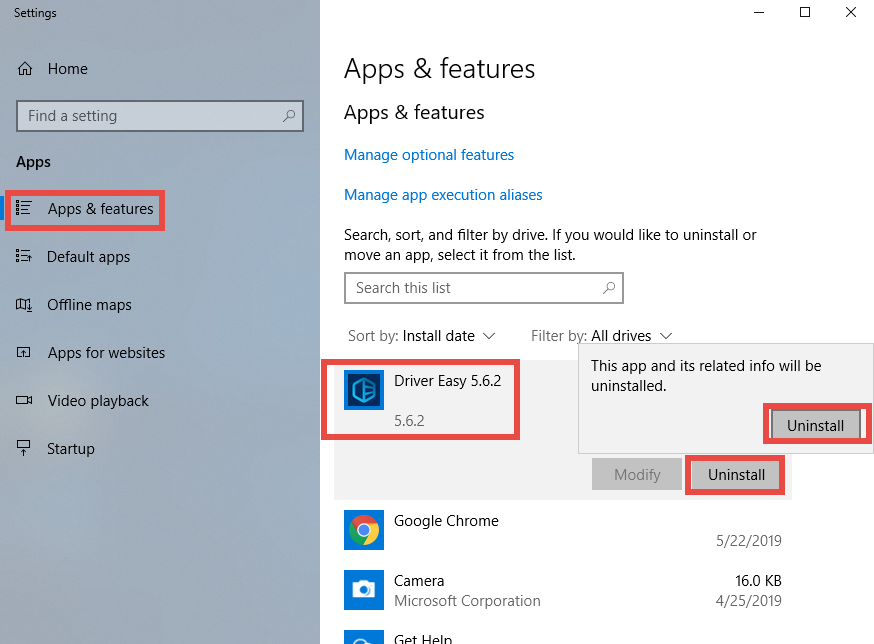
- Windows 10
– Right click on Start icon and choose Apps & Features
– Click Driver Easy in the right pane, and select Uninstall button twice
– Click Yes in the User Account Control window to confirm the uninstallation
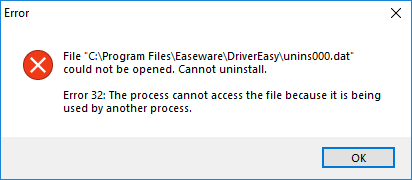
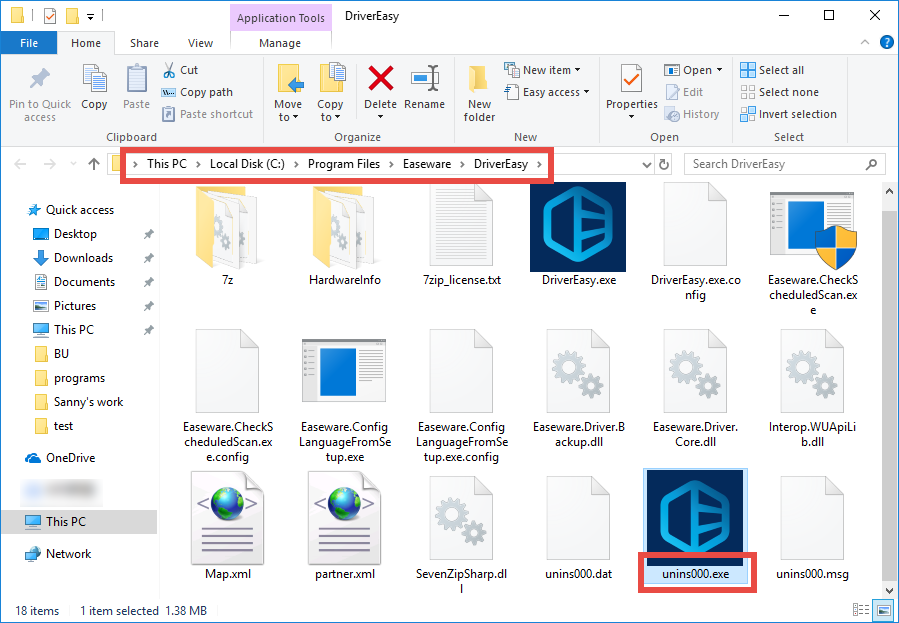
Question: What to do if Driver Easy doesn’t appear in the list of installed apps or there is no response when you click Uninstall option? That could occur after you have removed Driver Easy improperly, or when Driver Easy are damaged/corrupted.
In that case, you can try to launch Driver Easy’s built-in uninstaller. Once you access to the installation folder ( by default located in This PC > C: > Program Files > Easeware), you should be able to find a file named Uninst000.exe in it. Double click to open the file, click Yes in UAC, and the Driver Easy Uninstall wizard will show up.
Step 3. Delete Driver Easy entries in Registry
Here is the universal process to detect program remnants in the hidden Registry:
- Click the Search icon on the bottom left corner of the screen, and type “regedit”
- Click the Regedit in the best match result to launch Registry Editor
- Click Yes if you are prompted to give confirmation in UAC dialog
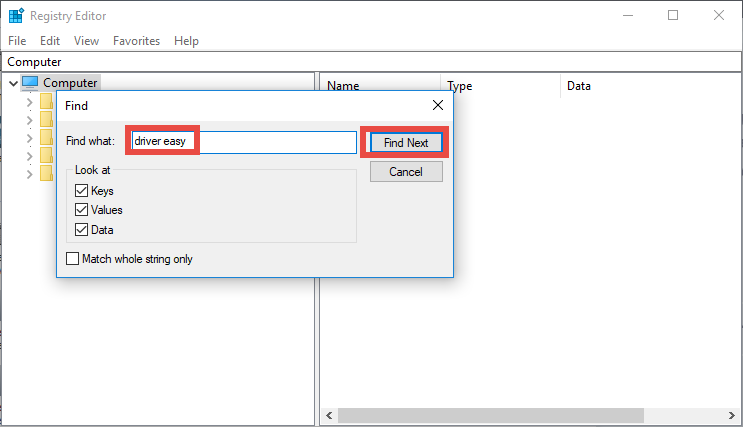
- Press Control + F together to open the Find window
- Type Driver Easy (or Easeware) in the Find What box, and click Find Next
- When the result is highlighted, right click on it and choose Delete option
- Hit F3 key to continue searching for associated files in the Registry
Note that any modification should be done after you make a backup of the whole Registry. Otherwise, if you delete unrelated entry, you will not be able to restore it.
Wait…why not try to uninstall Driver Easy by this way?
Now watch the video clip to know how you can uninstall Driver Easy effortlessly:
By utilizing the tool named Bloatware Uninstaller, you only need to do the followings:
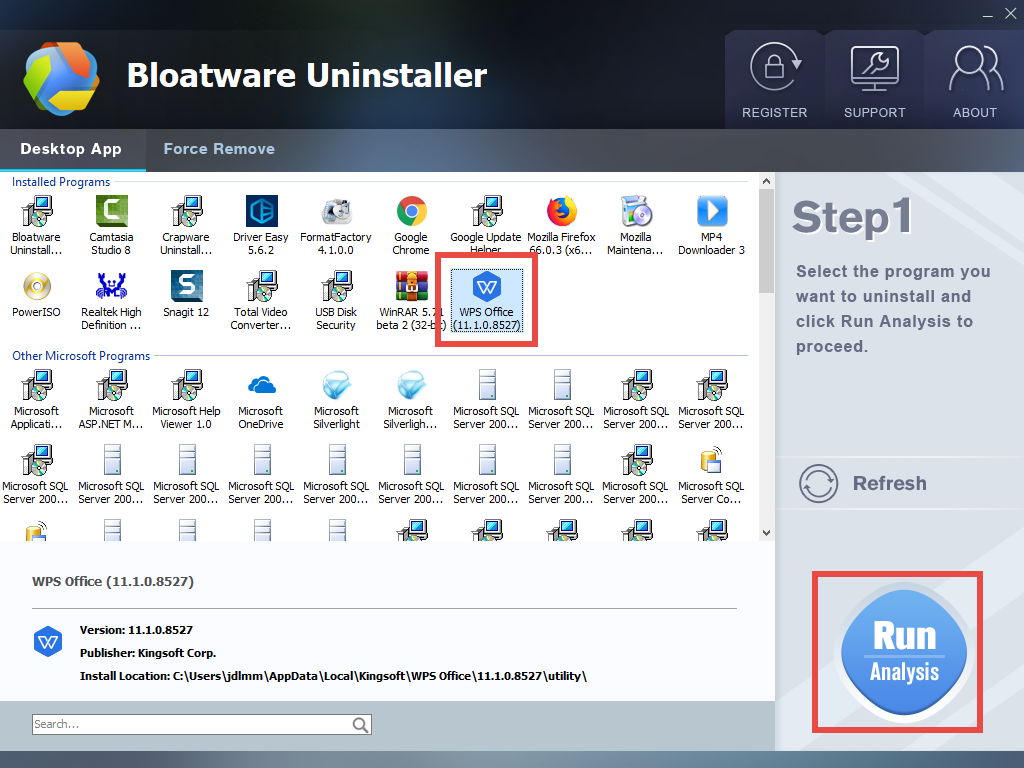
- Launch Bloatware Uninstaller, and click Yes in User Account Control window
- Choose Driver Easy and then click Run Analysis button to start scanning
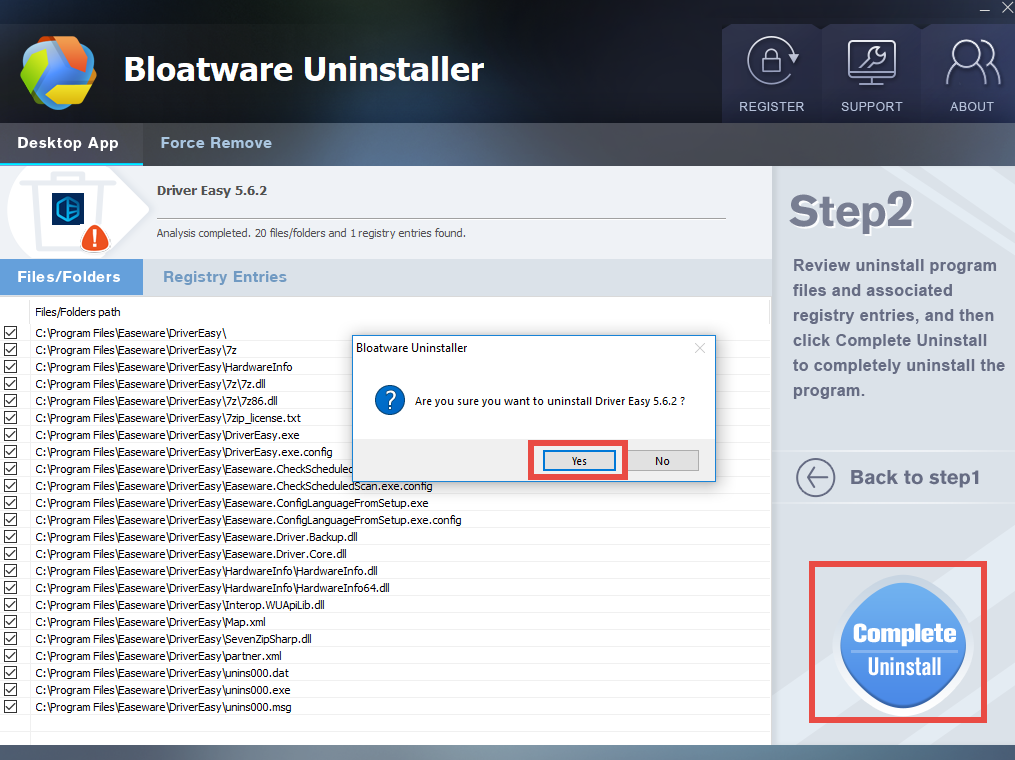
- Click Complete Uninstall, and then click Yes to confirm the uninstallation
- Follow the Driver Easy Uninstall wizard that pops up to complete the process
- Click Scan Leftovers button after the standard uninstall is complete
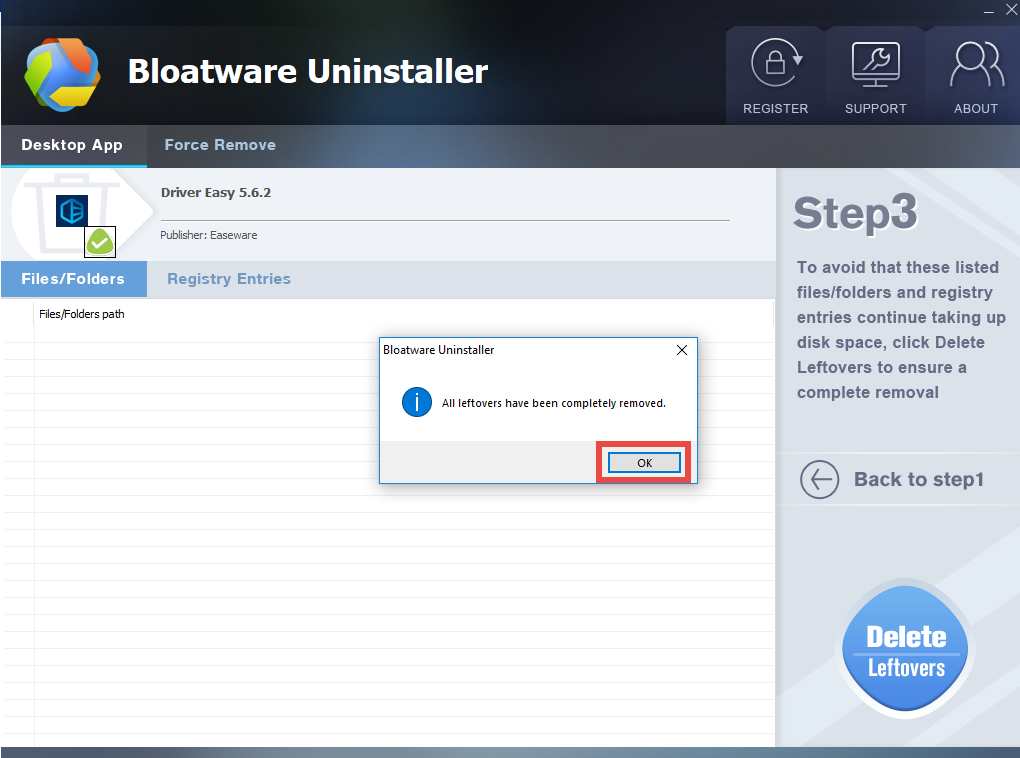
- Click Delete Leftovers and choose Yes in the pop-up dialog to delete all leftovers
- Click OK after the deletion is complete, and then close Crapware Uninstaller
By now you have fully removed all files and folders pertaining to Driver Easy from your system, including in the Registry. Compared with the first method (manually removing all Driver Easy components), running Crapware Uninstaller is more streamlined and hassle-free. A tool like that is strongly recommended to those who have problems in program removal tasks and those who want to make things simpler!
- Utilities & Operating Systems
- 24 May 2019