Windows Tutorial: Easily Uninstall Lenovo FusionEngine from PC
Lenovo FusionEngine is an uncommon program found on Windows PCs. It is published by Lenovo, Inc.. Parts of people have trouble to uninstall Lenovo FusionEngine from Windows PC, so this page is mainly about removal guides to completely remove Lenovo FusionEngine, if you are interested how to do it safely & quickly, then keep on reading.

How to Uninstall Lenovo FusionEngine from Control Panel /Setting
To remove Lenovo FusionEngine from your Computer, use the windows Program and Feature feature, which negative in the Window’s Control Panel /Setting.
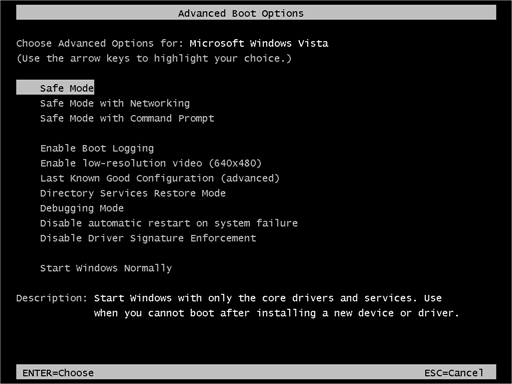
1. Reboot your computer into Safe mode
In Windows 7:
- Reboot the computer, tap the F8 key as soon as you see the Windows’ logo
 appearing, select the Safe Mood and press Enter key.
In Windows 8/8.1:
- Press the Windows key + C, and then click Settings.
- Click Power, hold down Shift on your keyboard and then click Restart.
- Click Troubleshoot > Advanced options > Startup Settings > Restart.
- Press 5 on your keyboard to Enable Safe Mode with Networking. Windows will start in Safe Mode with Networking.
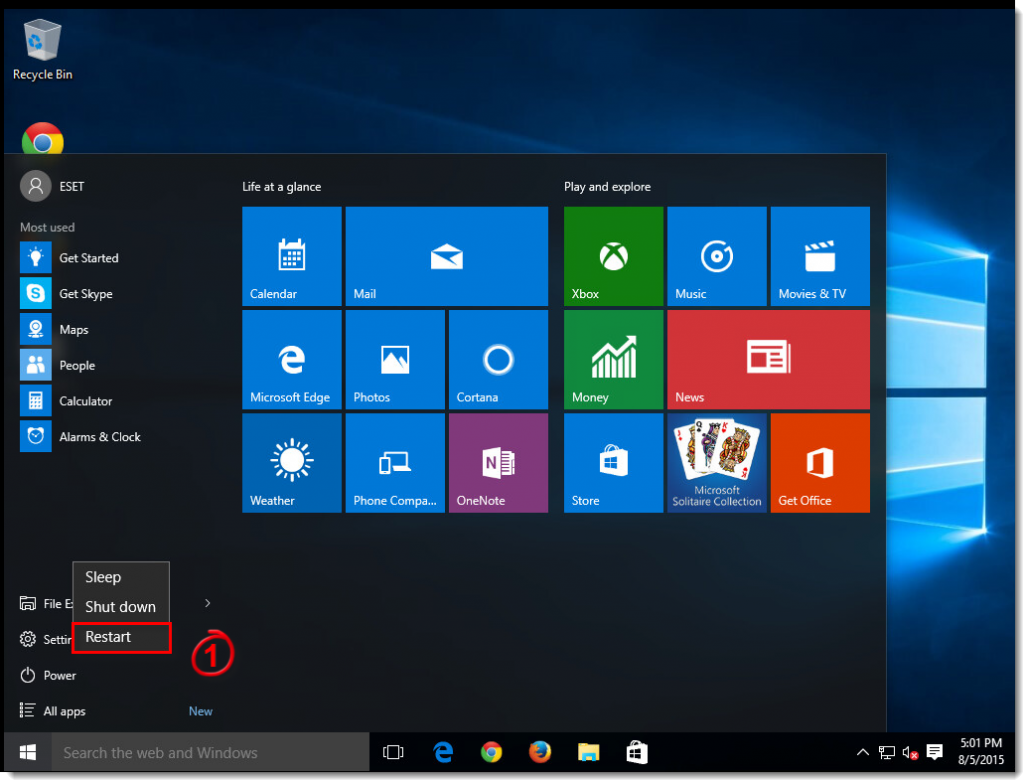
- Click Start
 → Power and then click Restart to return to your normal Windows configuration.
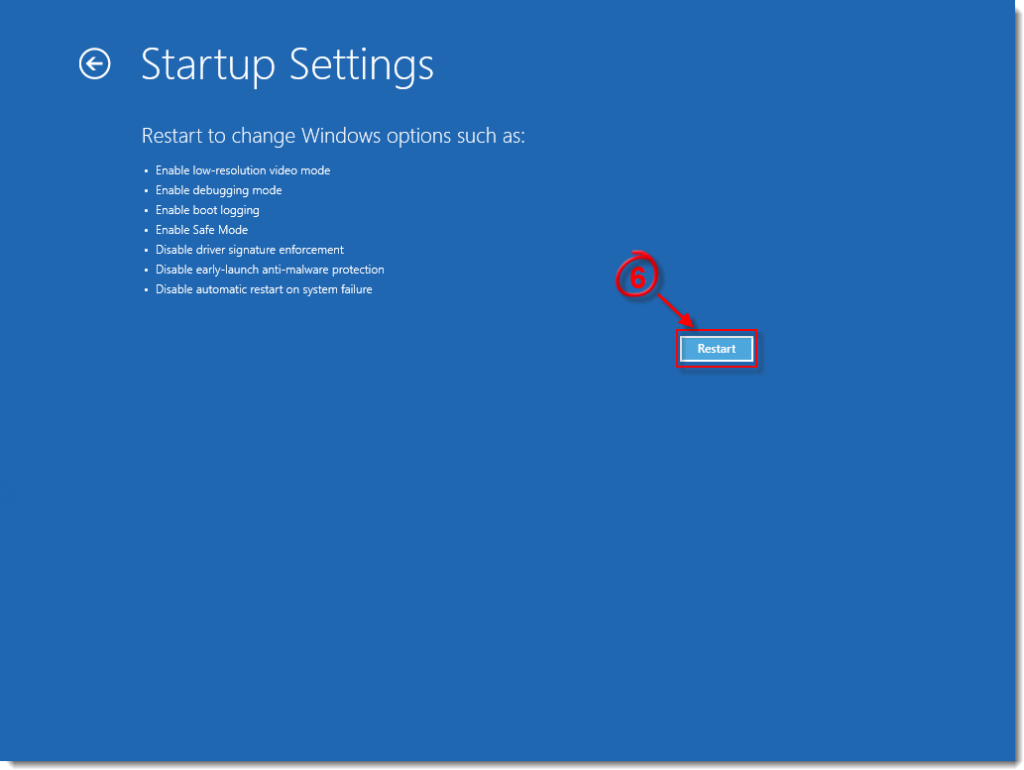
In Windows 10:
- Press Windows logo key Windows key + I on your keyboard to open Settings.
- Select Update & security > Recovery.
- Under Advanced startup, select Restart now.
- After your PC restarts to the Choose an option screen, select Troubleshoot > Advanced options > Startup Settings > Restart.
- After your PC restarts, you’ll see a list of options. Select 4 or F4 to start your PC in Safe Mode.
- Or if you’ll need to use the Internet, select 5 or F5 for Safe Mode with Networking.
2. Log in as administrator.
3. End task of Lenovo FusionEngine
- Right click on the Hidden menu in lower right corner to show the hidden icons >> right click on the icon of Lenovo FusionEngine to choose Exit.
- Or hold Ctrl + Shift + Esc keys on the keyboard to open Task Manager. Then click on the related process, and then click End task.
4. Negative Program and Feature
First, open the start menu to find Control Panel /Setting and then negative Program and Feature, follow these steps in different systems:
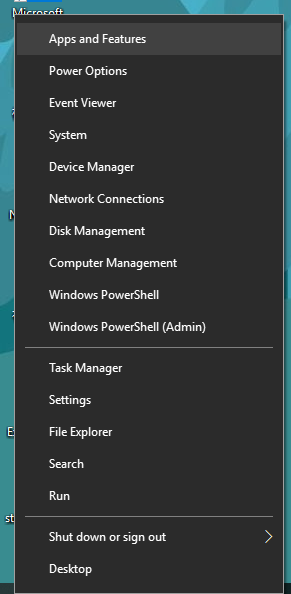
- In Windows 10, this is done by clicking the Start button > then select Apps and Features;
- In Windows 8 / 8.1, this is done by clicking on Start button > then select Programs and Features;
- In Windows 7 /Vista, this is done by clicking on Start button > then select Control Panel → Uninstall a program link

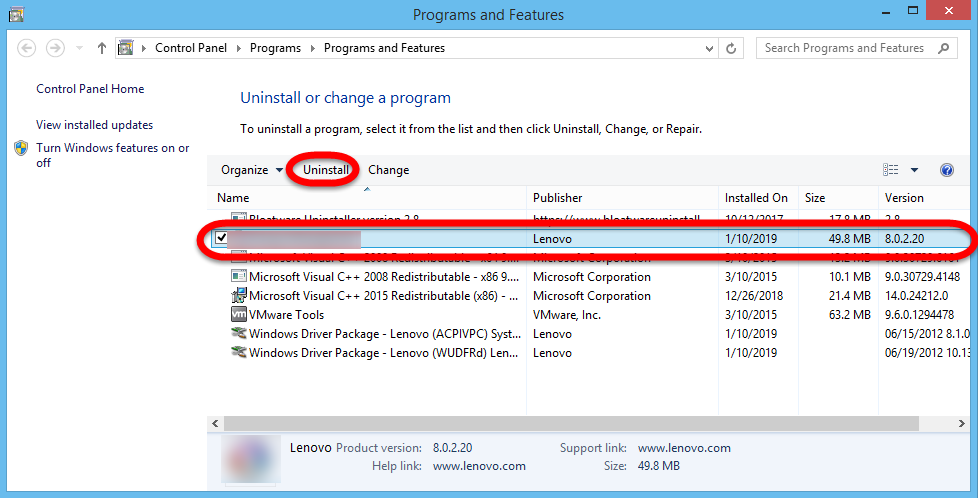
Next, find the program Lenovo FusionEngine and click on it.
- In Windows 10, click Uninstall, and then click Uninstall tab again
- In Windows 8 / 8.1, Click Uninstall.
- In Windows 7 /Vista, Click Change/Remove tab, or click the Remove button.
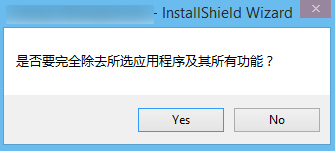
Follow the final uninstallation steps to complete the uninstall.
Restart your computer.
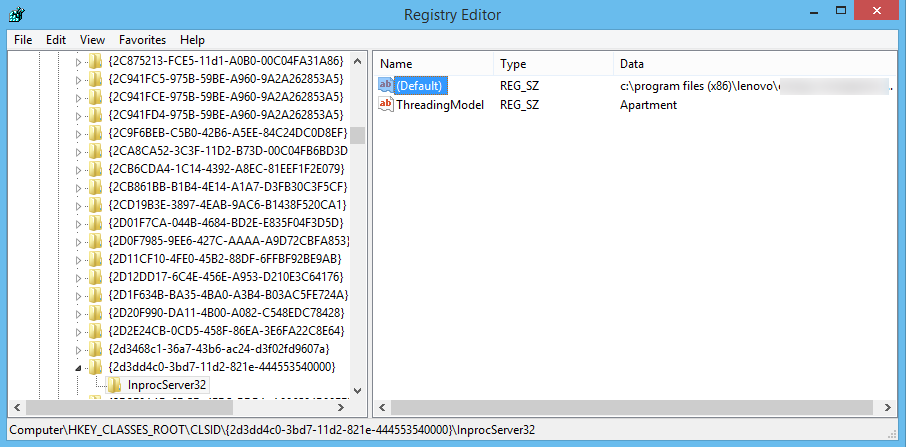
This step is only deleting the icon of Lenovo FusionEngine, and you still need to clean up the leftovers manually. The application leaves leftovers on the PC, Some of these are listed below.
Registry keys:
HKEY_LOCAL_MACHINE\Software\Microsoft\Windows\CurrentVersion\Uninstall\Lenovo FusionEngine
5. Delete Leftovers of Lenovo FusionEngine
So the next step is about to go to the Registry Editor to delete them, follow these steps:
- Click Start Menu then select Run,
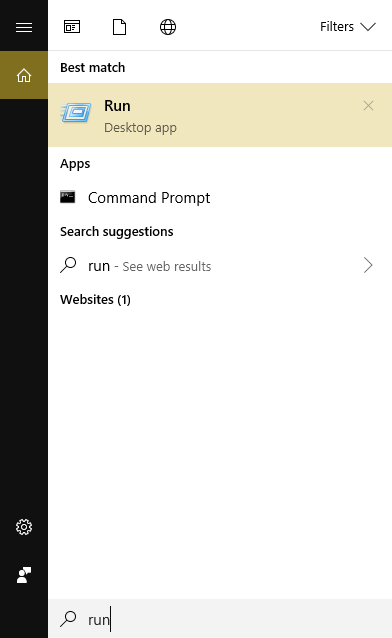
- Type in regedit in the dialog and click OK,
- Type the key word Lenovo FusionEngine on the search box to search the target items;
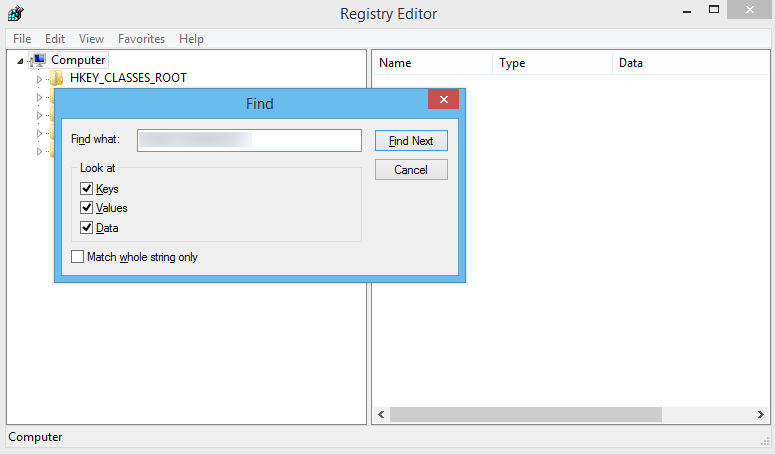
- Once it has showed out, delete it.
Delete leftover files on PC:
- Click on the Start, choose the Control Panel, and double click Folder Options, select “Show Hidden Files and Folders”, then locate the blew folders and delete them directly.
Why it fail to uninstall Lenovo FusionEngine by manual?
Sometimes people found it difficult to clean up registry files of Lenovo FusionEngine, so they are everywhere when open the computer; sometimes users just can’t find the target Lenovo FusionEngine in the list of Program and Feature, not to say successfully get rid of it.
So, there comes a question: how can people uninstall Lenovo FusionEngine, when Control Panel /Setting are not working? How can people easily get rid of all of the leftovers of Lenovo FusionEngine from computer?
Easily Uninstall Lenovo FusionEngine from Bloatware uninstaller
Don’t worry, we provide a better solution for you: to completely uninstall Lenovo FusionEngine from Bloatware uninstaller, which easily get rid of any unwanted programs in Windows XP/Windows Vista/Windows 7/Windows 8.1/Windows 10 (32bit&64bit).
Bloatware Uninstaller makes it easy to remove the installed program you want from Windows system, which has more advantages in using. Some difficult trouble can be solved by it and makes it really easy to remove the unwanted apps in Windows.
Try it now:
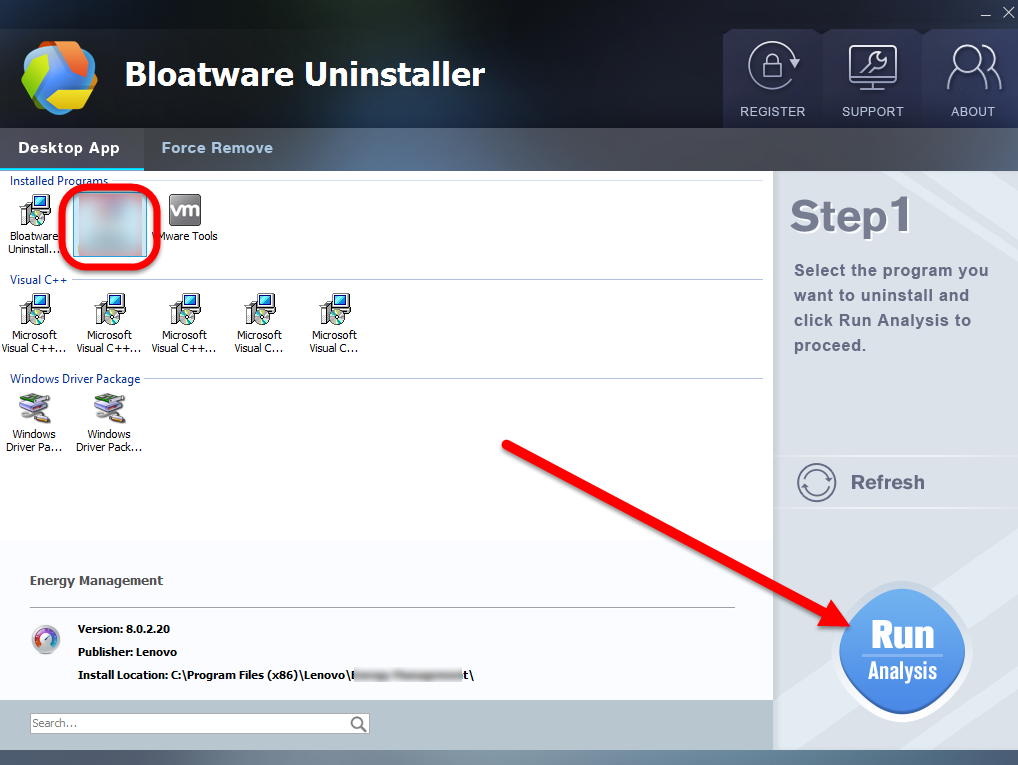
Step 1. Select the Target
Select Lenovo FusionEngine (the target) you want to remove on the interface, and then click the button “Run Analysis” to continue.
Step 2. Complete Uninstall
Click on “Complete Uninstall” after all the components are scanned out; Click Next, and follow the prompts to complete the removal until it Finish; select the second option to choose reboot right after the removal, and then click on Scan Leftovers to conduct a full scan for the program leftover after it lights up.
Step 3. Delete Leftovers
Click on Delete Leftovers and then Yes in the pop-up confirmation dialog; After all the leftovers have been removed completely, click OK to end the process; Back to Step 1, you will find Lenovo FusionEngine is gone, as well all the leftovers
- Lenovo Software
- 17 Jan 2019