How to Uninstall PhotoScape on PC
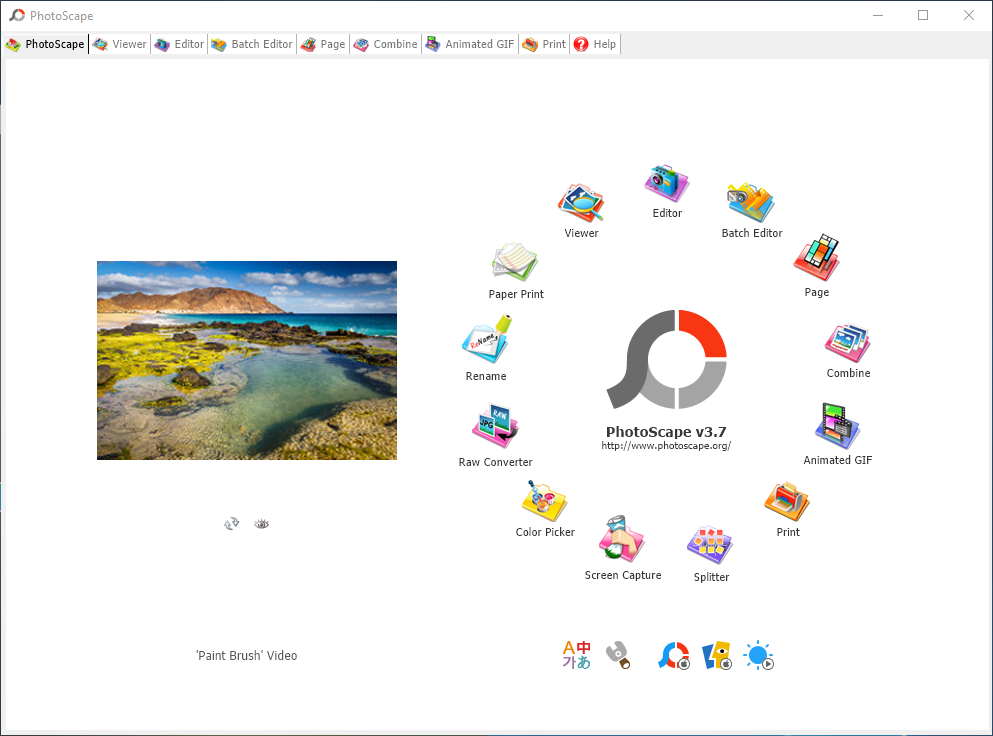
“After installing several photo editors and making a comparison, I decide to keep one and remove others from my PC. But I am not sure if I could properly uninstall those unneeded programs. So, my question is:how to uninstall PhotoScape on Windows?”
Looking for a way to uninstall PhotoScape without leaving any trace? How to troubleshot the issues you encounter when trying to uninstall PhotoScape? In this post we will share two different ways to totally remove PhotoScape. Read on please.
Method 1: uninstall PhotoScape & remove leftovers
Depending on the Windows version running on your PC, you may take different steps to uninstall PhotoScape via Windows’ built-in Programs(Apps) & Features applet:
- Windows 10
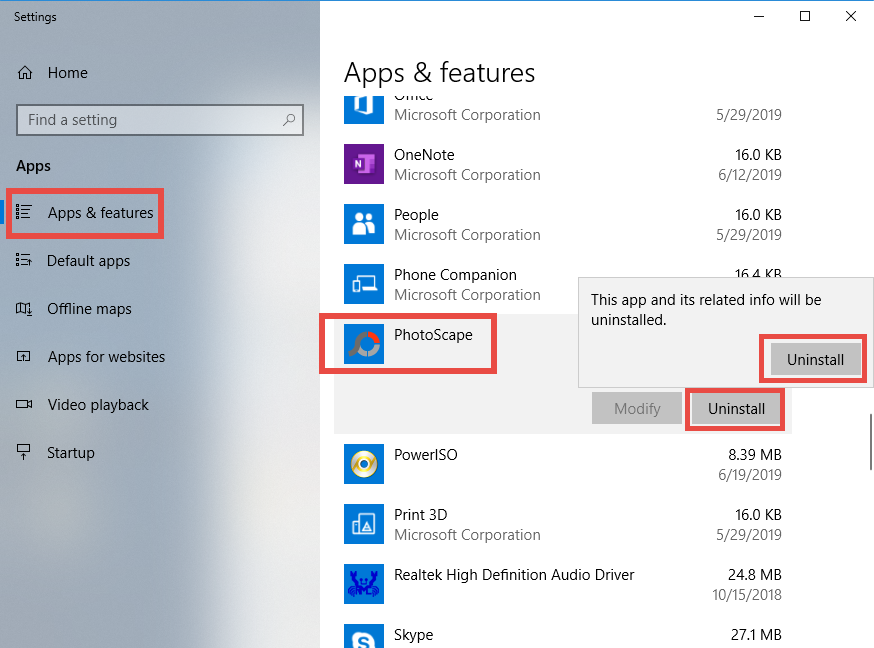
– Right click on the Start icon and choose Apps & Features
– Click PhotoScape in the right pane, and select Uninstall button twice
– Click Yes in the User Account Control window to allow the launch of uninstaller
- Windows 8
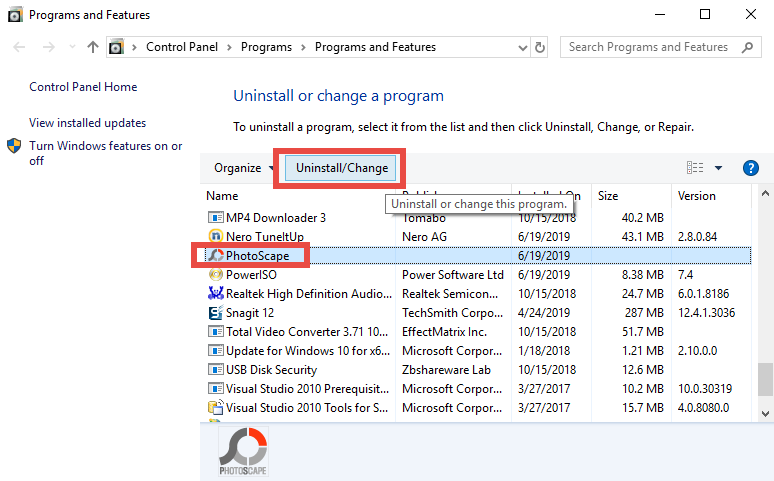
– Right click Start menu and click Programs and Features option
– Highlight PhotoScape in the list of installed programs and click Uninstall button
– Click Yes button in the pop-up window to confirm the uninstallation
- Windows 7
– Click Start and choose Control Panel > Programs and Features
– Select PhotoScape icon in the panel and click Uninstall button above
– Click Yes button in the pop-up window to confirm the uninstallation
As the PhotoScape Uninstall wizard show up, click Uninstall button to start the removal. When the uninstallation completes, click Close button, and reboot your PC.
Having problems when performing the uninstall steps above? Here are some tricks:
Tip 1. shut down PhotoScape if it is active
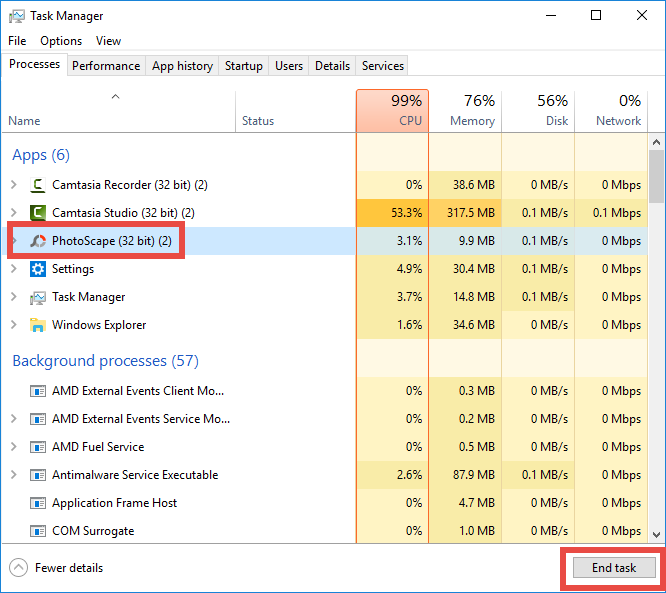
When a program is currently running, the uninstallation may fail to complete or some of the program components will not be deleted at all. How to truly shut down a program? If PhotoScape icon appears in the system tray, right click on it and choose Exit. If PhotoScape does not show up there, open Task Manager to check again:
- Right click the taskbar at the button and select Task Manager from the list
- Select the process pertaining to PhotoScape and click End Task to shut it down
Tip 2: reinstall PhotoScape if uninstall fails
What to do if PhotoScape doesn’t appear in the list of installed apps? Why there is no response when you click Uninstall option? Those situations could occur after you have removed PhotoScape improperly, or when PhotoScape are damaged/corrupted.
To fix this issue, you can try to reinstall PhotoScape to cover the damaged files, and when PhotoScape is installed properly, you should be able to uninstall it normally.
Tip 2: delete PhotoScape entries in registry
What to do after you have uninstalled PhotoScape? It is time to clean up its leftovers. You can go ahead to detect the program-associated items in the hidden Registry:
- Click the Search icon on the bottom left corner of the screen, and type “regedit”
- Click the Regedit in the best match result to launch Registry Editor
- Click Yes if you are prompted to give confirmation in UAC dialog
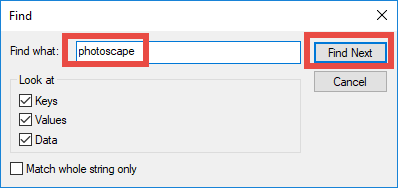
- Press Control + F together to open the Find window (or click Edit > Find on the top)
- Type PhotoScape in the Find What box, and click Find Next
- When the result is highlighted, right click on it and choose Delete option
- Hit F3 key to continue searching for associated files in the Registry
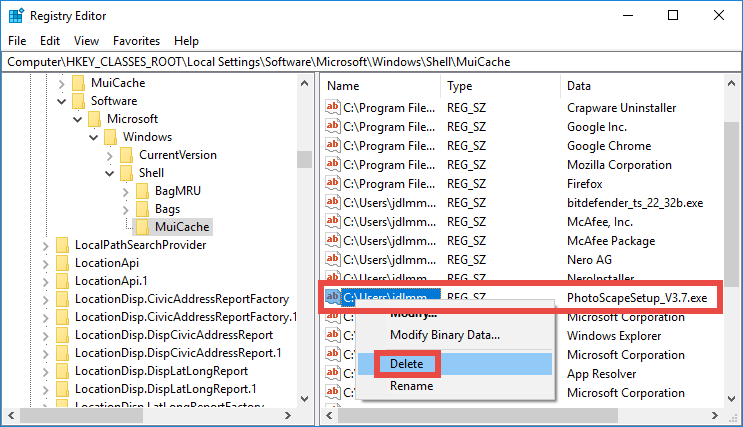
Note that any modification should be done after you make a backup of the whole Registry. Otherwise, if you delete unrelated entry, you will not be able to restore it.
Method 2: completely uninstall PhotoScape with ease
Wondering how to achieve a complete uninstall without pain? Here we recommend using a tool named Bloatware Uninstaller. It is a paid software that helps users to get rid of programs on Windows. You can click the button here to install it on your PC.
Now watch the video clip to know how you can uninstall PhotoScape effortlessly:
Here are the three simple stages you will go through if using Bloatware Uninstaller:
> make sure to shut down PhotoScape, and launch Bloatware Uninstaller on your PC
> select PhotoScape in the list of installed programs and click Run Analysis button
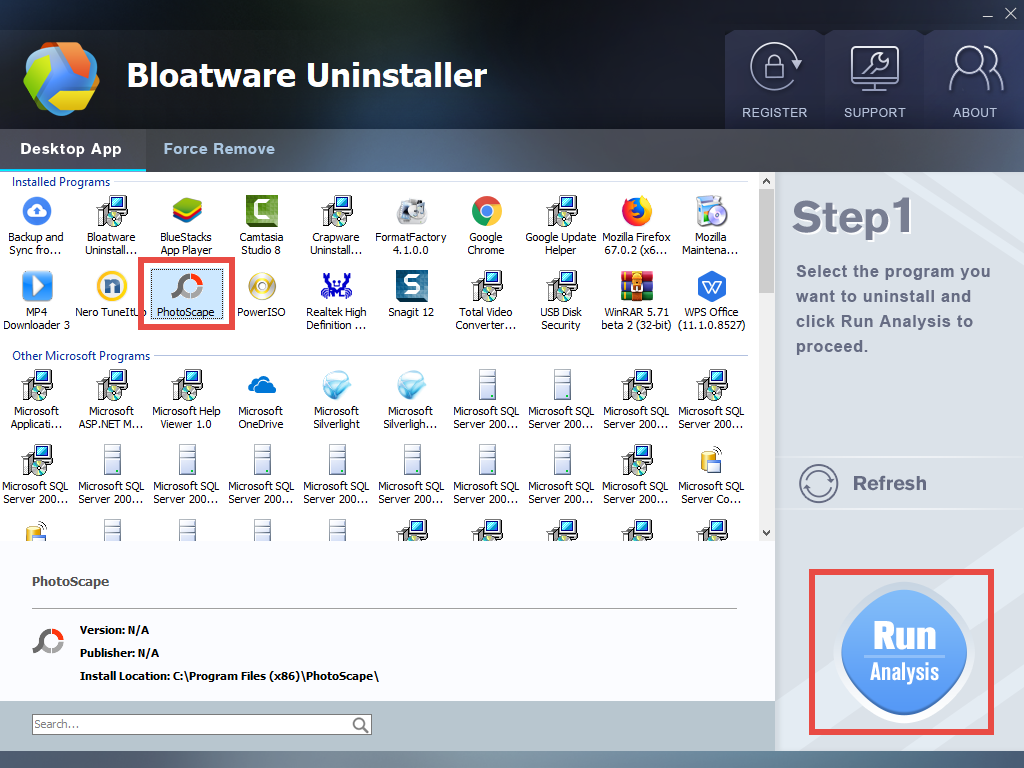
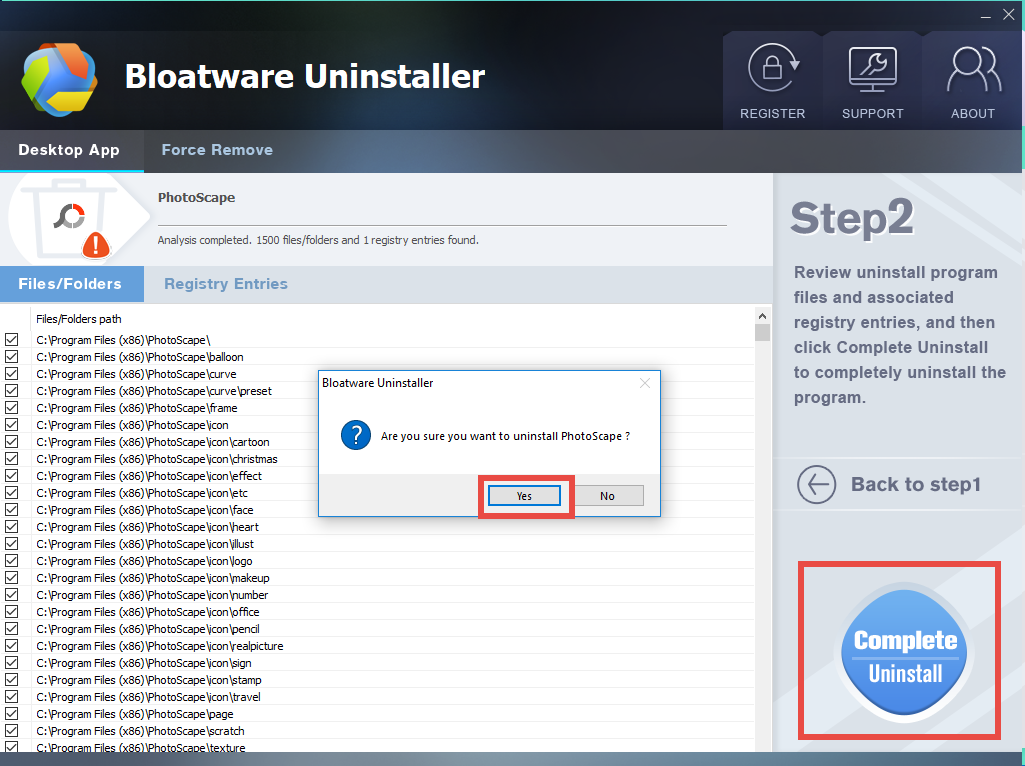
> review PhotoScape components, and click Complete Uninstall to start the uninstall
> follow prompts to complete the uninstall, and then click Scan Leftovers to proceed
> Click Delete Leftovers button, and then click Yes in the pop-up dialogue box
> click Yes when prompted that all PhotoScape leftovers are completely removed
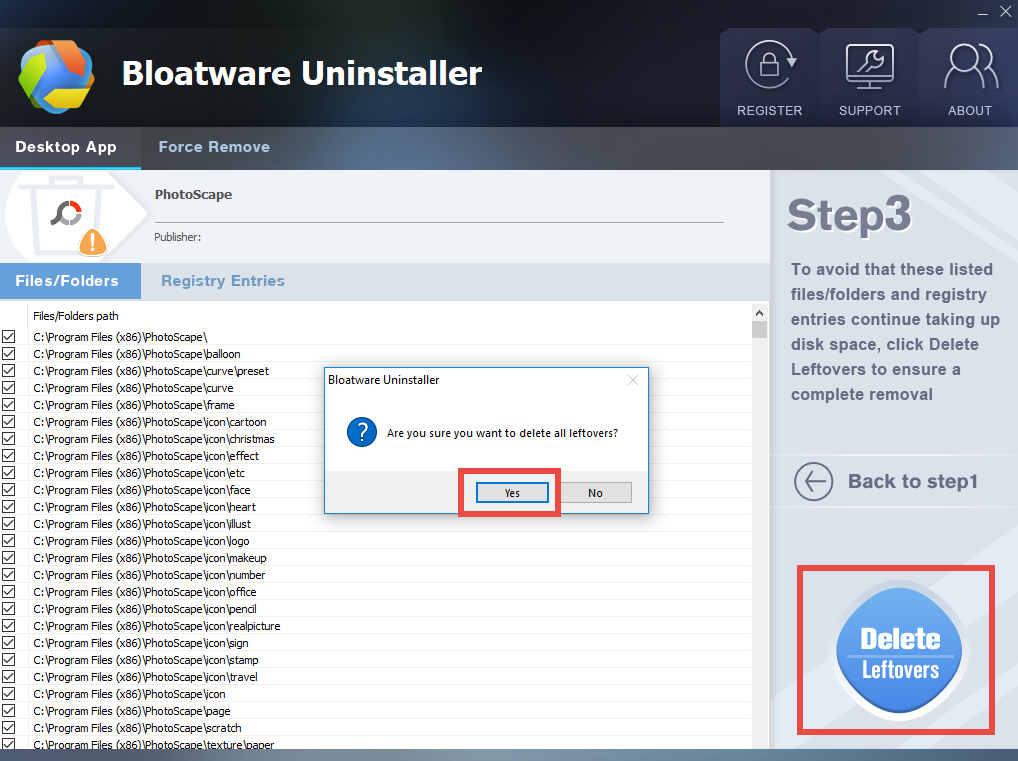
After that, click Back to Step 1 to re-scan the installed programs on the system, and PhotoScape should disappear from the interface. So, just close Bloatware Uninstaller.
Thank you for reading this post. Have you learn the tricks to uninstall PhotoScape?
- Graphic Design Software
- 27 Jun 2019


