How to Uninstall RocketDock in Windows? – Effective Guide
If you need specific guides to uninstall RocketDock, we have them right under each subtitle in the following content.

RocketDock is a drag-and-drop dock for Windows operating system, aiming at providing a visually pleasing and highly customizable interface that allows the user to easily access the frequently used apps.
If you’re looking for instructions to uninstall this program along with the bundled programs, you have just come to the right page. There is more than one solution to uninstall RocketDock on Windows PC, just browse the whole page for the information you need. If there is anything you want to share with us, leave comments at the bottom of this page.

Method 1: Uninstall RocketDock with A Trustworthy Tool
If you found Method 1 is a bit tedious to go through, you might as well try this convenient, small-sized tool that applies to all the popular Windows versions. Within clicks you can easily uninstall RocketDock and other unwanted programs found. Click the blue download button on the page to try it out, and steps are as follows:
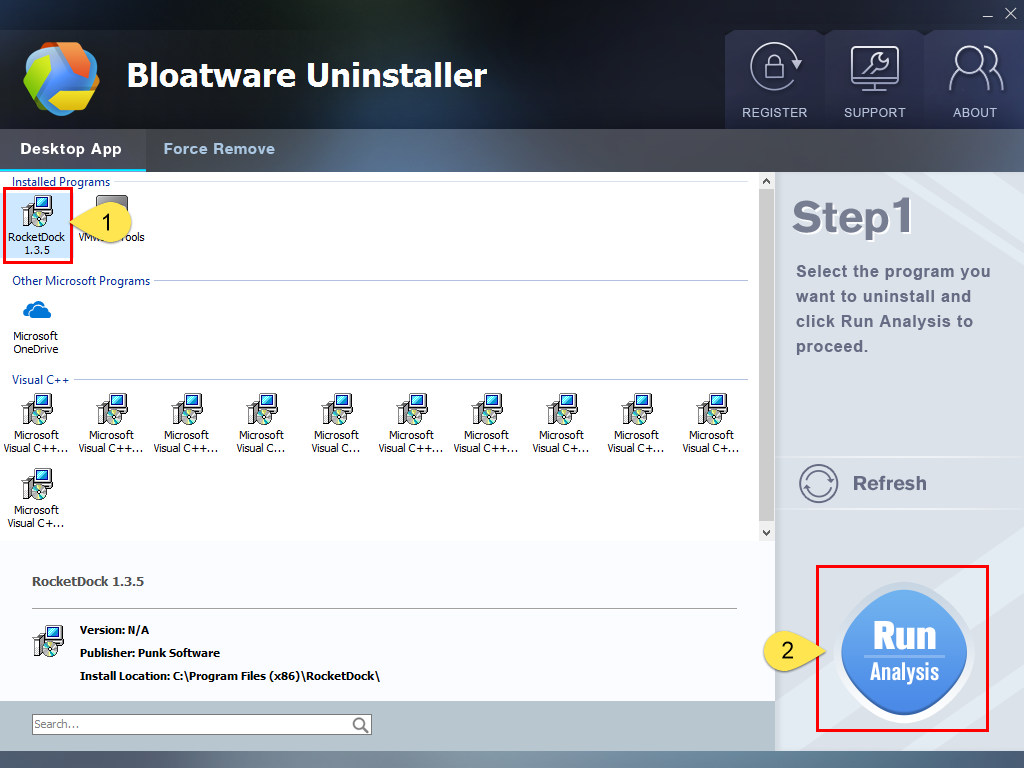
1. Run Bloatware Uninstaller after installation, you can see what programs are currently installed on your computer.
2. Select RocketDock in the list, and click “Run Analysis.” It will scan all the related files and get ready for your next request, all you need to do is to click the “Complete Uninstall” button on the right to proceed.

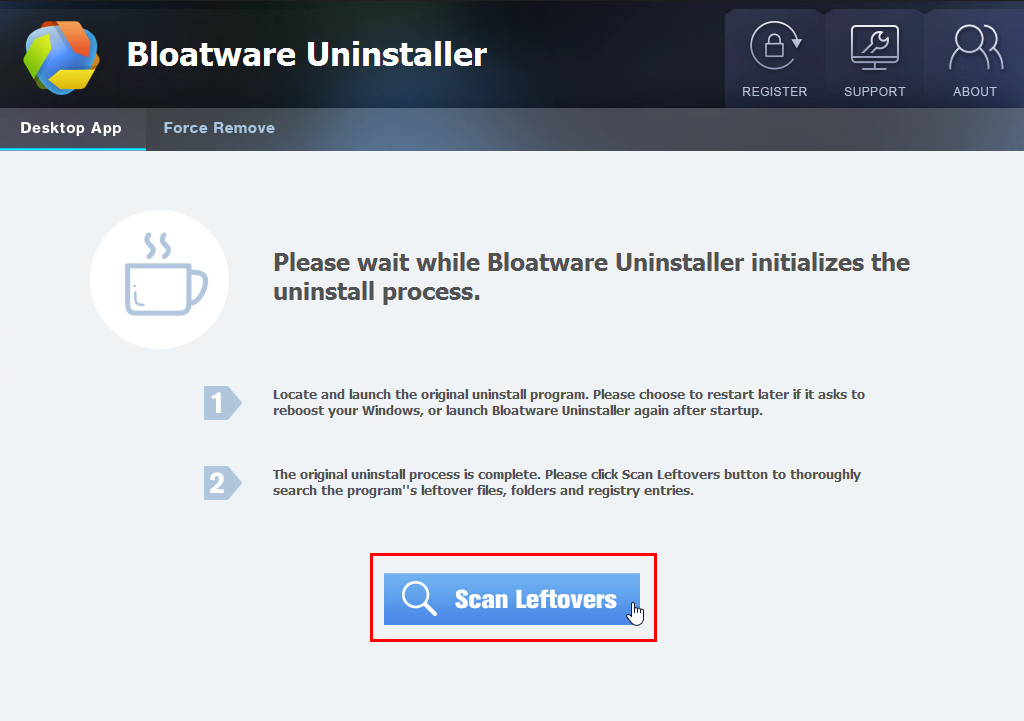
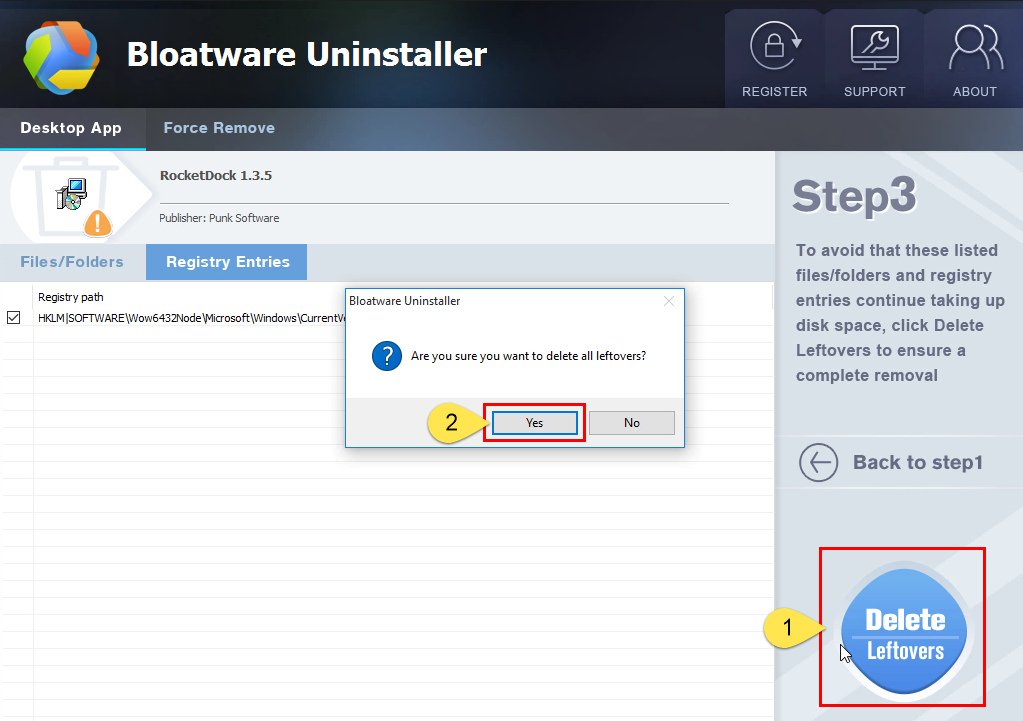
3. Click “Scan Leftovers” when it turns to blue, then you can see all the related vestiges that regular removal might left behind. Click “Delete Leftovers” to completely uninstall RocketDock.
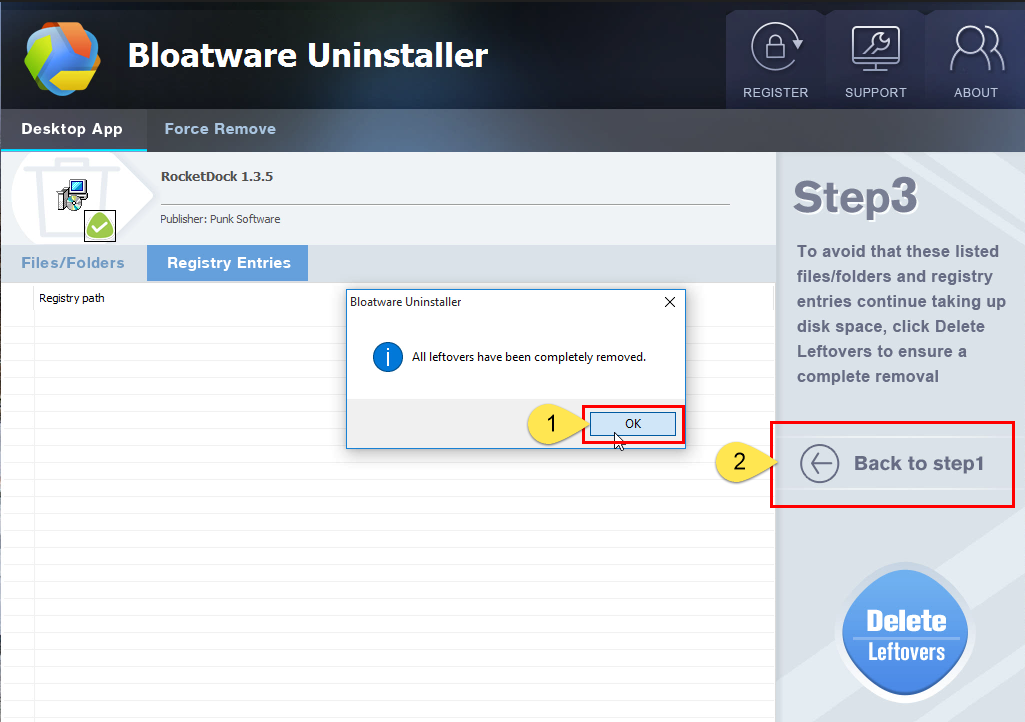
4. In the last clicking “Back to step1” will return you to the list of the installed programs, where you can check if your target has been eliminated. View this short video to take a quick view on how it works:
This way you can easily remove any unwanted programs installed on the system. Then you can do the same to remove the bundled programs and the unwanted, needless ones. Termly deleting those useless to you will free up quite a lot disk space, and improve your computer performance to some extent. Hopefully you always get everything under control and have an amazing experience.
Method 2: Manually Uninstall RocketDock
Perform the following steps (Apply to both Windows 8 and Windows 10) in Administrative Rights:
Step 1: Make sure RocketDock is not running.
> In the bottom-right corner of your screen, check the System Tray. If you see the RocketDock, right-click on it and select to close the program.
> To make sure nothing related to the program is running in the back ground – right-click the Taskbar at the bottom of your screen. Find and End the processes related to the program.
Step 2: Uninstall RocketDock through its built-in uninstaller.
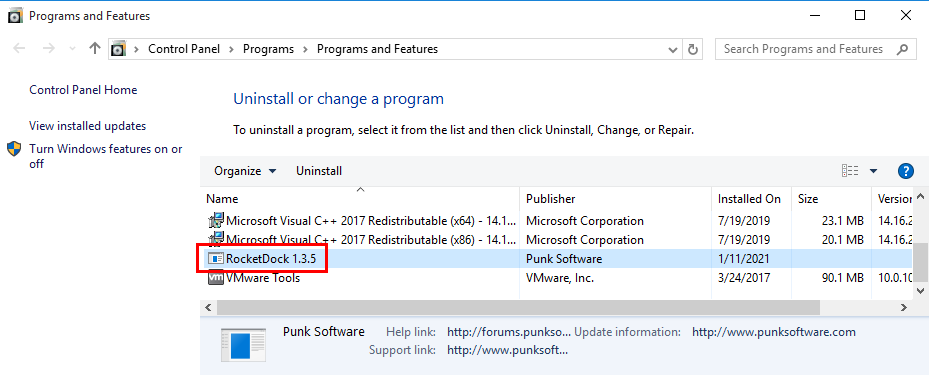
> In the bottom-left corner of your screen, right-click on the Start button and select Programs and Features.
> Now you’re looking at the list of currently installed programs on the computer, including your target and the above mention two bundled programs. Just double-click RocketDock to uninstall it first.
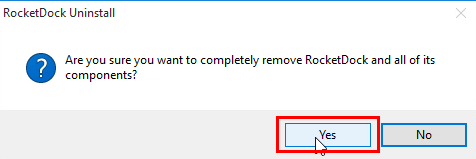
> Follow the on-screen prompts to proceed with the removal – When you’re prompted with an option “Before you go, please briefly tell us why you decided to uninstall Registry Cleaner…We really appreciate your feedback, as it helps us make our software better for all users”, you can fill in the blank with your reason, or directly click “Uninstall” to continue.
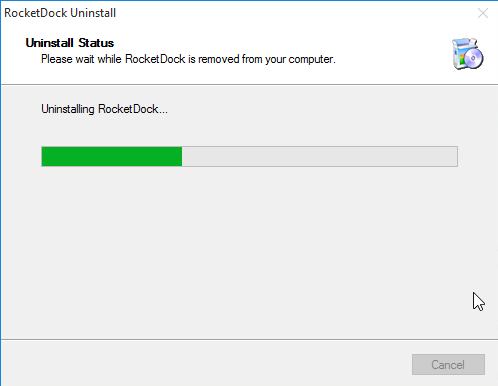
Wait for the built-in uninstaller to finish its job. When you see “Uninstall successful. Registry Cleaner has been completely uninstalled from your computer”, click “Finish”.
Step 3: Remove the remaining files of RocketDock.
Note: Please be sure you have uninstalled all the programs related to it via the Programs and Features, otherwise just skip this step.
> Press and hold Windows key + C on your keyboard to open the Charms bar, and select Search, and enter “regedit” to open the Registry Editor.
> (Optional) To back up the whole registry first, on the navigation, click File > Export…, type a name for the registry backup copy, and save it to your preferred location.
> Navigate to the following folders and delete them:
HKEY_CURRENT_USER\Software\RocketDock\
HKEY_LOCAL_MACHINE\SOFTWARE\RocketDock\
> To check for other remaining files of the program, click Edit > Find…on the navigator, and enter “RocketDock” and delete them if found to completely remove RocketDock and its bundled programs.
> If you haven’t restarted your computer once, restart it now. Then you can check whether the removal was successful.
Is there anything you want to ask about or share? Leave comments below.
- How To
- 13 Jan 2021