Uninstall and Remove WhatsApp Desktop from Your Windows PC

App info: WhatsApp for Windows is the desktop version of the messaging and Voice over IP (VoIP) service client. Users to send text messages and voice messages, make voice and video calls, and share images, documents, user locations, and other media. As a Windows user, you may have installed WhatsApp Desktop on the system for communication with others. However, if you want to send and receive message on the desktop app, your smartphone must be connected to the Internet as a premise.
Topic of the tutorial: how to properly and fully remove WhatsApp from Windows PC?
Introduction: in this tutorial, we will mainly discuss two approaches of uninstalling WhatsApp. If you seek for a quick way to get rid of all components of this app, take the first method shown below. Otherwise, you can follow the manual steps to uninstall the program and then continue with the detection/deletion of WhatsApp leftovers.
How to easily &fully uninstall WhatsApp on Windows?
During the usage of multiple programs on Windows, you may at times confront uninstall issues and have no idea how to solve it effectively. In that case you could need an one-stop solution to help you sweep out troubles and achieve perfect result.
To begin with, let’s watch the video clip to have a direct experience on the streamlined process:
To be specific, you can use the tool to quickly remove WhatsApp within three stages:
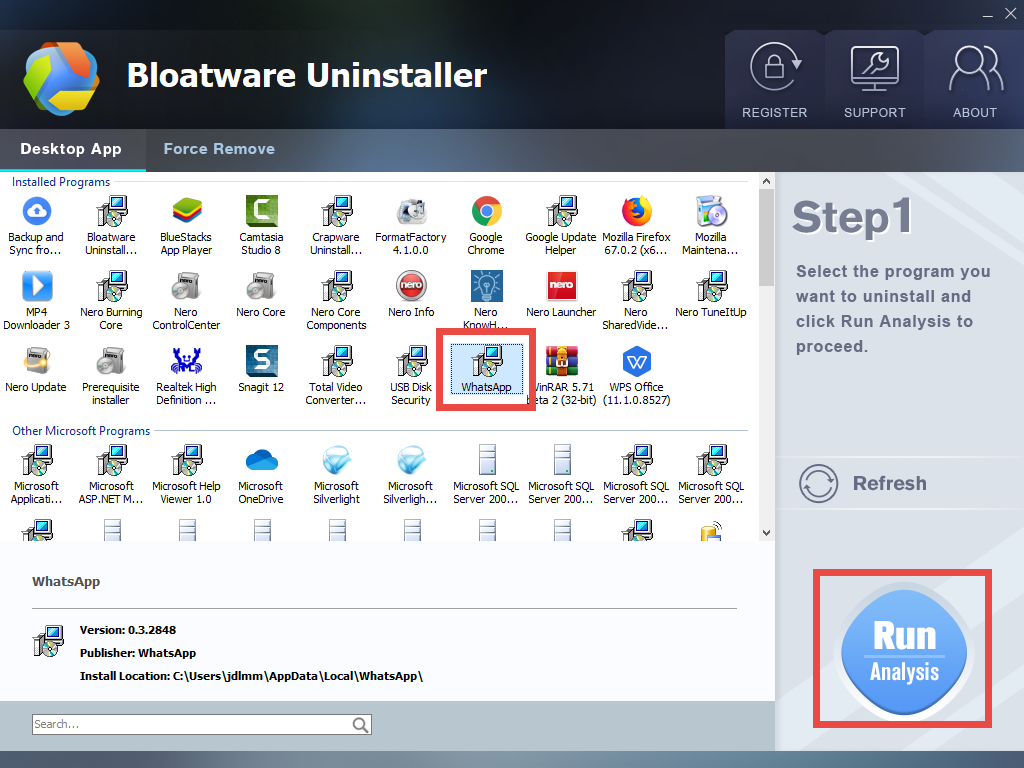
1. Select to scan target program
> make sure WhatsApp is not in use, and then launch Bloatware Uninstaller
> select WhatsApp in the list of installed programs and click Run Analysis button
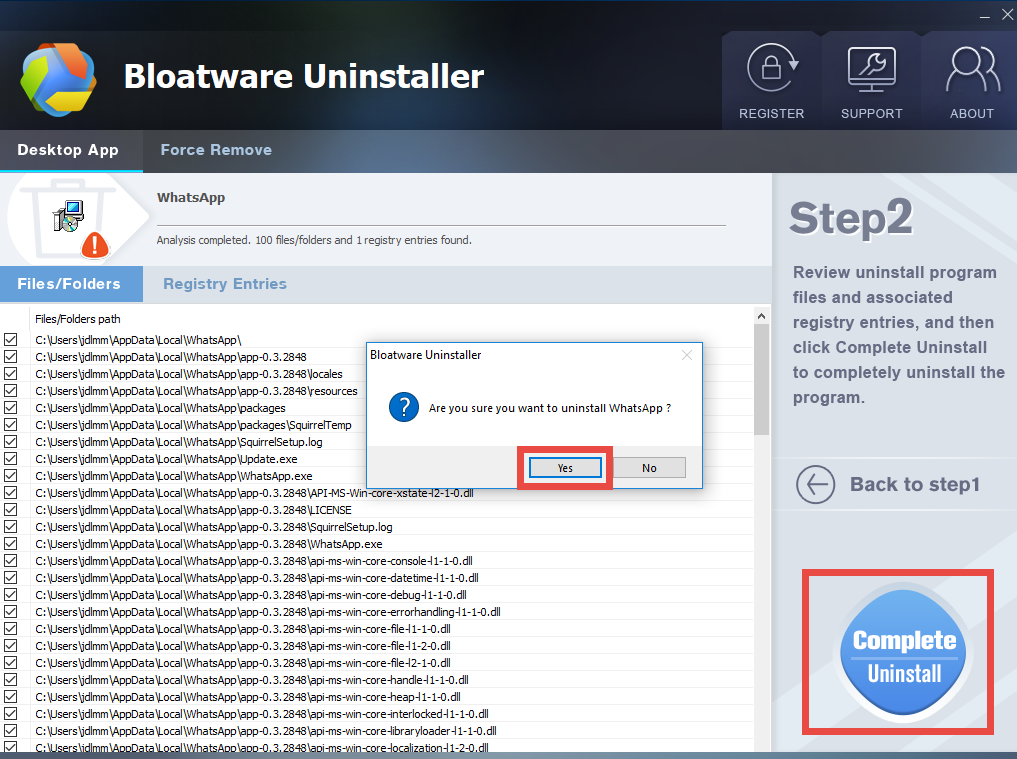
2. Perform standard uninstall
> review WhatsApp components, and click Complete Uninstall to start the uninstall
> follow prompts to complete the uninstall, and then click Scan Leftovers to proceed
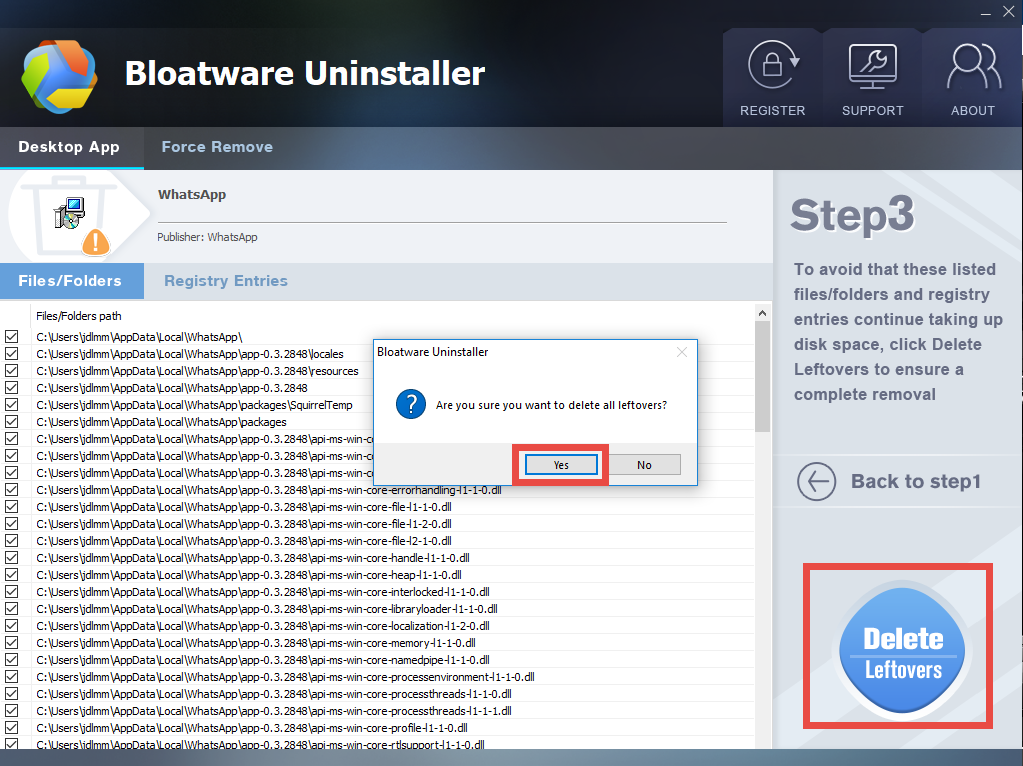
3. Remove program leftovers
> click Delete Leftovers button, and then click Yes in the pop-up dialogue box
> click Yes again when prompted that all WhatsApp leftovers are completely removed
After that, you can click Back to Step 1 button to re-scan currently installed programs. WhatsApp should have disappeared in the interface as well as from your system. So how to get Bloatware Uninstaller for your PC? Click the download button below and install it on your system. The first time you use it to remove programs, you will be required to enter a valid license. More information can be found in the homepage.

How to uninstall WhatsApp & remove its leftovers?
Besides, you can try the conventional means (Windows Add/Remove Programs) to uninstall WhatsApp first, and then manually remove its leftovers. Here is how to do:
Step 1. Shut down WhatsApp if it is active
When a program is currently running, the uninstallation may fail to complete or some of the program components will not be deleted at all. So do the preparation first.
If WhatsApp icon appears in the system tray, right click on it and choose Exit.
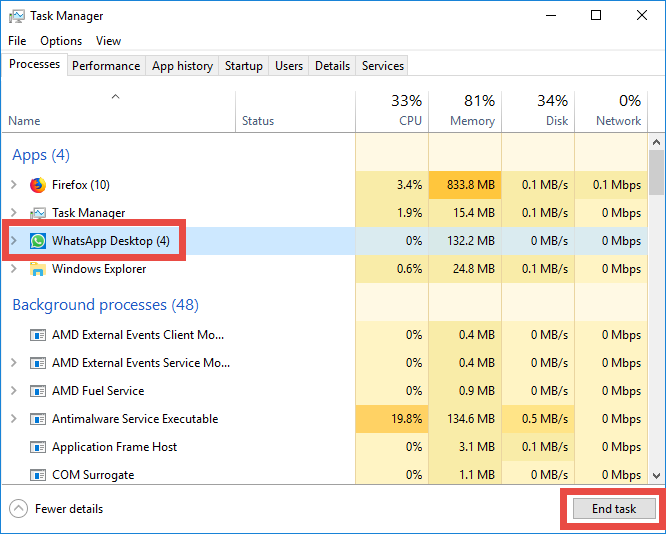
If WhatsApp does not there, open Task Manager to check the background process:
- Right click the taskbar at the button and select Task Manager from the list
- Select the process pertaining to WhatsApp and click End Task to shut it down
Step 2. Uninstall WhatsApp via Start menu
Depending on the Windows version running on your PC, you may take different steps.
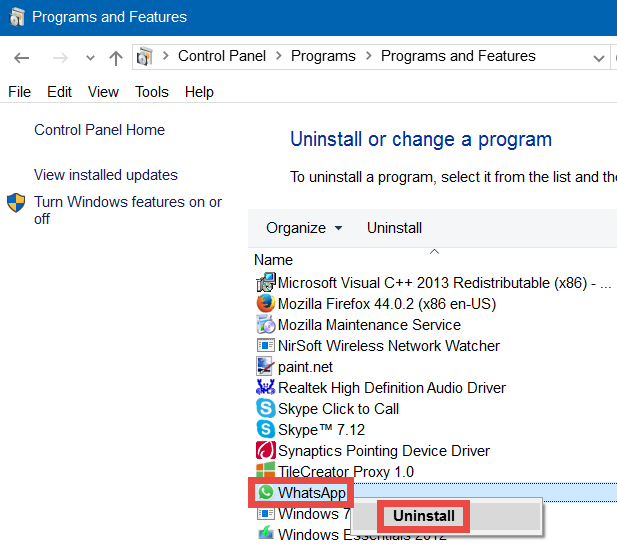
- Windows 7
Click Start and choose Control Panel > Programs and Features
Select WhatsApp icon in the panel and click Uninstall button above
Click Yes button in the pop-up window to confirm the uninstallation
- Windows 8
Right click Start menu and click Programs and Features option
Highlight WhatsApp in the list and click Uninstall button above
Click Yes button in the pop-up window to confirm the uninstallation
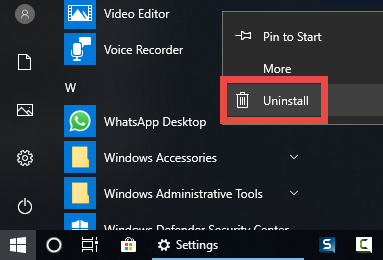
- Windows 10
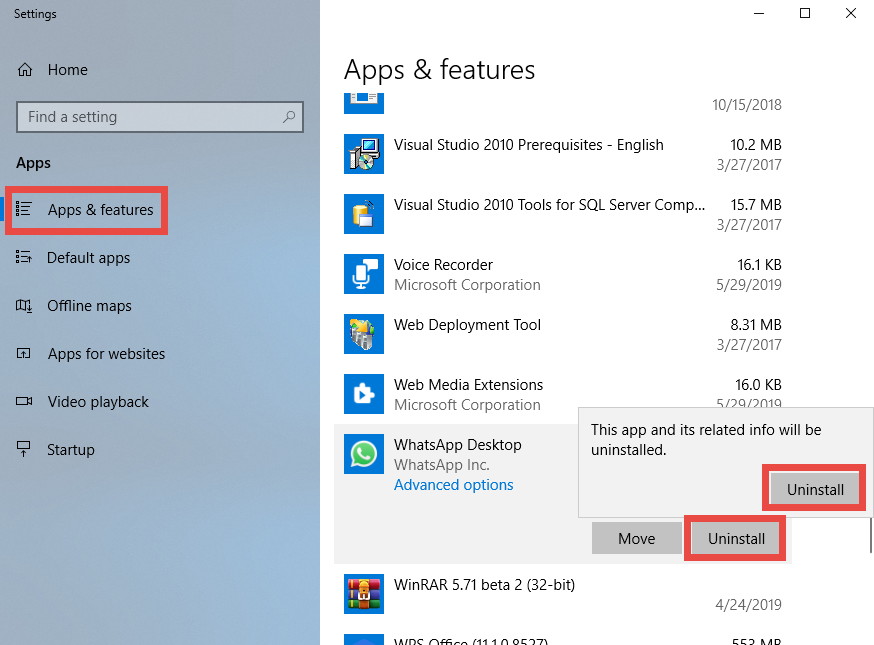
Right click on Start icon and choose Apps & Features
Click WhatsApp in the right pane, and select Uninstall button twice
Click Yes in the User Account Control window to confirm the uninstallation
After uninstalling WhatsApp via Start menu, continue to delete its entries in Registry.
Step 3. Delete WhatsApp entries in Registry
Many Windows users have no idea about deleting program leftovers from the crucial Registry, and actually it is quite necessary to keep Registry organized and clean. Now follow the instructions below strictly to detect Whatsapp-related entries with caution:
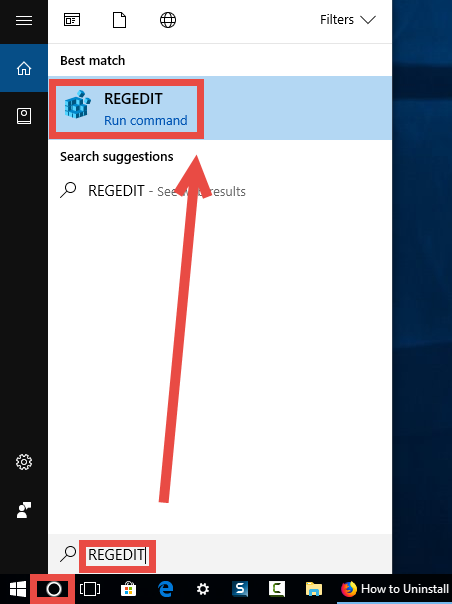
- Click the Search icon on the bottom left corner of the screen, and type “regedit”
- Click the Regedit in the best match result to launch Registry Editor
- Click Yes if you are prompted to give confirmation in UAC dialog
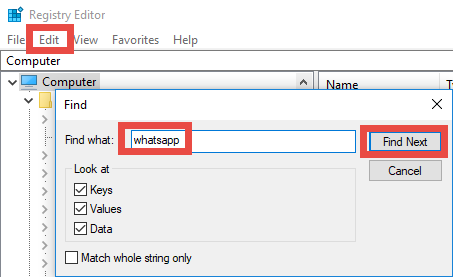
- Press Control + F together to open the Find window
- Type WhatsApp (or Easeware) in the Find What box, and click Find Next
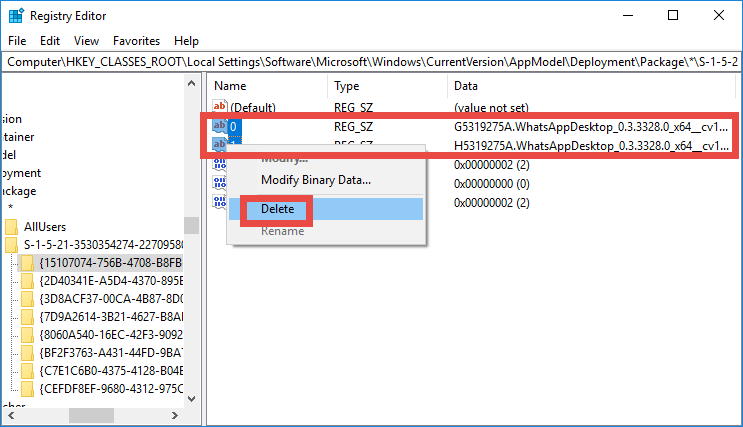
- When the result is highlighted, right click on it and choose Delete option
- Hit F3 key to continue searching for associated files in the Registry
Note that any modification should be done after you make a backup of the whole Registry. Otherwise, if you delete unrelated entry, you will not be able to restore it.
That is all for today’s removal tutorial. Which removal method do you prefer to use?
- Communications
- 18 Jul 2019