Windows Users: Take Simple Steps to Uninstall VirtualDJ and Its Leftovers

Issue: how can I perform a clean uninstallation of VirtualDJ on a Windows PC?
Some Windows users have this doubt when they are trying to get rid of the trial version of VirtualDJ. After a period of usage, VirtualDJ creates a bunch of associated files in system folders as well as in the Registry. If you need to erase all VirtualDJ traces completely, you need to do more than uninstalling VirtualDJ in Control Panel.
In this page we will show you two ways to uninstall VirtualDJ on Windows. You can start with the automatic way, or skip to follow the manual uninstall steps listed below.
Share a trouble-free method to fully remove VirtualDJ on Windows
Is there a shortcut that allows you to remove all components of target program in a few clicks? Surely. Many third party uninstall tools are designed to fulfill this demand. As a lightweight utility, Bloatware Uninstaller could help Windows users to easily & thoroughly get rid of the unneeded, stubborn, problematic or malicious programs.
> Note that if you still want to re-install VirtualDJ, you may need to make a backup copy before using the tool to fully remove VirtualDJ. Your database contains song information and is by default located in the \Users\Documents\VirtualDJ folder.

To remove VirtualDJ using this tool, you will go through three simple steps:
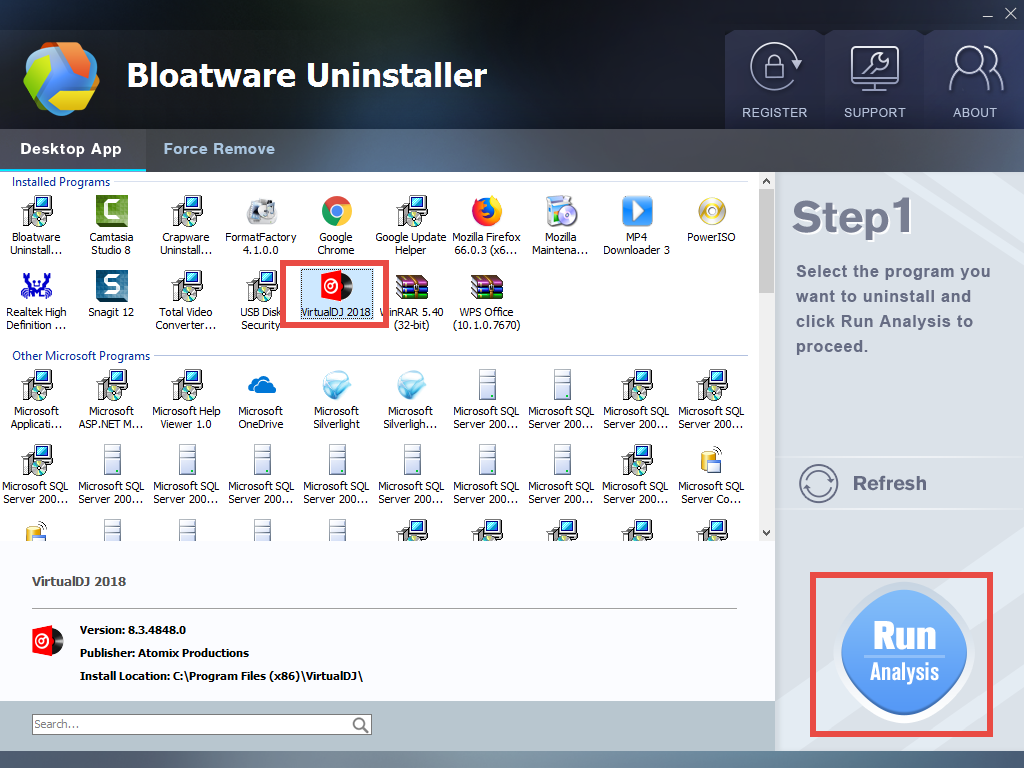
Step 1. select target program
- Launch Bloatware Uninstaller after the installation and activation
- If prompted, click Yes button in the User Account Control window
- Choose VirtualDJ and then click Run Analysis button to start scanning
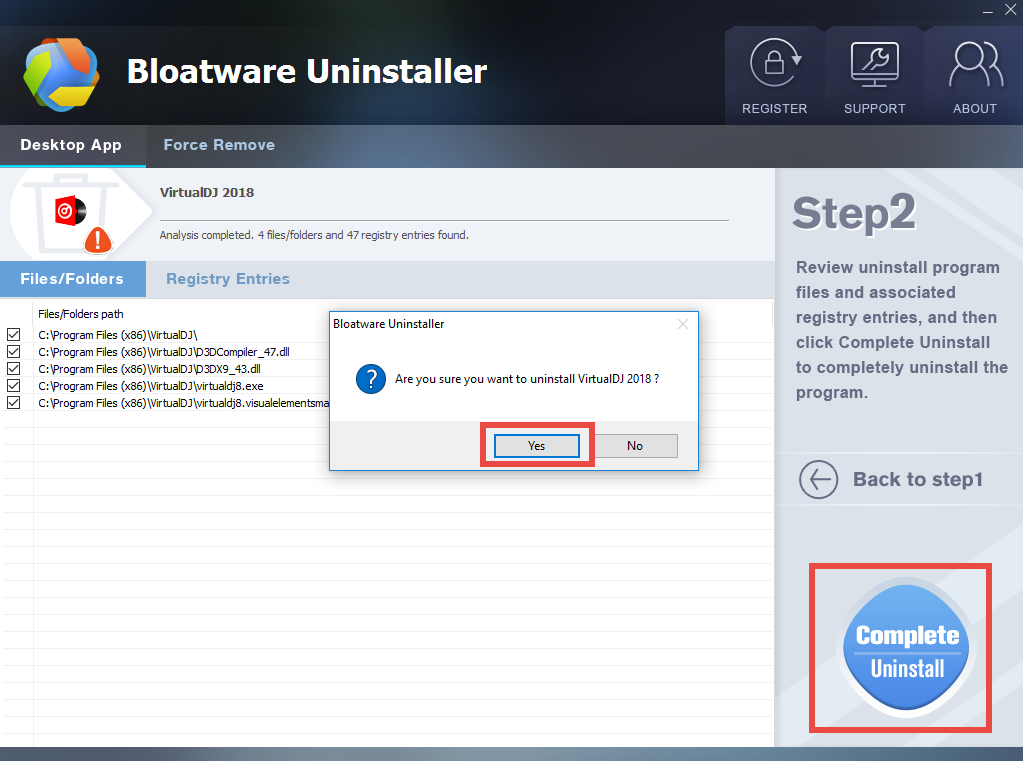
Step 2. perform standard uninstall
- Click Complete Uninstall after all the components have been scanned out
- Click Yes in the pop-up dialog to confirm the uninstall of VirtualDJ
- Follow the VirtualDJ Uninstall wizard to complete the process
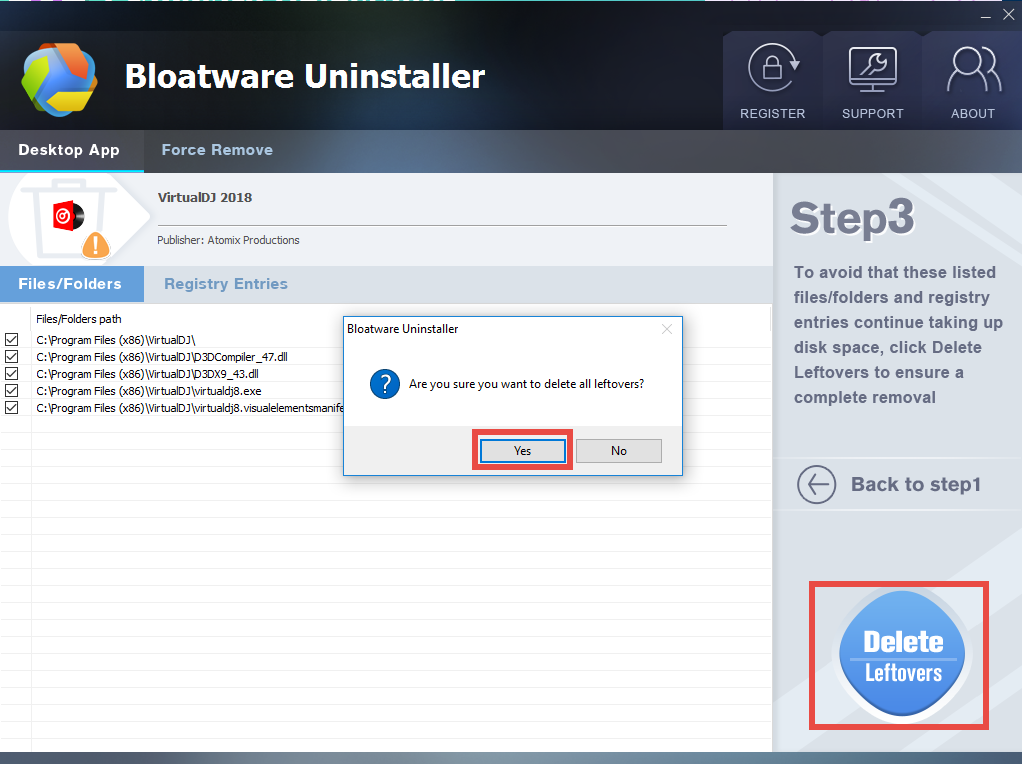
Step 3. remove VirtualDJ leftovers
- Click Scan Leftovers button after the standard uninstall is complete
- Click Delete Leftovers and choose Yes in the pop-up dialog to delete all leftovers
- Click OK after the deletion is complete, and close Bloatware Uninstaller
Now any files and folders pertaining to VirtualDJ should have been swept out from your system especially in the Registry. The process is rather intuitive and streamlined. If the program you want to uninstall does not show up in the interface, you can click the Force Remove tab and perform a force removal of programs, files or plugins.
Don’t want to use Crapware Uninstalelr? You can still carry out a manual removal.
Here are the manual steps to uninstall VirtualDJ from Start menu
First of all, you can follow the regular steps to uninstall VirtualDJ via the Start menu. Note that different system version will require you to take different operating steps.
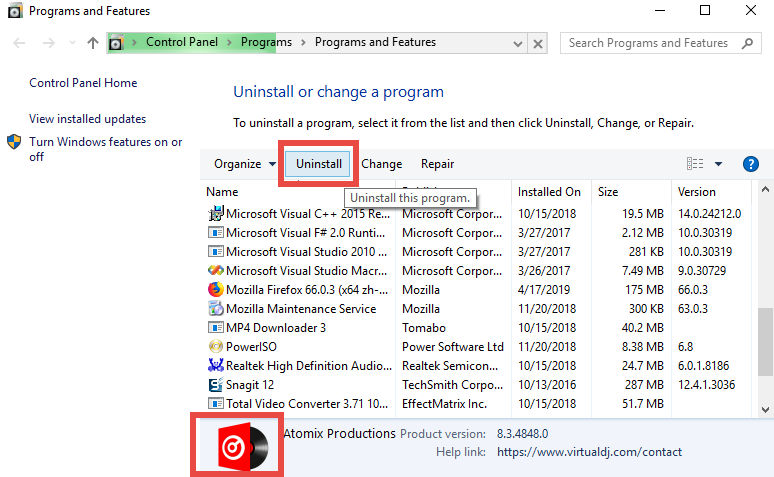
(1) Windows 7
- Click Start and choose Control Panel > Programs and Features
- Select VirtualDJ icon in the panel and click Uninstall button above
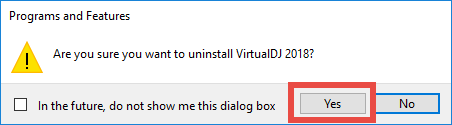
- Click Yes button in the pop-up window to confirm the uninstallation
(2) Windows 8
- Right click Start menu and click Programs and Features option
- Highlight VirtualDJ in the list and click Uninstall button above
- Click Yes button in the pop-up window to confirm the uninstallation
(3) Windows 10
- Click Start menu, and click All apps to open the list of installed programs
- Scroll down to locate VirtualDJ, right click on it, and choose Uninstall
- Click Uninstall in the new opened window to activate default uninstaller
- Click Yes button in the pop-up window to confirm the uninstallation

Windows 10 users can also uninstall VirtualDJ in the Settings panel.
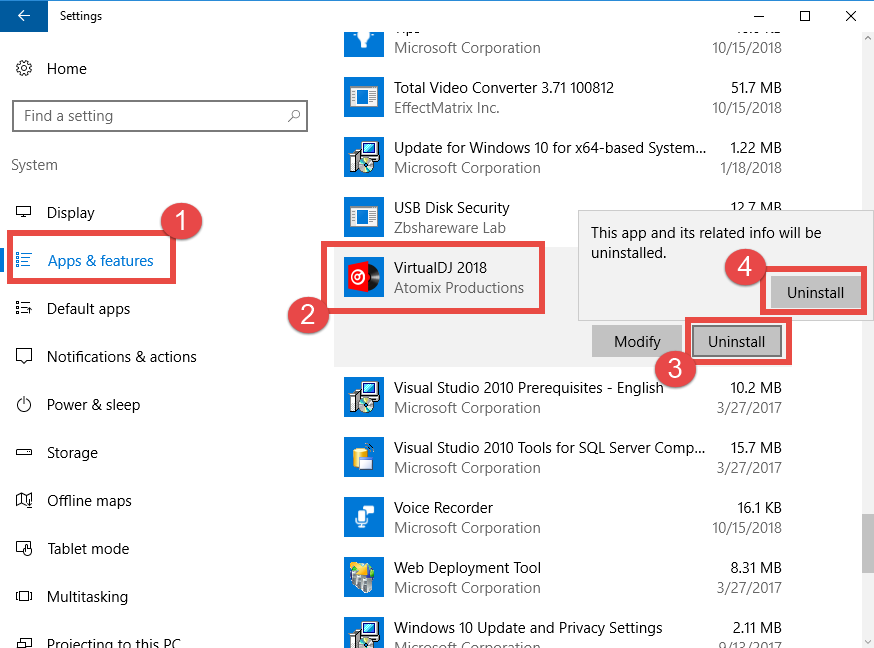
- Right click on Start icon and choose Apps & Features
- Click VirtualDJ in the right pane, and select Uninstall button twice
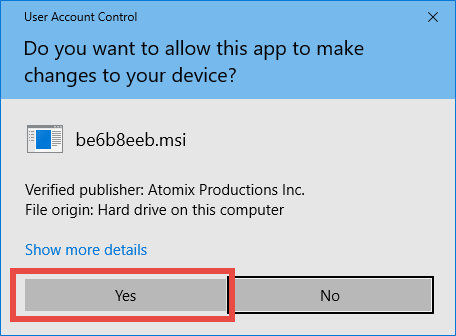
- Click Yes in the User Account Control window to confirm the uninstallation
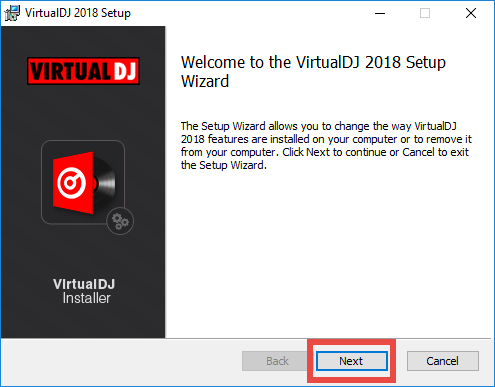
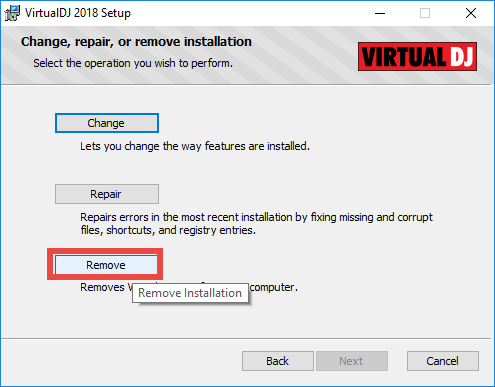
When VirtualDJ Setup wizard pops up, follow the prompts to finish the uninstall:
click Next button
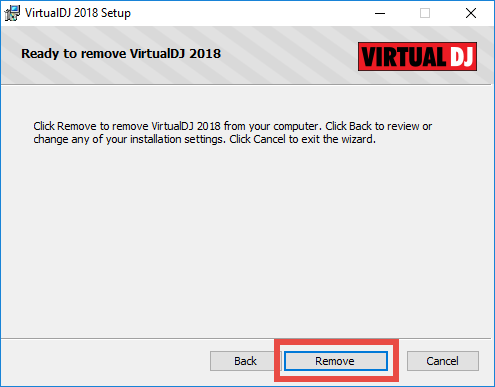
click Remove button
click Remove button
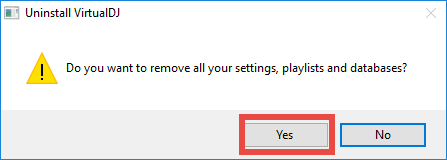
click Yes button
click Next button
click Finish button
So that’s how to uninstall VirtualDJ. But what to do if you encounter problems during the process? What tips you should know when the uninstall fails to complete?
Here are two little tips to ensure a smooth removal of VirtualDJ
(1) exit out of VirtualDJ before the uninstall
If VirtualDJ runs on the background and minimize itself in the system tray, you can right click on its icon in system tray, and choose Quit option to shut it down.
Besides, you can detect and kill any VirtualDJ-associated process via Task Manager:
- Right click the taskbar at the button and select Task Manager from the list
- Select the processes pertaining to Advanced IP Scanner and click End Task button
(2) Launch the uninstaller in installation folder
What if VirtualDJ doesn’t appear in the list of installed apps or there is no response when you click Uninstall option? That could happen when you have tried to remove VirtualDJ incompletely, or when some of the executive files are damaged or missing.
In that case, you can try to directly launch VirtualDJ’s built-in uninstaller, which is by default located in This PC > C: > Program Files. Once you open up the installation folder, you should be able to find a file named Uninst000.exe or Uninstall.exe. Try to open up the file, click Yes in UAC, and the VirtualDJ Setup wizard should show up.
Here are the manual steps to remove VirtualDJ leftovers in Registry
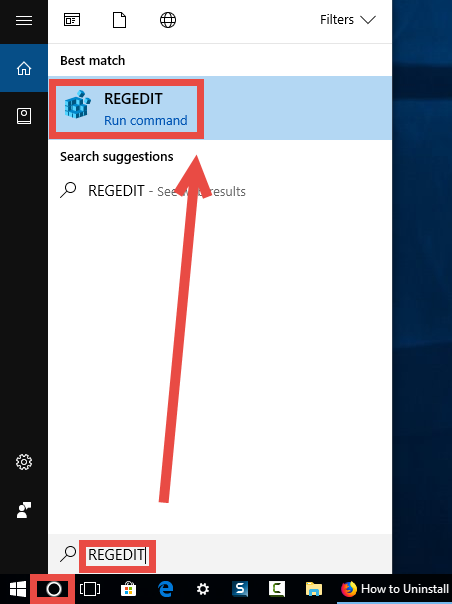
- Click the Search icon on the bottom left corner of the screen, and type “regedit”
- Click the Regedit in the best match result to launch Registry Editor
- Click Yes if you are prompted to give confirmation in UAC dialog
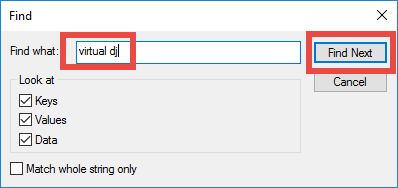
- Press Control + F together to open the Find window
- Type VirtualDJ (or Atomix Productions) in the Find What box, and click Find Next
- When the result is highlighted, right click on it and choose Delete option
- Hit F3 key to continue searching for associated files in the Registry
Notice: make sure to backup the whole Registry before the modification, otherwise, you may mistakenly delete unrelated entries in Registry and serious issues may occur.
Besides, you may go to delete two folders in system if they are still present:
Documents\VirtualDJ
C:\Program Files\VirtualDJ
If you think it troublesome to detect and remove VirtualDJ remnants in Registry, try to adopt the first automated option – using Bloatware Uninstaller – to save some troubles.
- Multimedia
- 09 May 2019